A 6-digit OTP will be shared with your mobile number
6-digit OTP will be sent to this email
OTP verification
Please enter OTP sent to (+)
Please enter OTP sent to email
Incorrect OTP
Resend OTP
Personal Details
Please Enter First Name
Please enter Last Name
Please enter Valid Email ID
+1
+1
+1
+7
+7
+20
+27
+30
+31
+32
+33
+34
+36
+39
+40
+41
+43
+44
+45
+46
+47
+47
+48
+49
+51
+52
+53
+54
+0055
+55
+56
+57
+58
+60
+61
+61
+61
+62
+63
+64
+65
+66
+81
+82
+84
+86
+90
+91
+92
+93
+94
+95
+98
+211
+212
+212
+213
+216
+218
+220
+221
+222
+223
+224
+225
+226
+227
+228
+229
+230
+231
+232
+233
+234
+235
+236
+237
+238
+239
+240
+241
+242
+243
+244
+245
+246
+248
+249
+250
+251
+252
+253
+254
+255
+256
+257
+258
+260
+261
+262
+262
+262
+263
+264
+265
+266
+267
+268
+269
+290
+291
+297
+298
+299
+350
+351
+352
+353
+354
+355
+356
+357
+358
+359
+370
+371
+372
+373
+374
+375
+376
+377
+378
+379
+380
+381
+382
+383
+385
+386
+387
+389
+420
+421
+423
+500
+500
+501
+502
+503
+504
+505
+506
+507
+508
+509
+590
+590
+590
+591
+592
+593
+594
+595
+596
+597
+598
+599
+599
+670
+672
+672
+672
+673
+674
+675
+676
+677
+678
+679
+680
+681
+682
+683
+685
+686
+687
+688
+689
+690
+691
+692
+850
+852
+853
+855
+856
+870
+880
+886
+960
+961
+962
+963
+964
+965
+966
+967
+968
+970
+971
+972
+973
+974
+975
+976
+977
+992
+993
+994
+995
+996
+998
+1242
+1246
+1264
+1268
+1284
+1340
+1345
+1441
+1473
+1649
+1664
+1670
+1671
+1684
+1721
+1758
+1767
+1784
+1787
+1809
+1829
+1868
+1869
+1876
+1939
+35818
+441481
+441534
+441624
Enter Valid Mobile Number
Please accept the terms and conditions
By checking this box, you agree to let us use your information
to communicate with you through E-mails, texts and calls for
providing our product or service related information for
promotional purposes. The information will be secured as per our
privacy policy.
PLEASE READ THIS ROYAL ENFIELD MOBILE APPLICATION END-USER LICENSE
AGREEMENT (HEREINAFTER REFERRED TO AS “EULA”) CAREFULLY BEFORE
REGISTERING OR USING “ROYAL ENFIELD” MOBILE APPLICATION SERVICES.
This EULA forms a binding legal agreement between you (“You” or
“Your”) and Eicher Motors Limited, known by its brand name Royal
Enfield (each separately a “Party” and collectively the “Parties”)
as of the date You download the Mobile App (defined hereinafter).
This EULA shall apply to Your use of the Royal Enfield mobile
application and services (“Mobile App”) provided by Eicher Motors
Limited (hereinafter referred to as “EML”, “Royal Enfield” or
“RE”).
This EULA forms a binding legal agreement between you (“You” or
“Your”) and Eicher Motors Limited, known by its brand name Royal
Enfield (each separately a “Party” and collectively the “Parties”)
as of the date You download the Mobile App (defined hereinafter).
This EULA shall apply to Your use of the Royal Enfield mobile
application and services (“Mobile App”) provided by Eicher Motors
Limited (hereinafter referred to as “EML”, “Royal Enfield” or
“RE”). This EULA only This EULA forms a binding legal agreement
between you (“You” or “Your”) and Eicher Motors Limited, known by
its brand name Royal Enfield (each separately a “Party” and
collectively the “Parties”) as of the date You download the Mobile
App (defined hereinafter). This EULA shall apply to Your use of
the Royal Enfield mobile application and services (“Mobile App”)
provided by Eicher Motors Limited (hereinafter referred to as
“EML”, “Royal Enfield” or “RE”). This EULA only This EULA forms a
binding legal agreement between you (“You” or “Your”) and Eicher
Motors Limited, known by its brand name Royal Enfield (each
separately a “Party” and collectively the “Parties”) as of the
date You download the Mobile App (defined hereinafter). This EULA
shall apply to Your use of the Royal Enfield mobile application
and services (“Mobile App”) provided by Eicher Motors Limited
(hereinafter referred to as “EML”, “Royal Enfield” or “RE”). This
EULA only
User not found
Your Country has been changed to
Select Country
We couldn't find any countries matching your current search.
No results found. Why not broaden your search by exploring a continent from the options below?
We use our own cookies for the use of this site, personalize content and ads and to perform analysis of our traffic. We also share information about your use of our site with analytics partners who may combine it with other information that you’ve provided to them or that they’ve collected from your use of their services. If you want to learn more about cookies and opt out, click the Privacy Policy
and
Cookie Policy If you choose not to agree to the use of cookies all features of this site may not operate as intended.
Turn handle bar to extreme left or right position.
Switch “OFF” ignition gently depress key and turn anticlockwise further till steering is locked and remove key.
Insert key, turn clockwise to ignition “OFF” position. If required, gently shake handle bar to help unlock steering easily
Explore in interactive mode
Share link
WARNING
After unlocking steering and before starting engine check the handle bar free movement by turning to both left and right sides. several times.
Failure to do so will cause unstable riding, leading to a potential accident, resulting in serious injury to both rider and other road users, besides causing severe damage to the motorcycle.
CAUTION
Do not force or attempt to lock/ unlock steering if the handle bar is not in extreme left or right side. Failure to adhere to this caution will damage the lock and also cause the key to bend or break.
FUEL TANK
Lift flap and insert key.
Turn key clockwise to enable cap to unlock and spring up.
Gently depress cap till it is firmly locked in place and key can be removed.
Remove key and close flap.
Explore in interactive mode
Share link
WARNING
Do not overfill the fuel tank, stop filling when the fuel reaches bottom of anti-splash plate. Because fuel expands when it heats up, heat from engine or the sun can cause fuel spill out of fuel tank.
Petrol is highly explosive. Please ensure there are no open flames or sparks nearby while refueling and fill fuel tank only in a well ventilated area.
NOTE
Key cannot be removed when fuel tank cap is open.
E-START SWITCH
Press & hold till engine starts.
Explore in interactive mode
Share link
WARNING
Do not switch “OFF” ignition while riding the motorcycle. Doing so can cause a potential accident, resulting in serious injury to both rider and other road users, besides causing severe damage to the motorcycle.
ENGINE STOP SWITCH
Press & hold till engine starts.
Explore in interactive mode
Share link
CAUTION
Do not switch “OFF” ignition while riding the motorcycle. Doing so can cause a potential accident, resulting in serious injury to both rider and other road users, besides causing severe damage to the motorcycle.
HORN
Press the Horn button to sound horn.
Explore in interactive mode
Share link
HIGH BEAM / LOW BEAM SWITCH
When the headlamp is in “ON” condition “High / Low beam” will be selected by toggling the switch. High beam indicator lamp located in instrument cluster will glow when high beam is selected.
Explore in interactive mode
Share link
DAY FLASH
Press for head light flash.
Explore in interactive mode
Share link
TURN SIGNAL SWITCH
⇦ Left turn signal 'ON'
⇧ “OFF” (Push to cancel)
⇨ Right turn signal “ON”
Explore in interactive mode
Share link
SIDE PANEL LEFT
Remove the side panel on the Left side by unscrewing the hex socket button head screws.
Explore in interactive mode
Share link
SIDE PANEL RIGHT
Remove the side panel on the Right side by unscrewing the hex socket button head screws.
Explore in interactive mode
Share link
LCD DISPLAY
Click here to view image
Share link
LCD DISPLAY
Share link
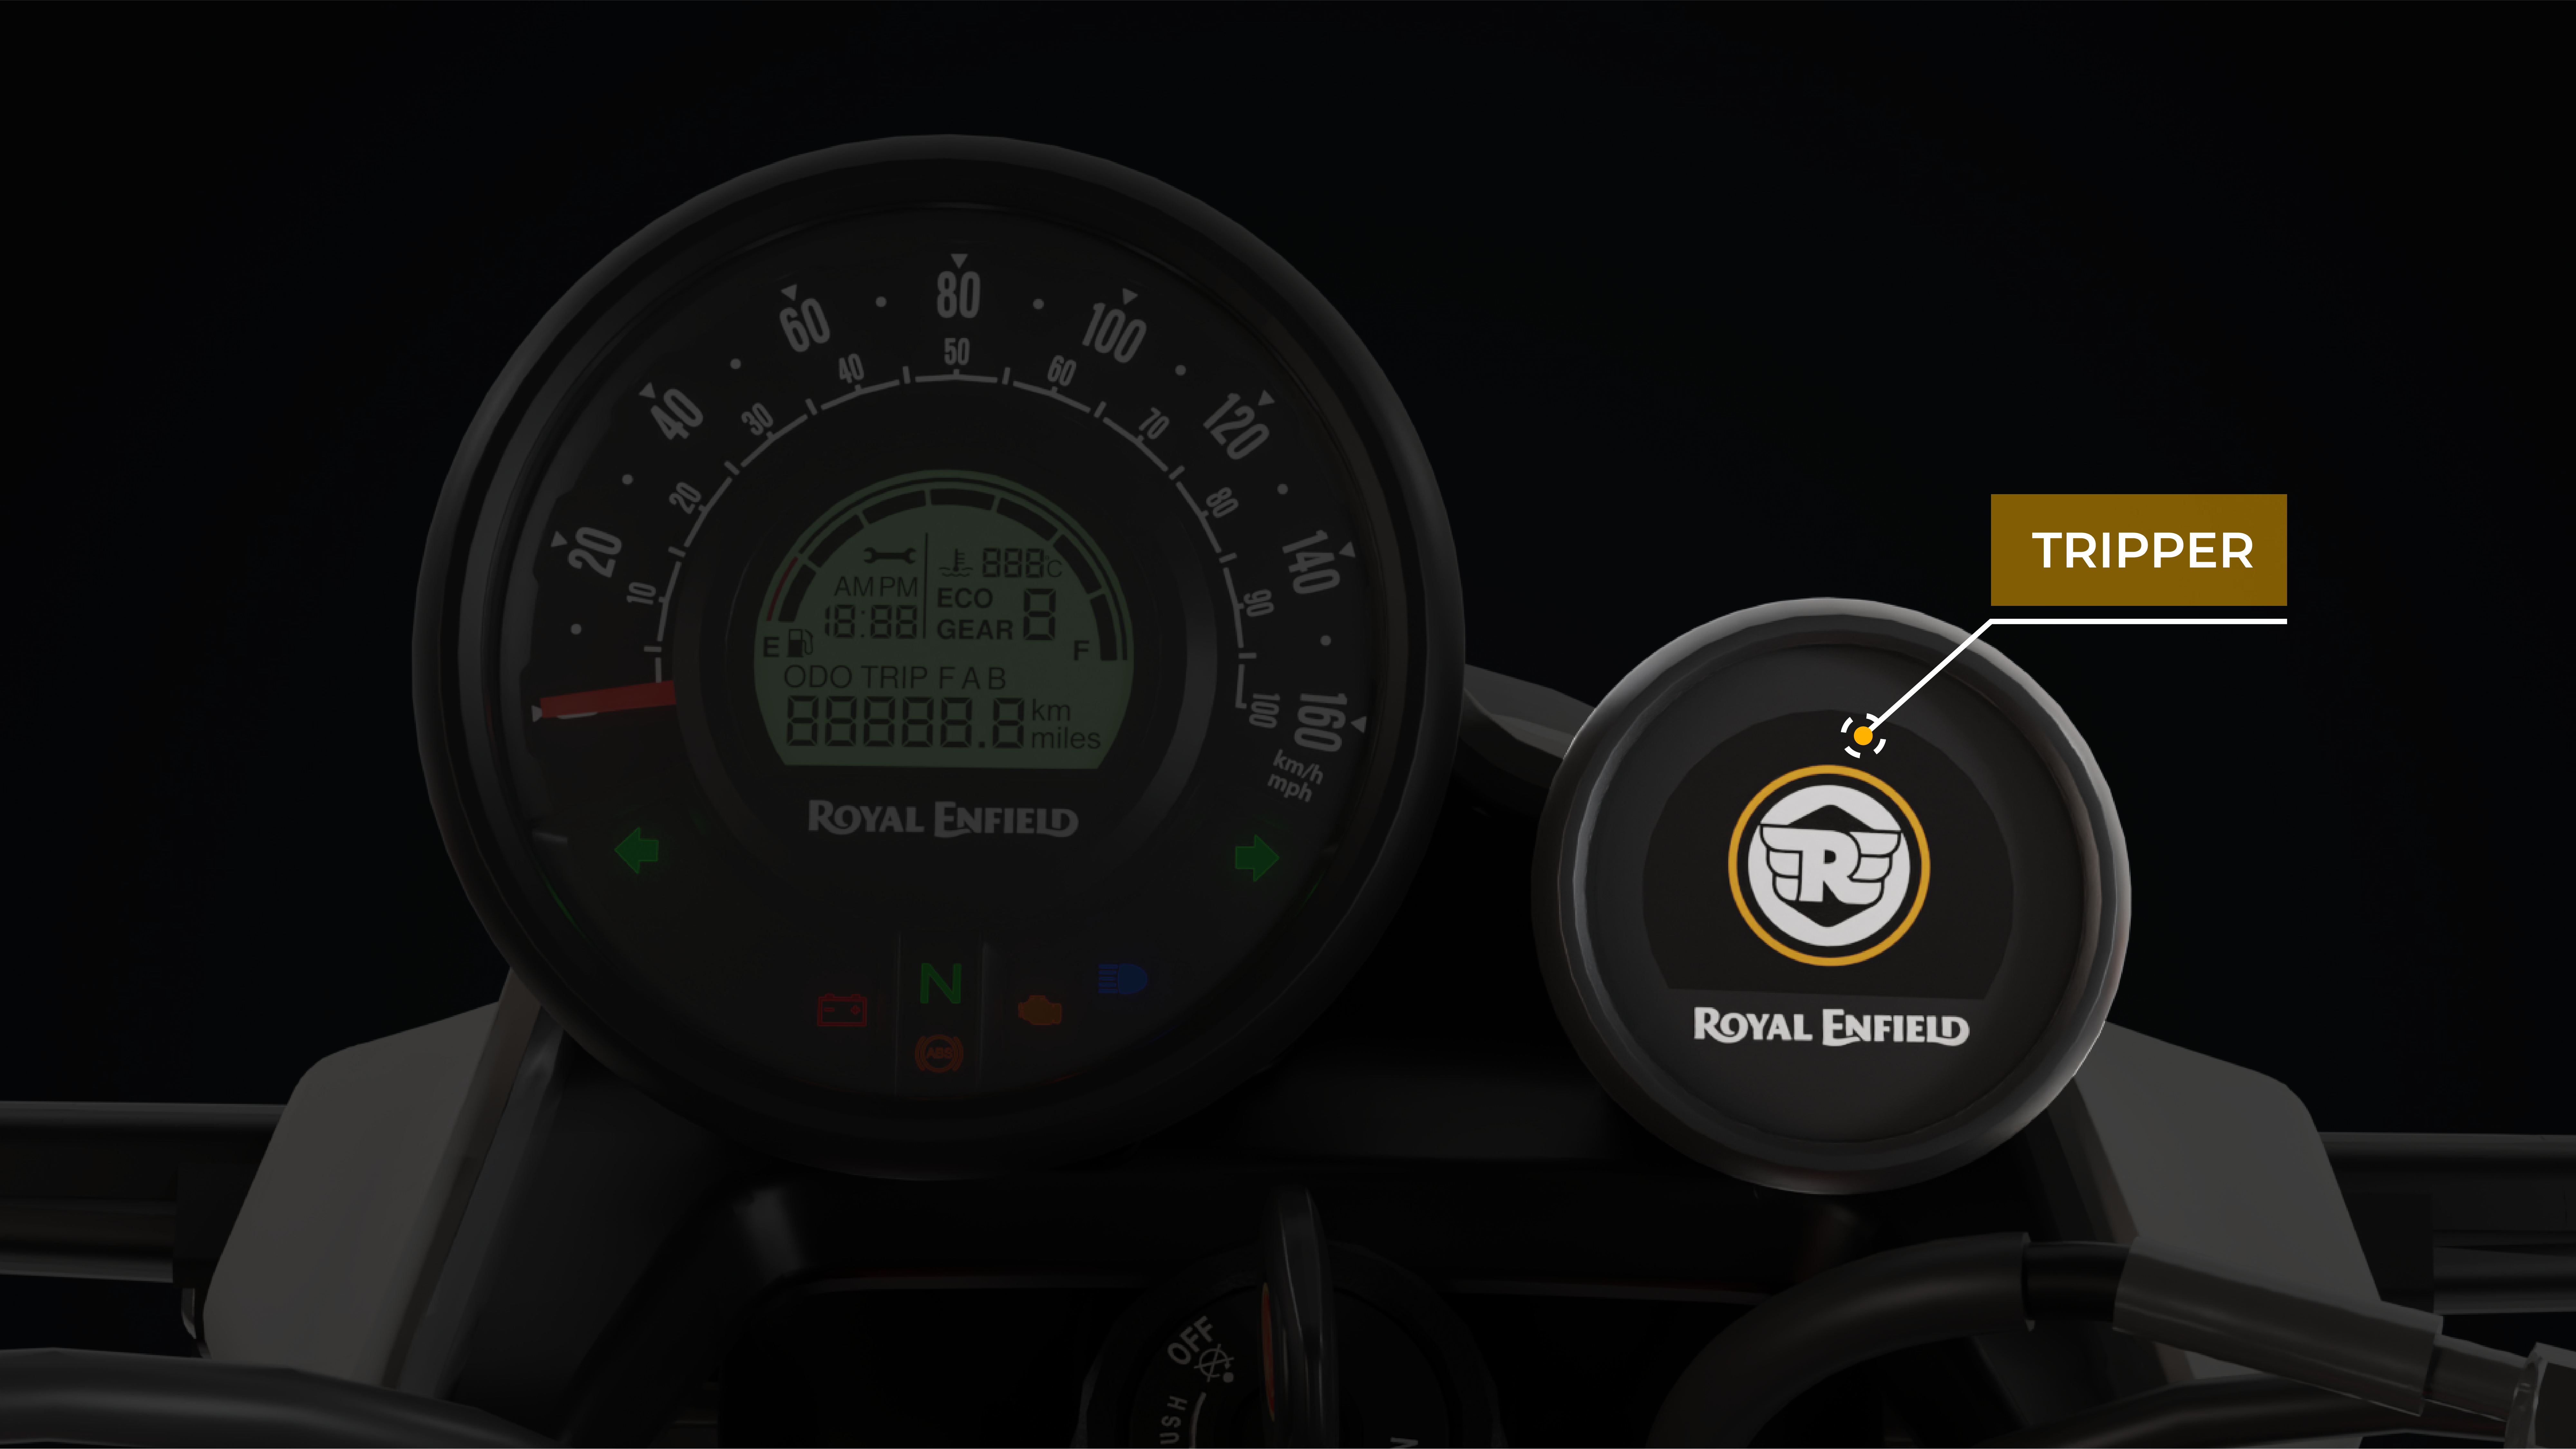
TRIPPER
Tripper is being provided to have turn by turn navigation on motorcycle to help riders to have a hassle free riding without handling the smartphones, This device works based on Bluetooth connectivity with navigation search based on RE Mobile app with the support of Google Maps.
Device is capable of showing turn by turn navigation on a custom designed round color TFT with uniquely designed arrow font designed intuitively for ease of riding.
Background display can be switched between day mode and night mode which can be selected by riders from RE Mobile app.
Features:
Turn by turn navigation with primary turn, secondary turn.
Distance to next turn, distance to destination or Estimated Time of Arrival (ETA).
Clock display (in case of no connectivity, no navigation input or after destination is reached).
User can select day and night mode (through RE mobile app only).
Mobile Phone low battery indication.
Smartphones Compatible Version to use RE Mobile app:
Compatible with Android and i0S.
Android support: Current version - 2.
i0S support: Current version -1.
Connectivity control only through RE Mobile app.
Click here to view image
Share link
CAUTION
Ensure ignition is 'ON' and display is in powered while establishing connection.
Ensure first time pairing is done in isolated environment to avoid cross connections (one time).
Day and night mode is user selectable only, will not change over automatically to be selected during night driving to avoid rider distraction.
Bluetooth connection can be established only through RE Mobile app.
Ensure bluetooth and location settings are turned always 'ON' before usage.
Disable battery optimisation settings/ low battery cutoff setting of smartphone for navigation to work in low battery mode.
RE Mobile app works only with android (Current version -2) and iOS (Current Version -1) versions, for other lower versions performance lag can be expected.
Tripper Bluetooth version is V4.2.
Tripper time display may have a mismatch with actual time displayed in mobile device once the bluetooth connectivity is lost.
RE Mobile app works with bluetooth version 4.2 and N+ 1.0, for other lower versions performance lag can be expected.
Check for network signal strength in case of navigation lag.
Check for data speed in case of navigation lag, Navigation system performance is better in 4G band compared to other lower versions.
Calibrate mobile phones frequently for more GPS accuracy & location accuracy is dependent on.
NOTE
After every Ignition 'ON' cycle tripper will be in discoverable mode for 120 sec.
lncase there is no connection established within 120sec display will enter into clock mode to re-initiate connection Ignition 'OFF-ON' cycle to be repeated.
During navigation mode if there is no input from smartphone for 5 sec bluetooth connection will be terminated to avoid power draw and will display clock.
Bluetooth connection can be terminated by end user also by closing the mobile application.
For first time pairing user needs to enter the secured pin shown on tripper through RE Mobile app to setup the device, after that auto-pairing will happen if same device is connected.
Everytime the tripper is paired the clock time will sync with mobile time after which it will continue to run with internal clock even in case of disconnection, there will be time difference between time shown on instrument cluster and tripper - customer needs to update cluster clock Inline with time shown on tripper as and when required as mentioned in push button management of cluster.
Do not apply or use gasoline/ petrol related fluids for cleaning or wiping on instrument cluster or Tripper as it will result in permanent damage to the same
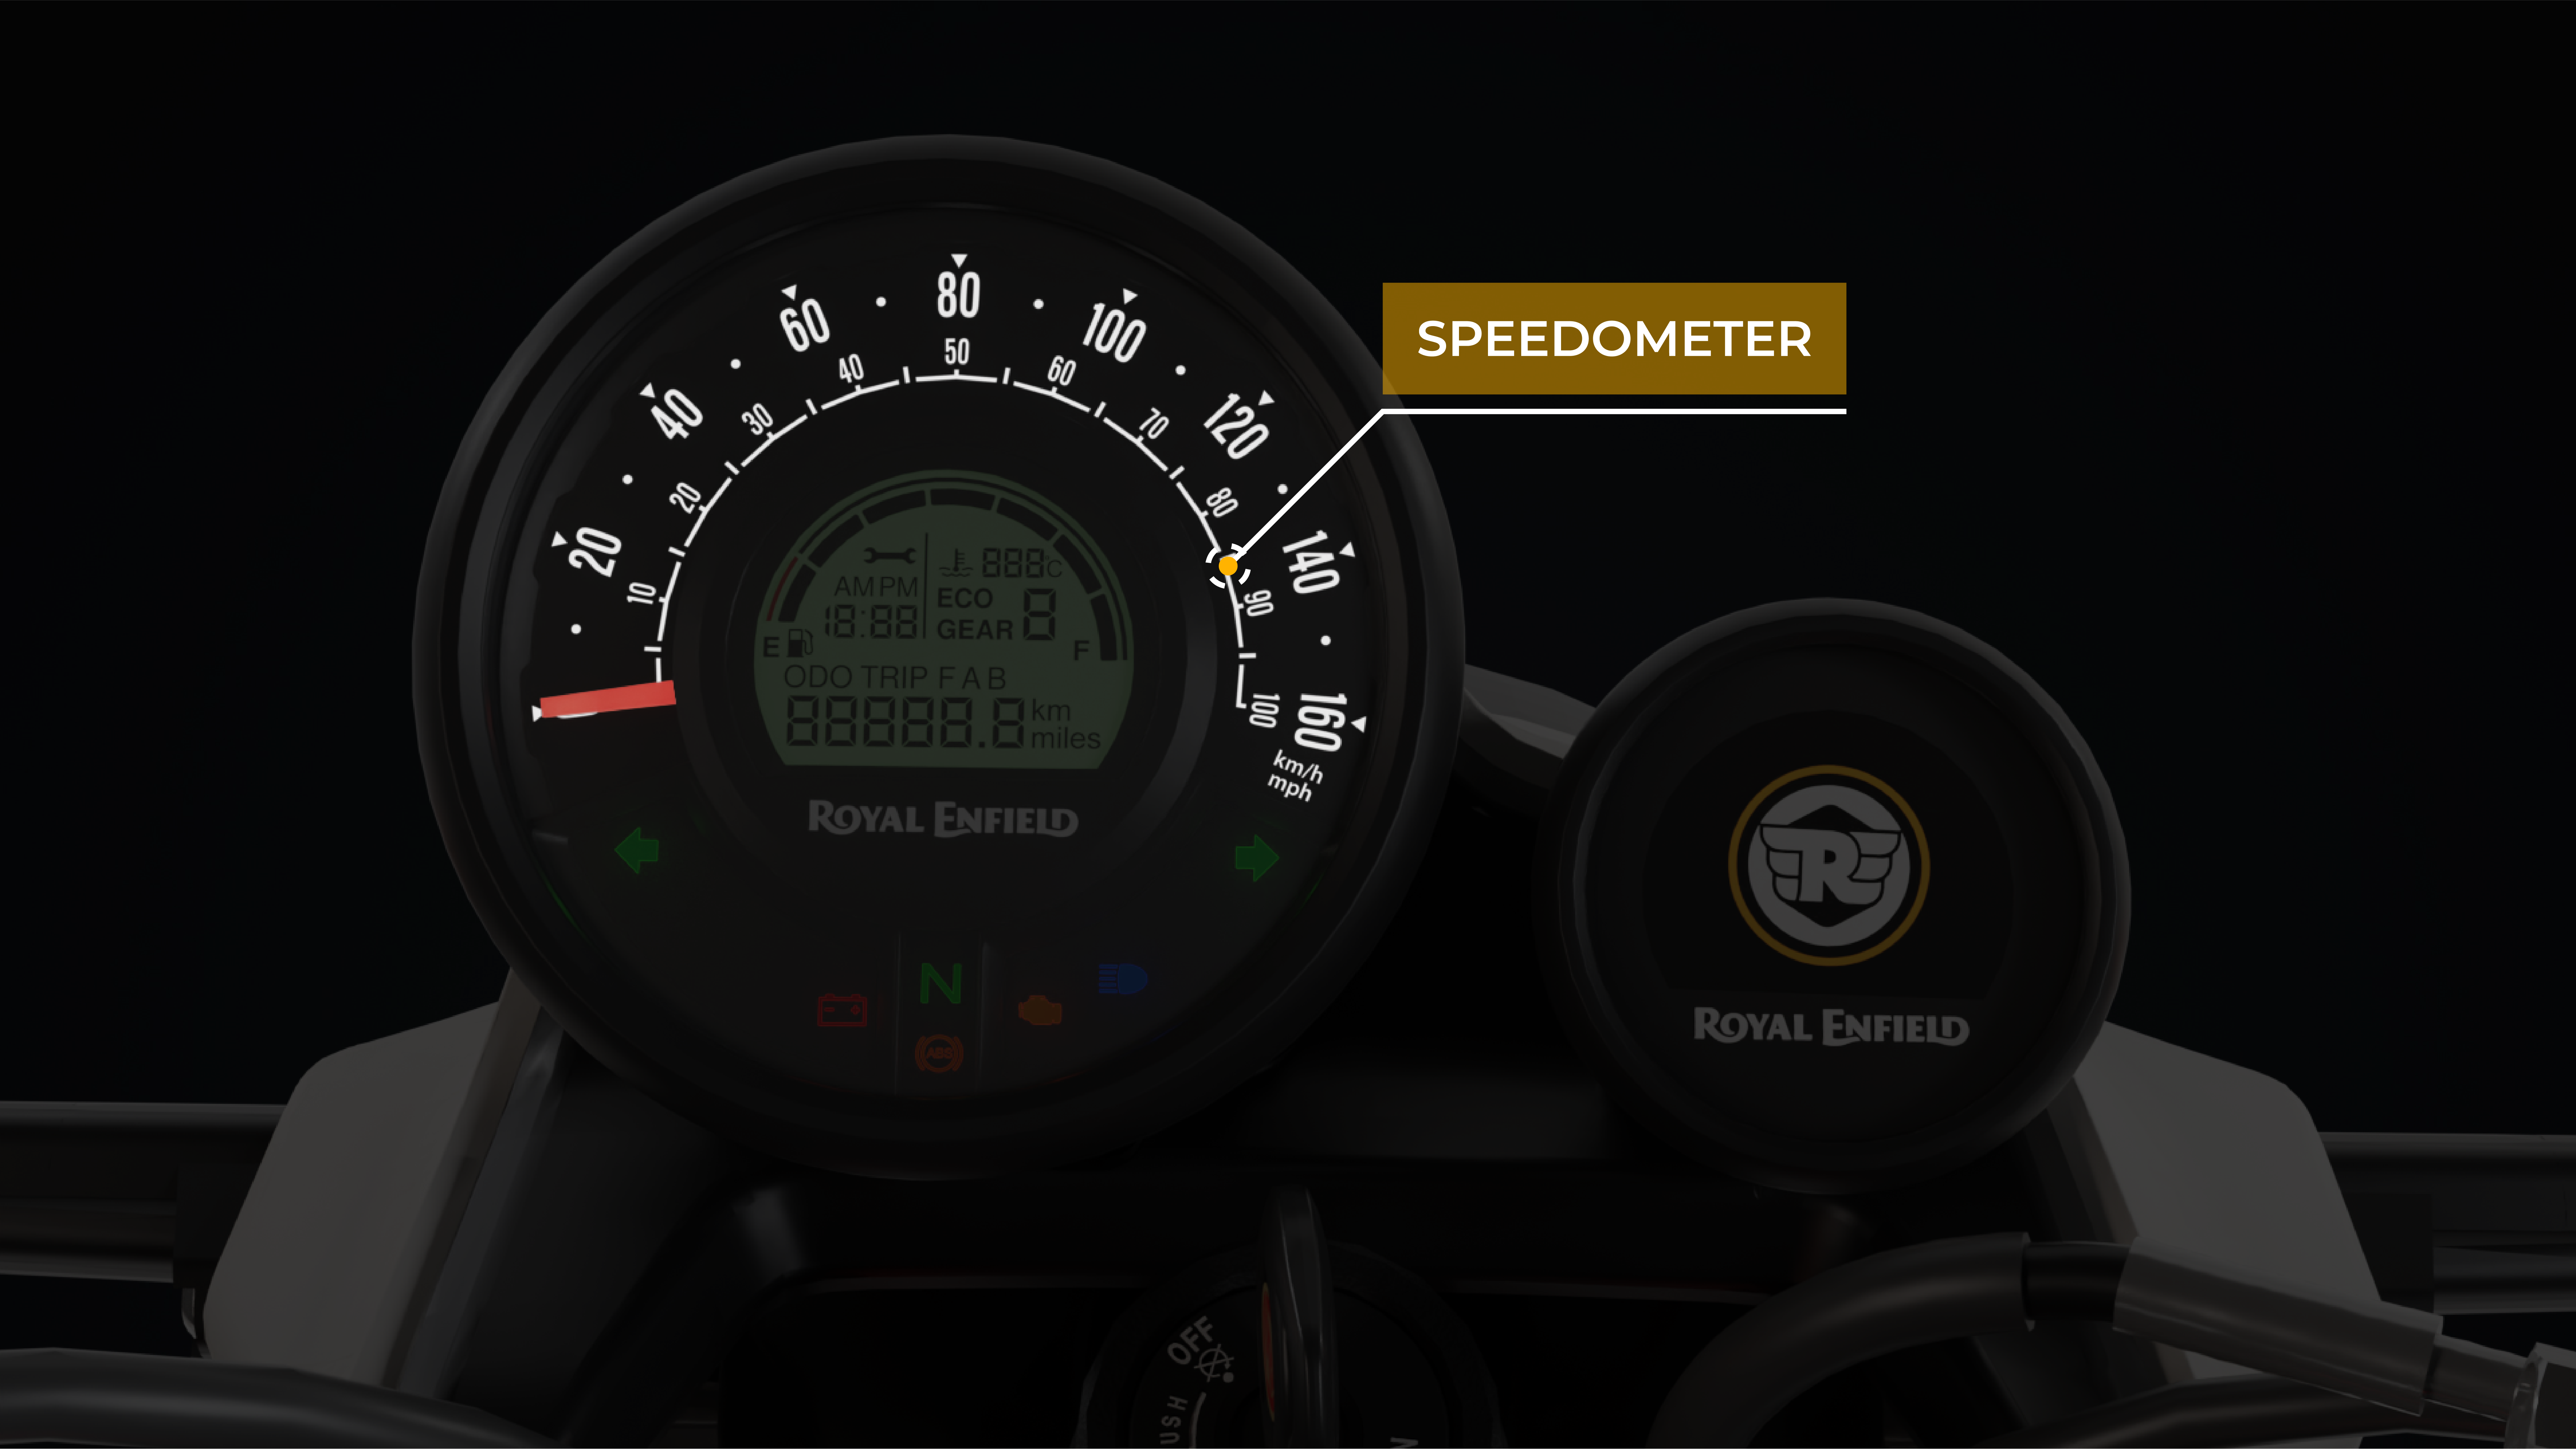
ANALOG SPEEDOMETRE
Click here to view image
Share link
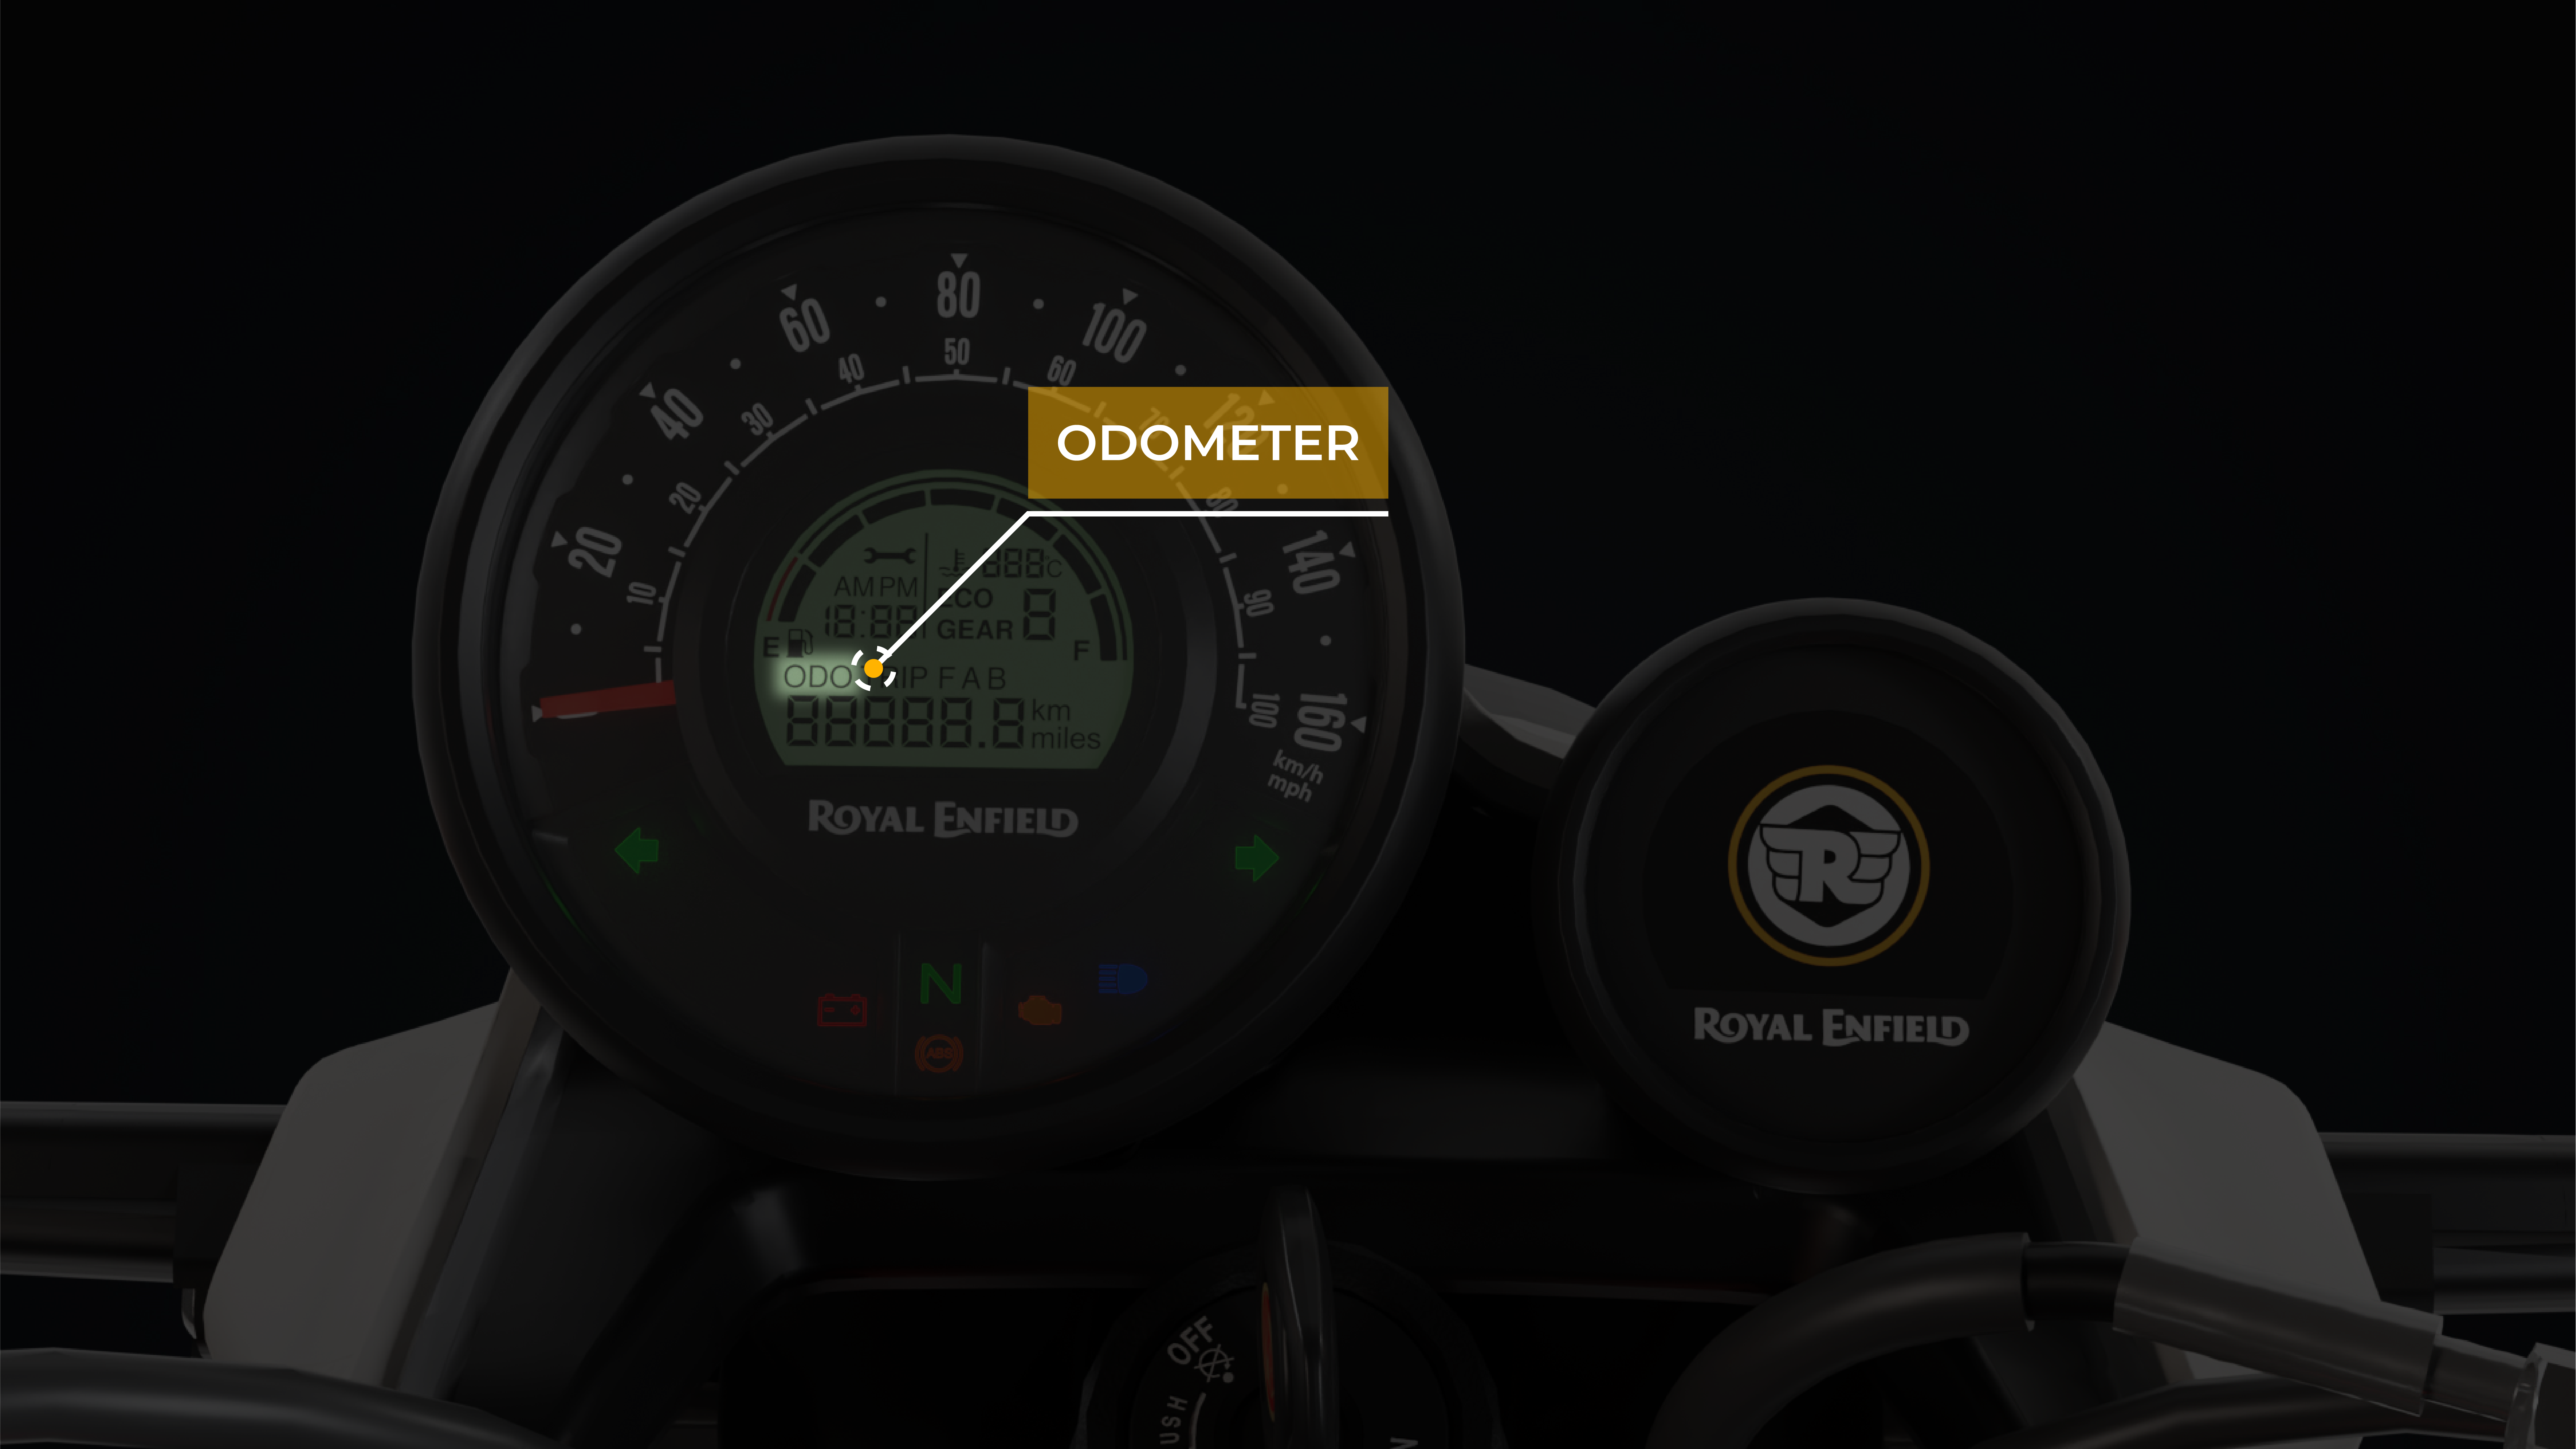
ODOMETER
Displays the cumulative kilometers the vehicle has covered.
Click here to view image
Share link
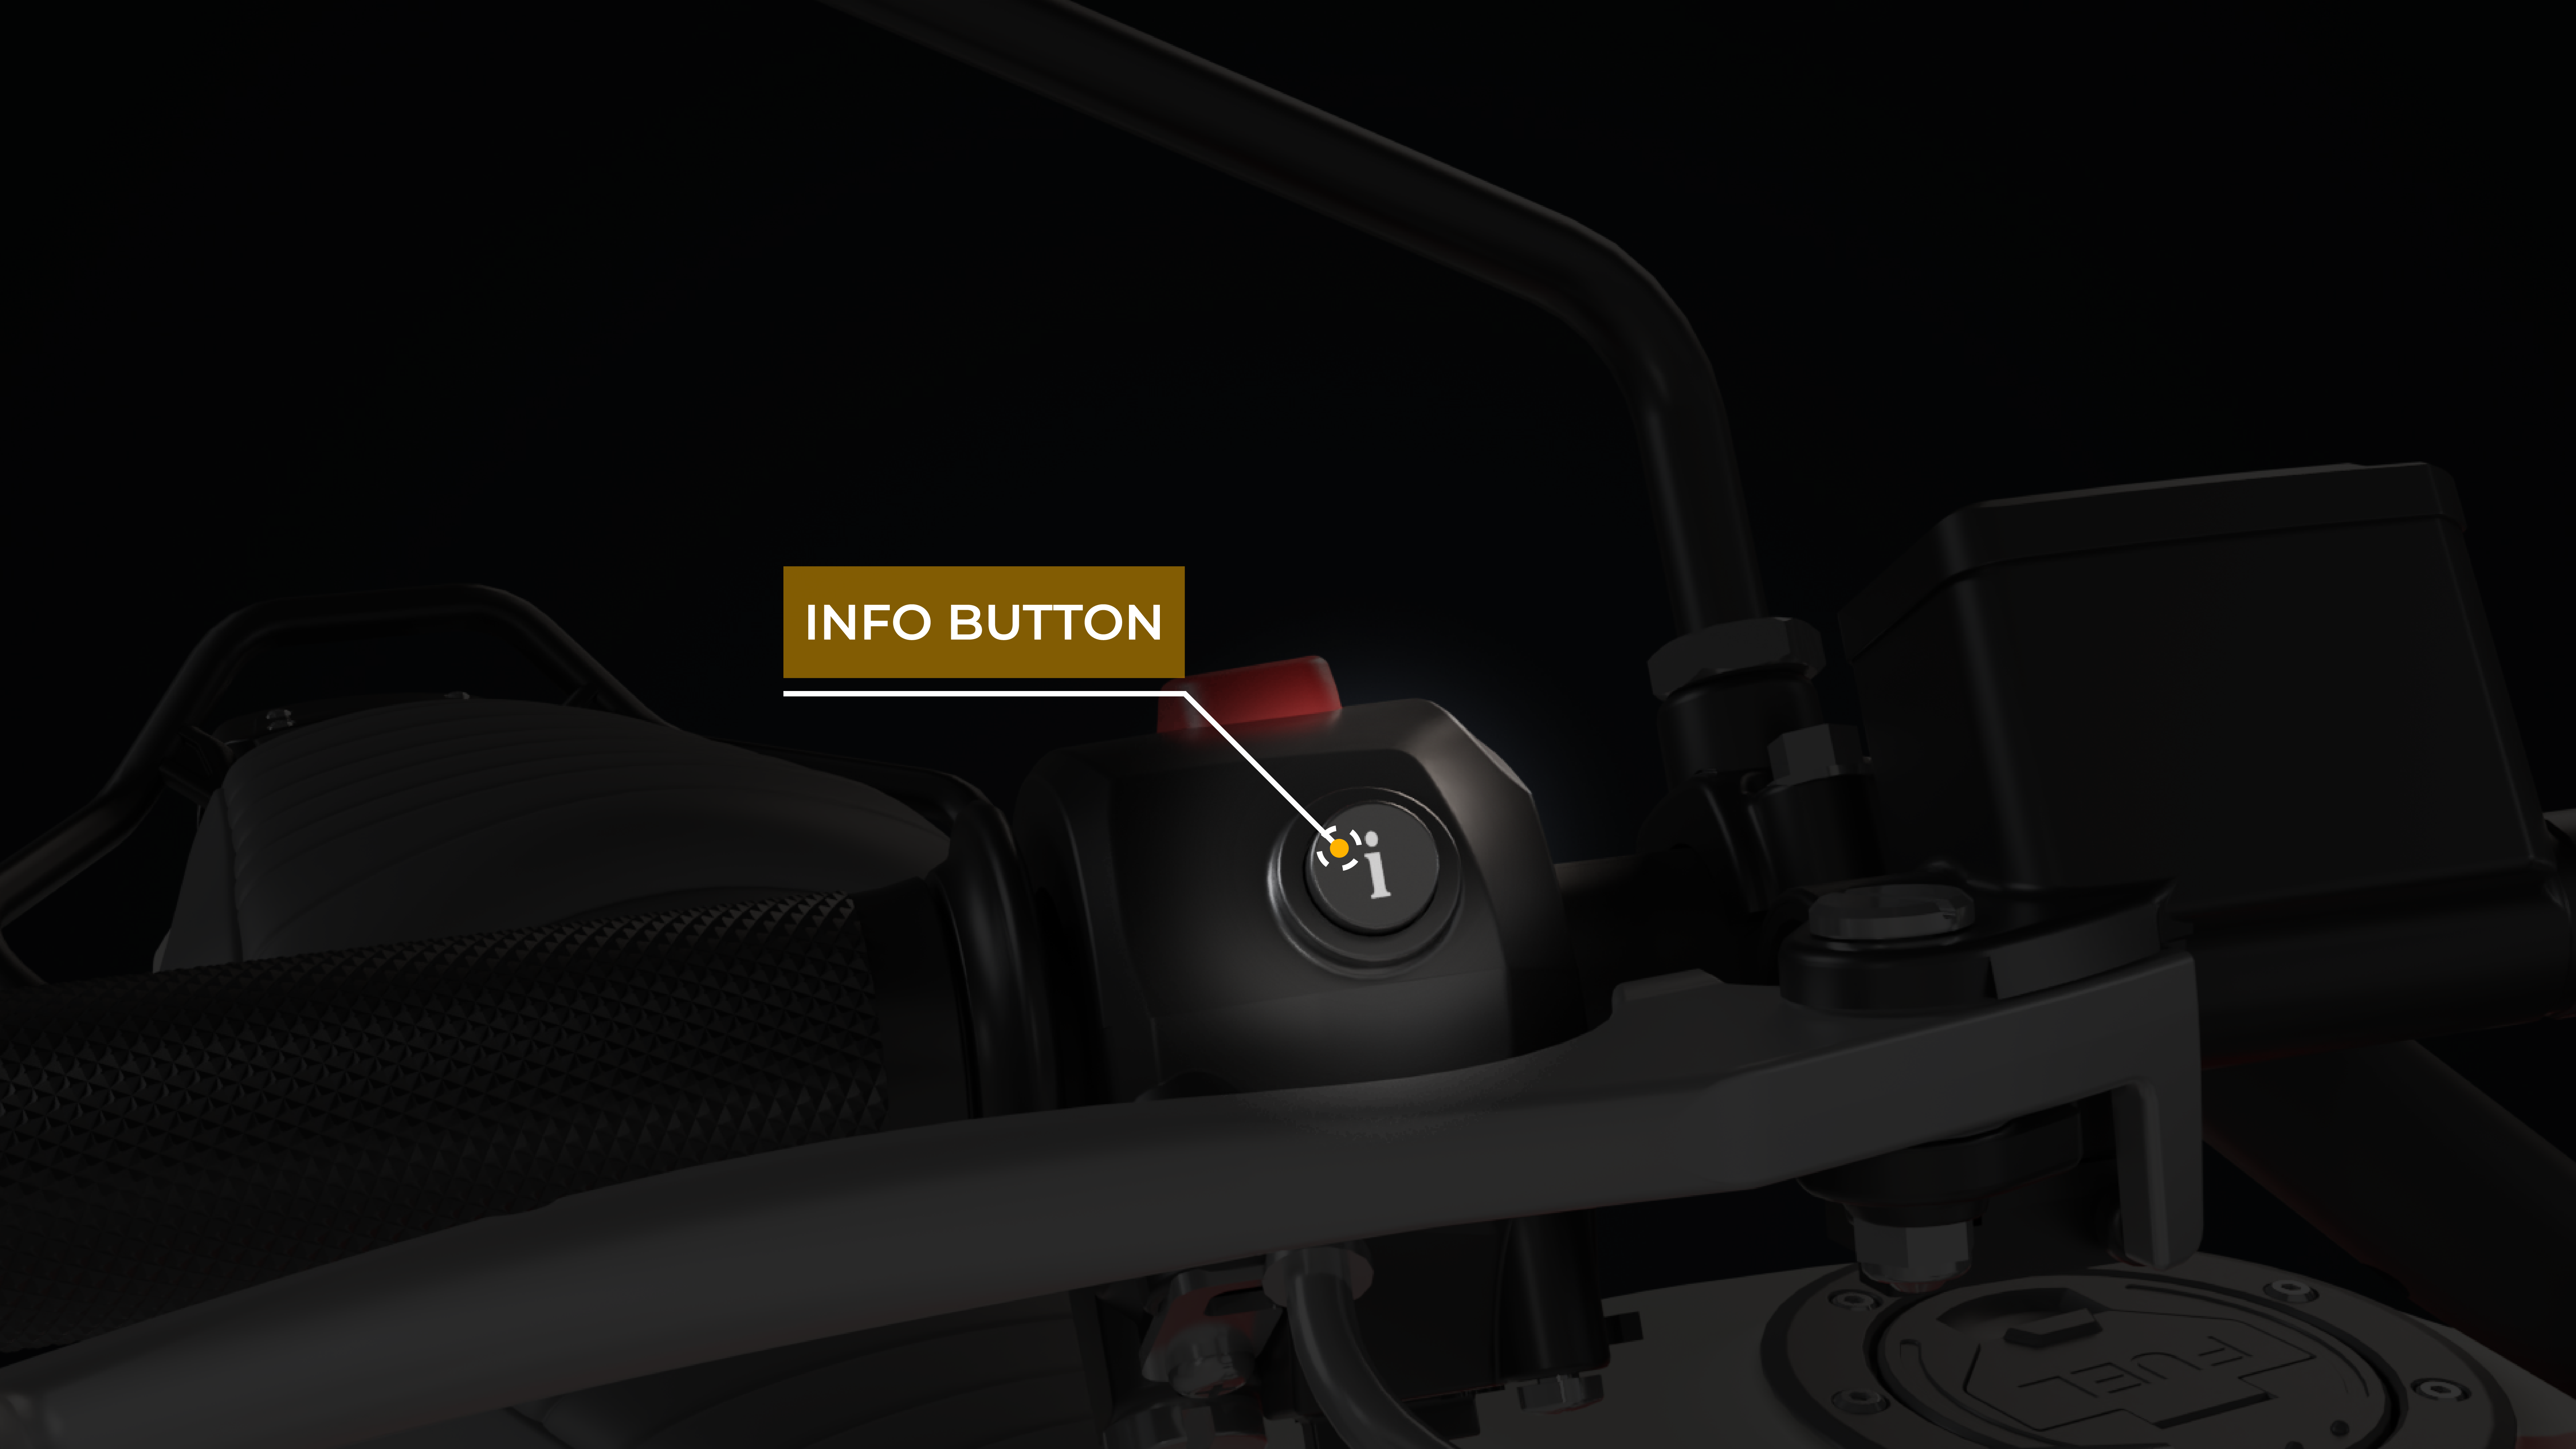
INFO BUTTON MANAGEMENT DETAILS
Press this button to select TRIP A/B, Clock settings and TRIP A/B reset in the Cluster.
Click here to view image
Share link
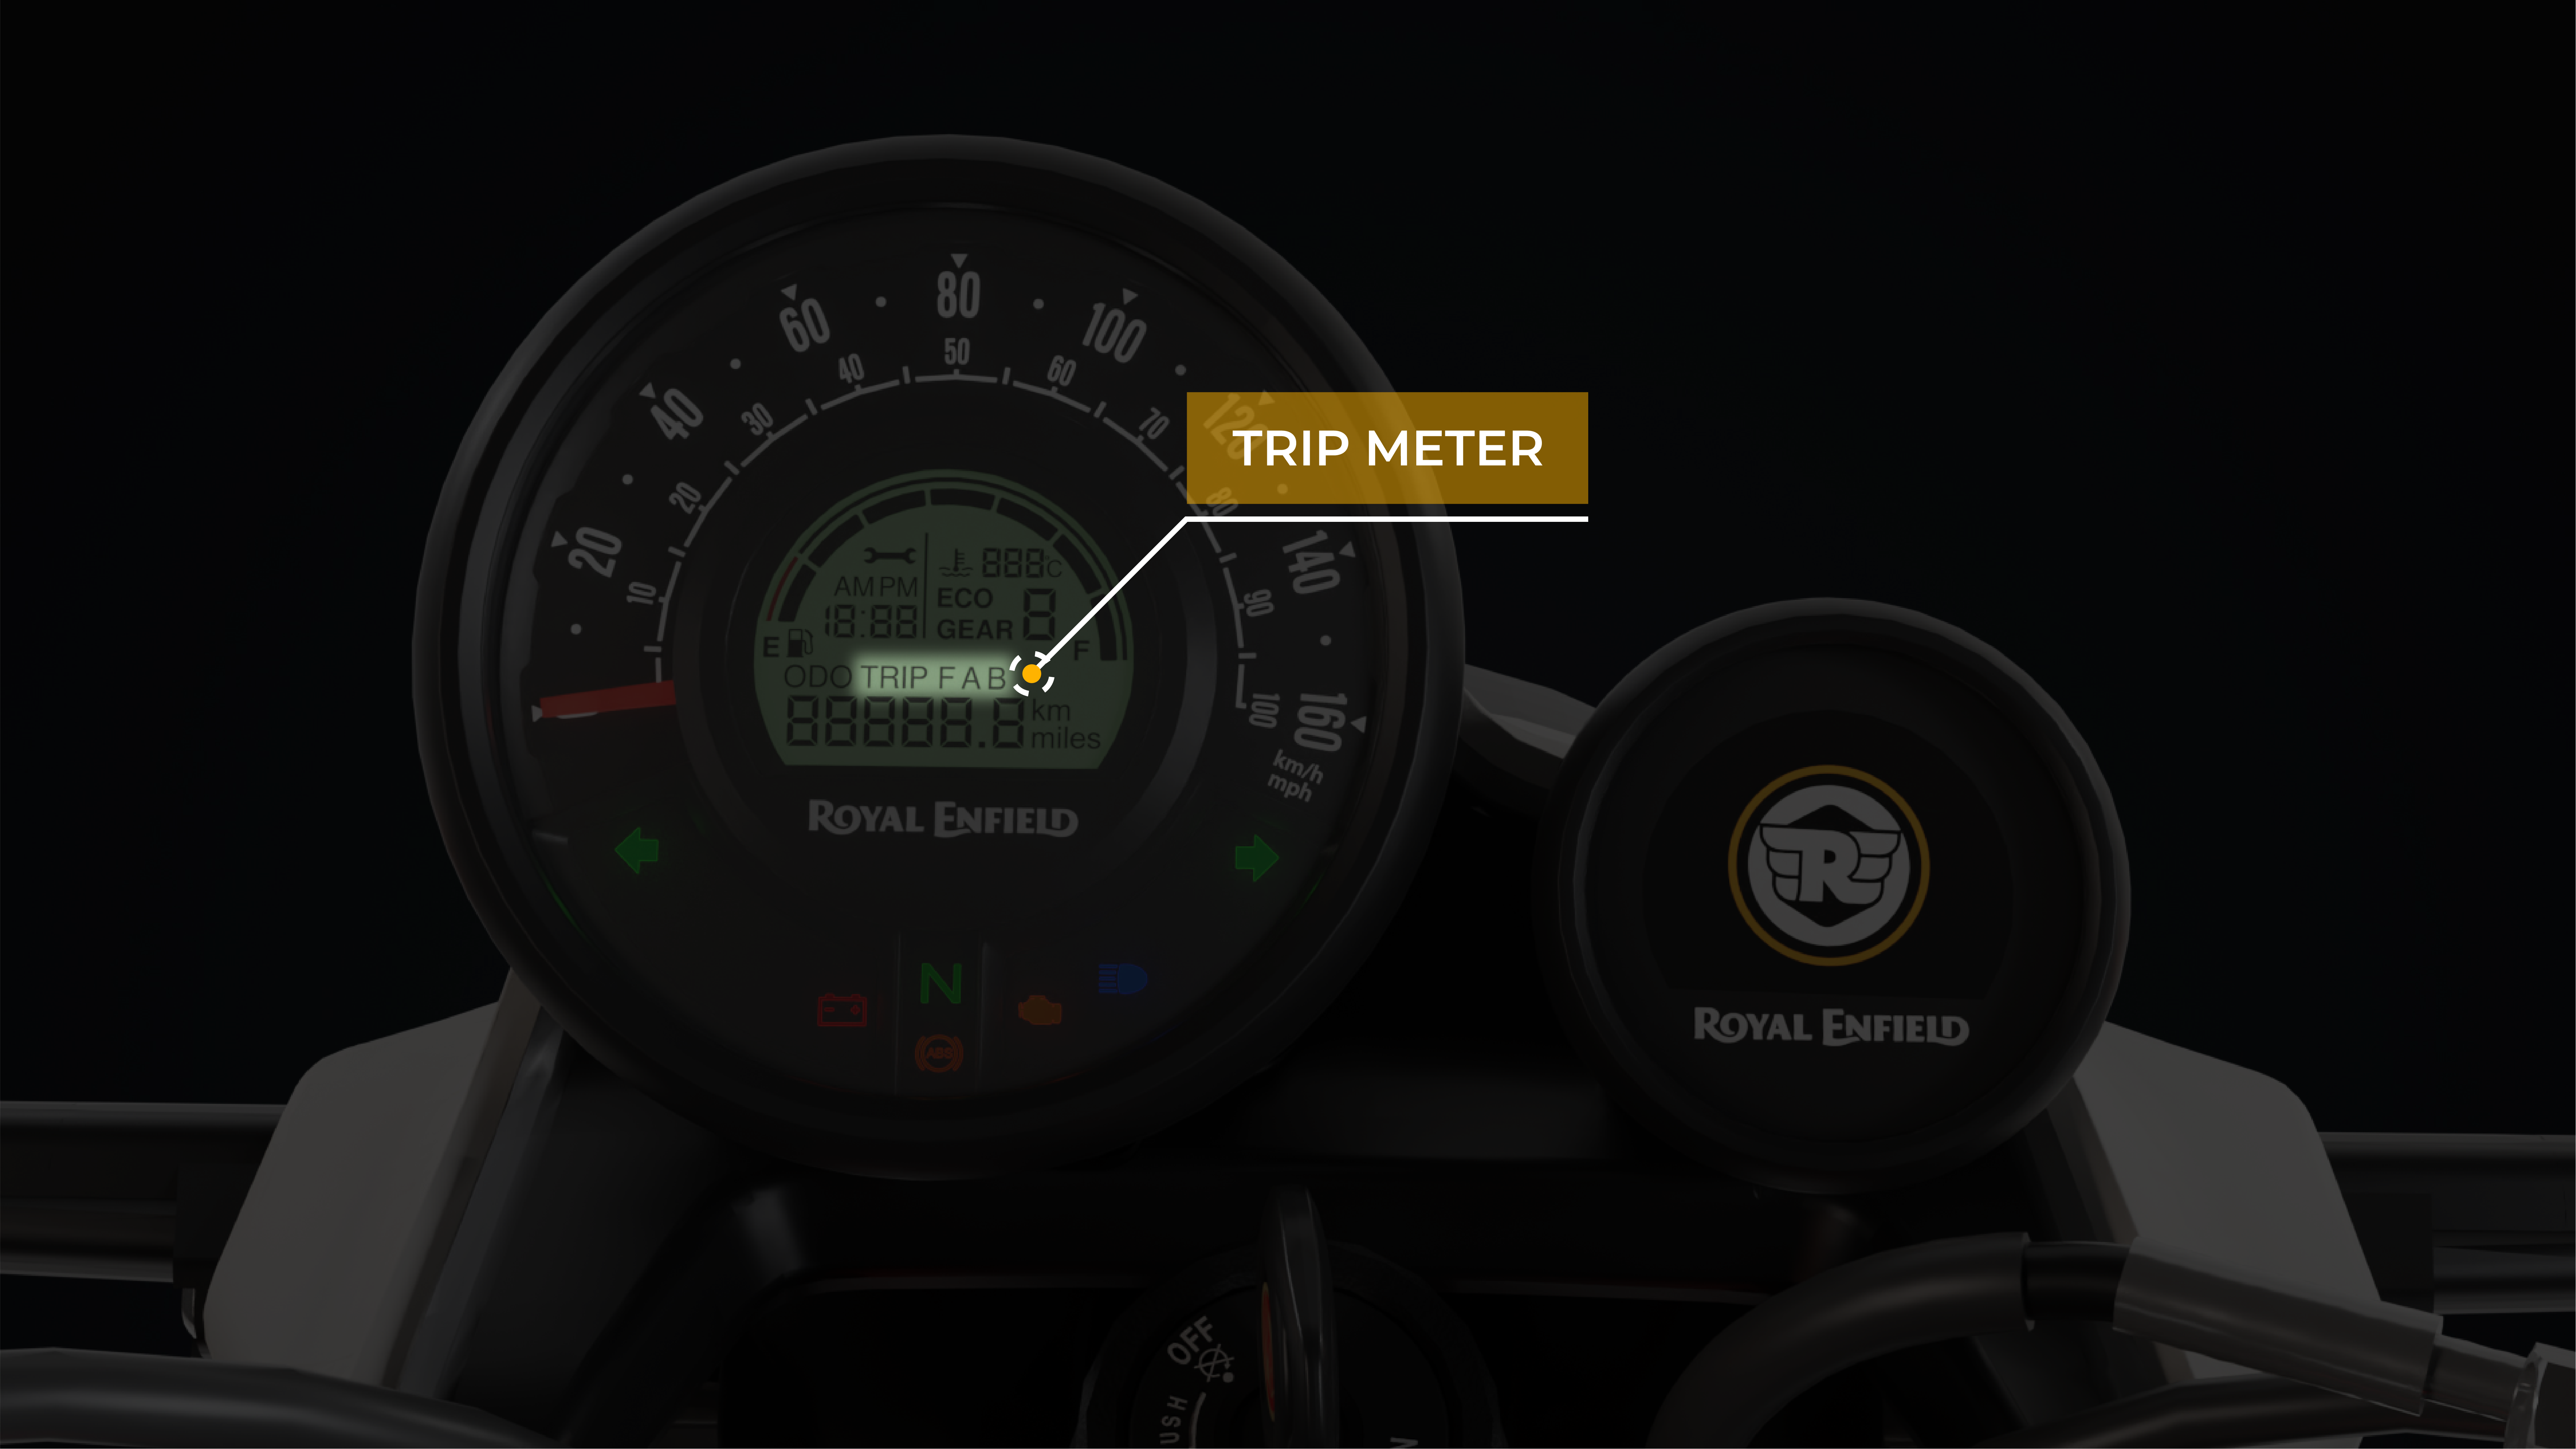
TRIP METER A AND B
Click here to view image
Share link
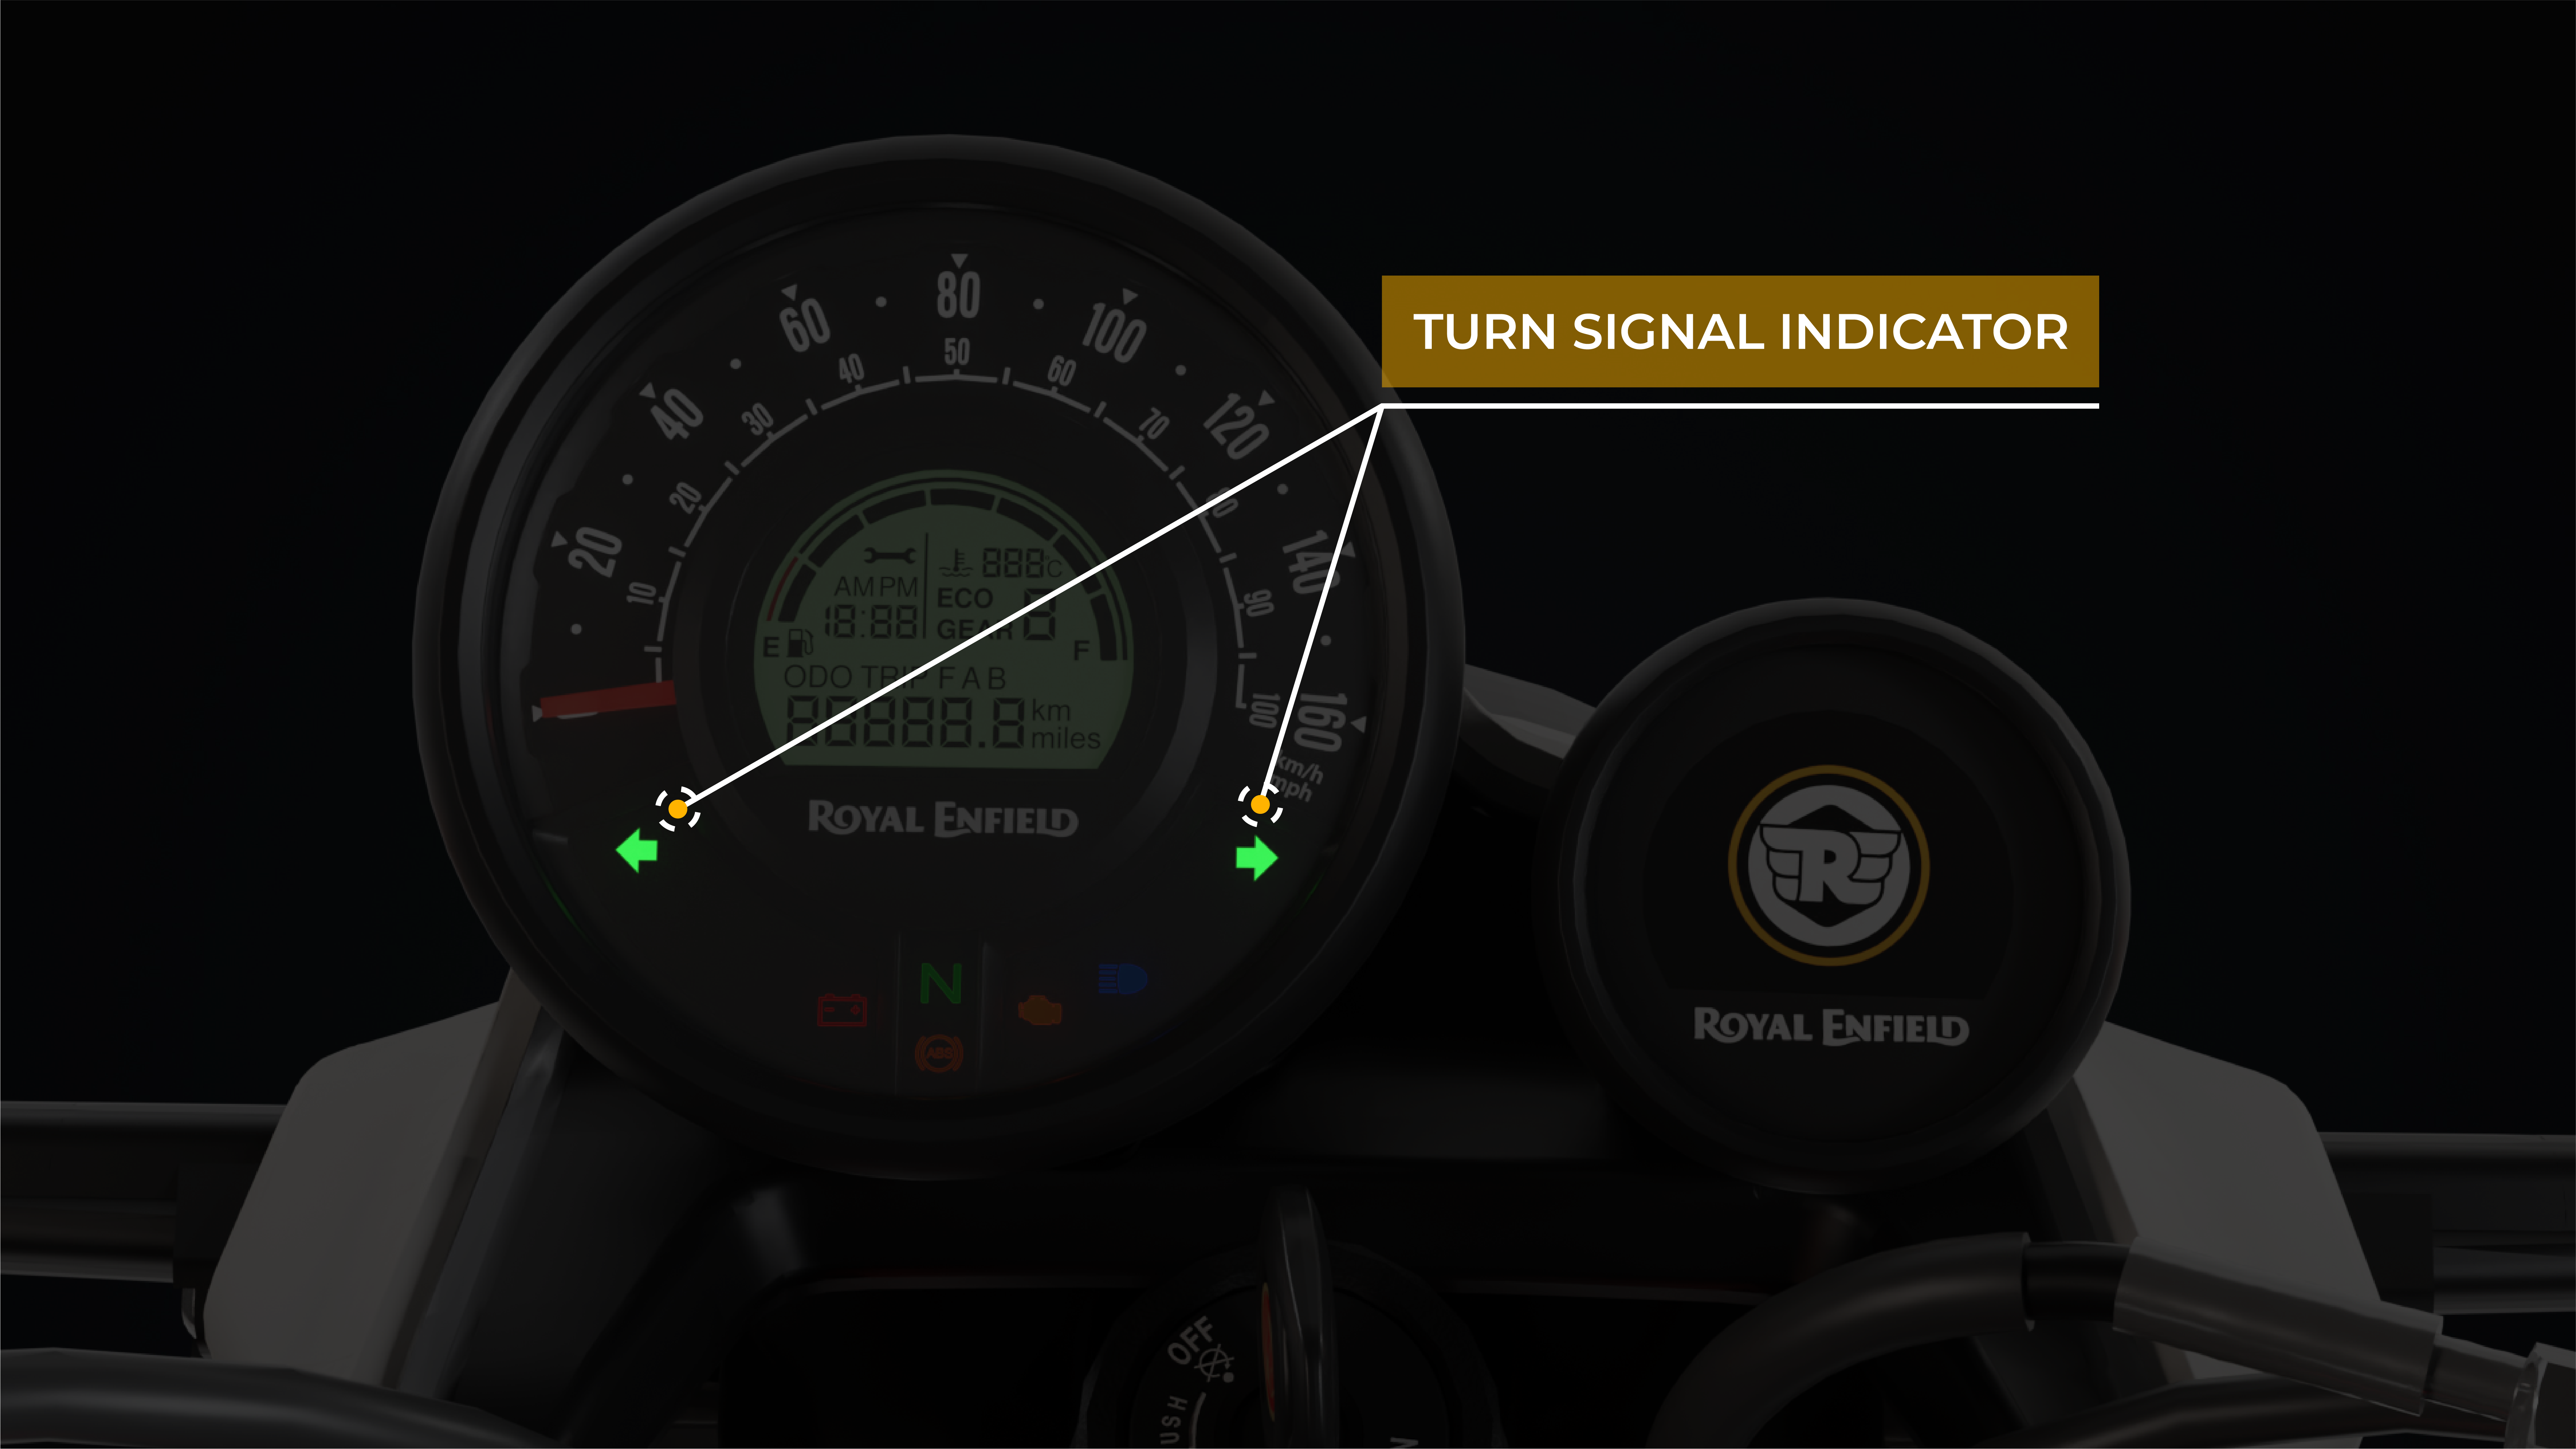
TURN SIGNAL SWITCH
⇦ Left turn signal 'ON'
⇧ “OFF” (Push to cancel)
⇨ Right turn signal “ON”
Click here to view image
Share link
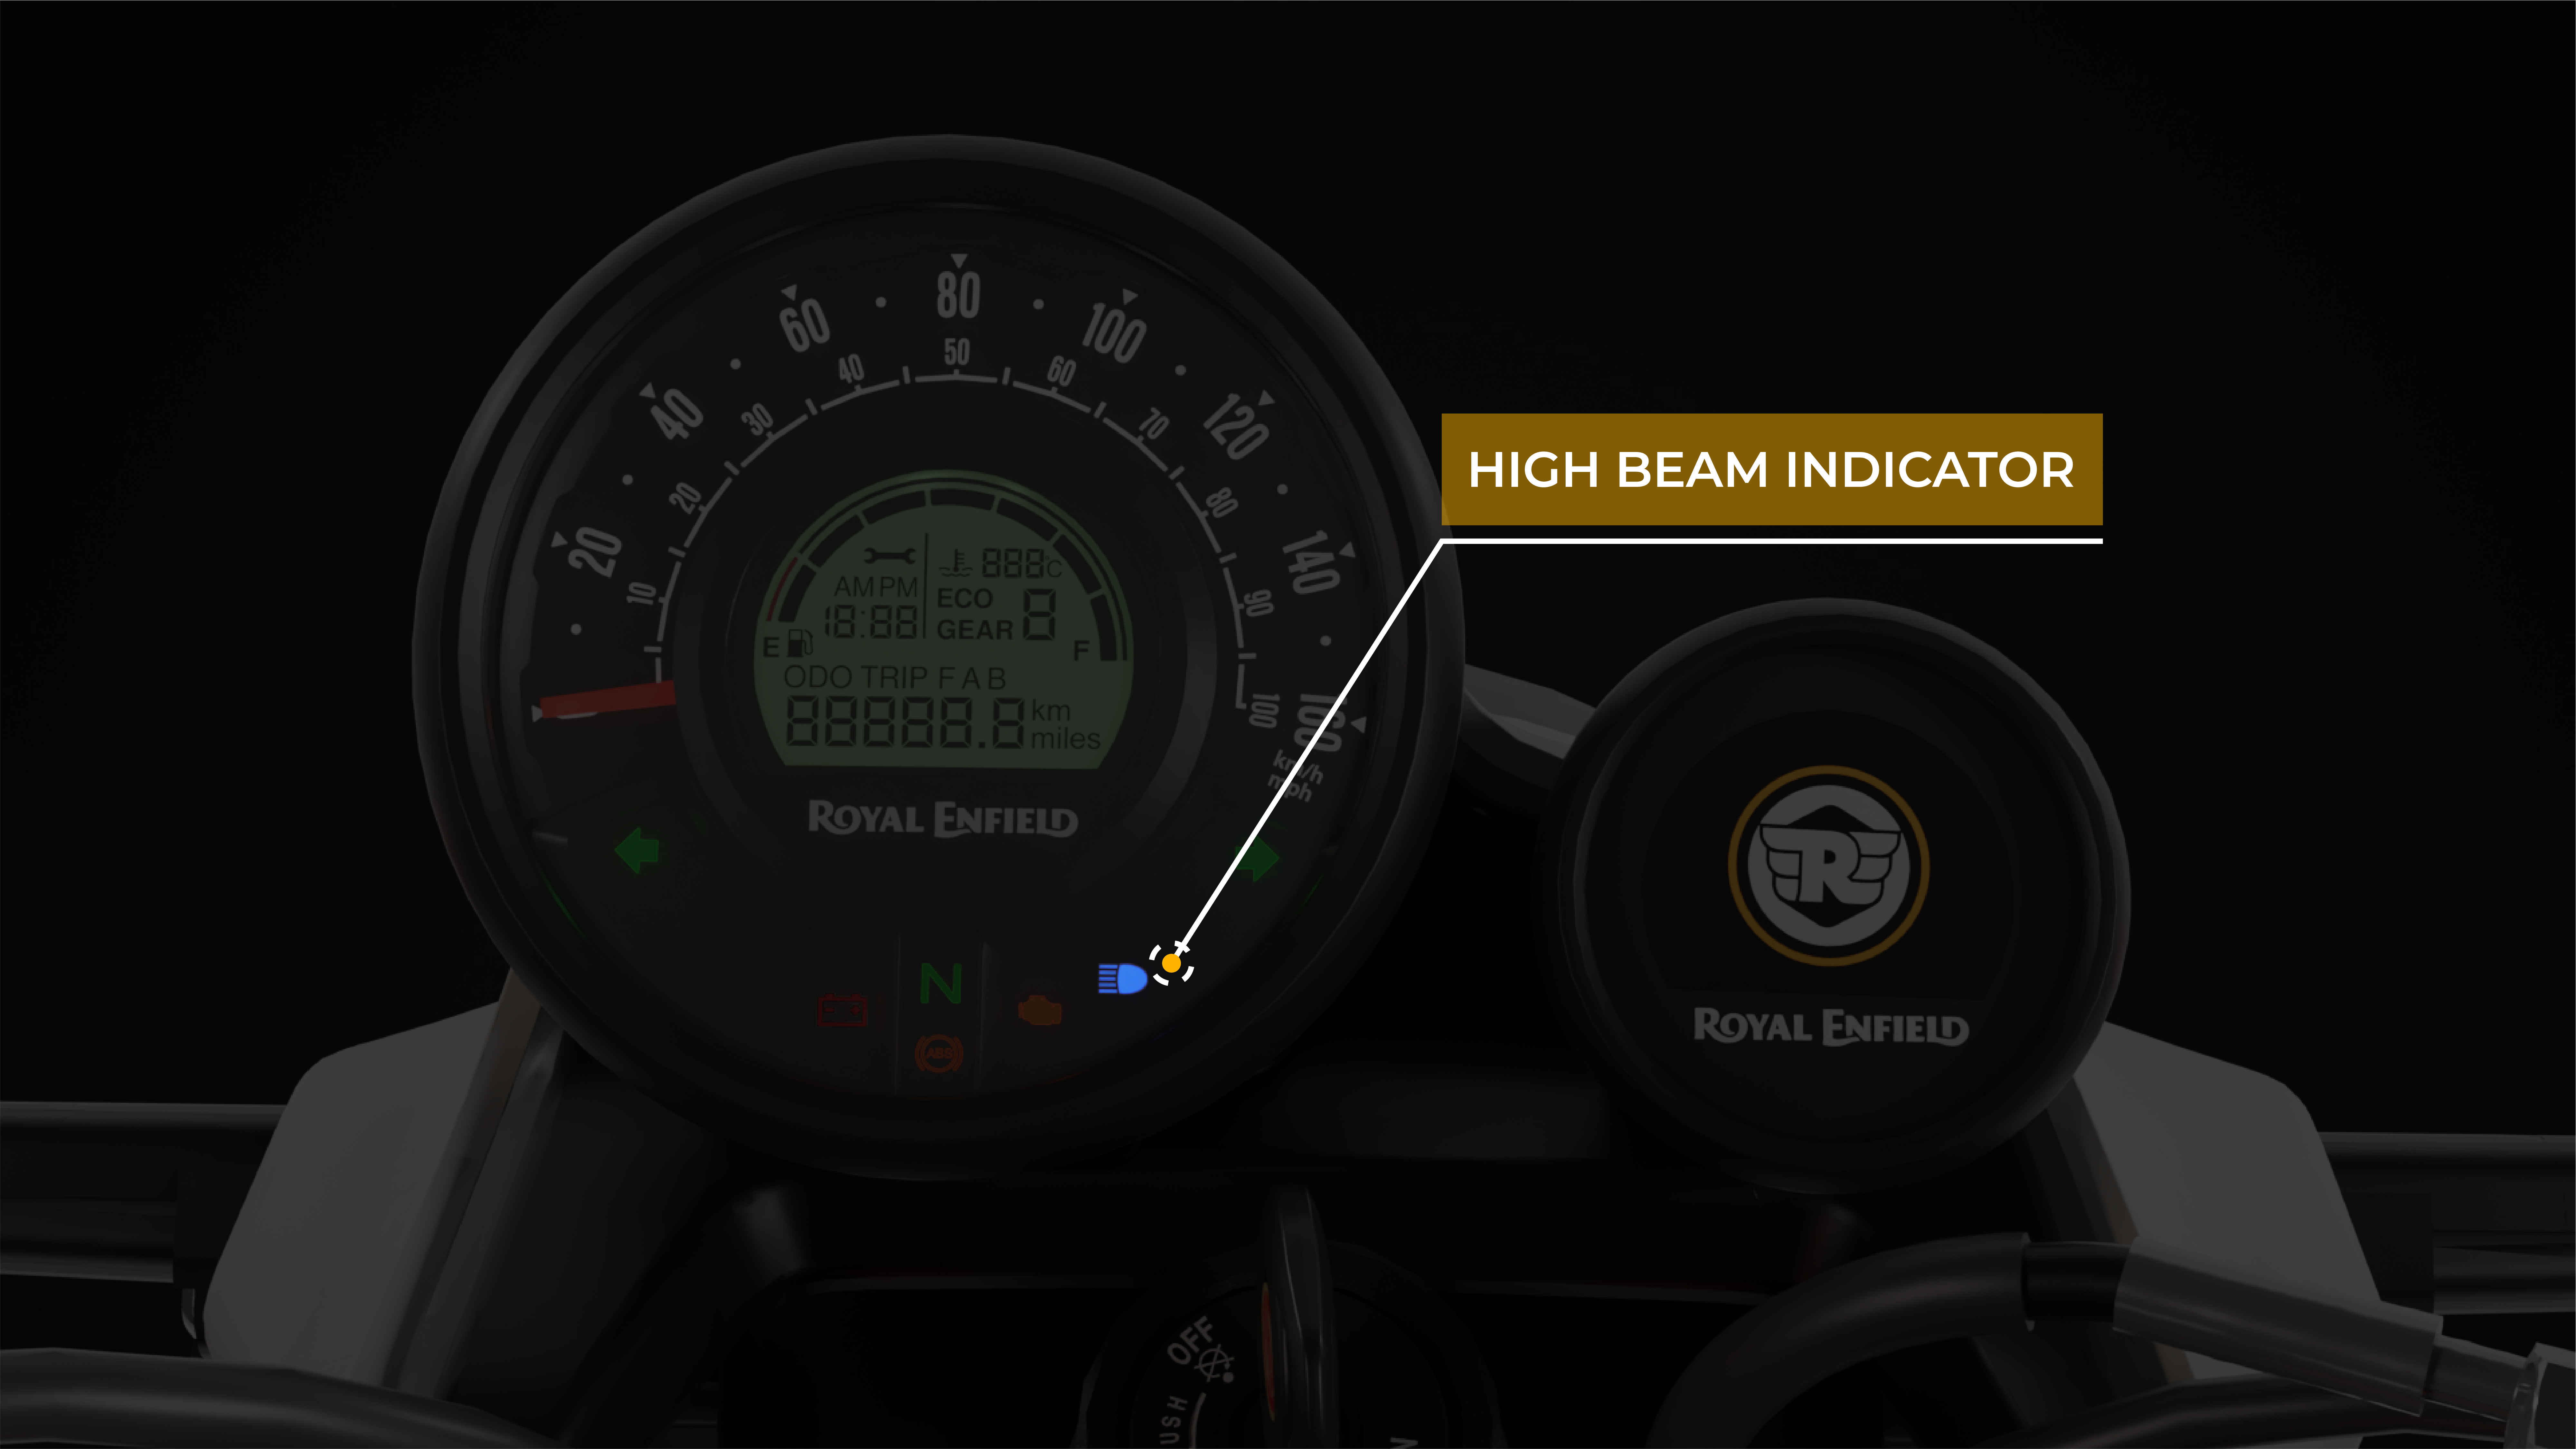
HI BEAM INDICATOR
Click here to view image
Share link
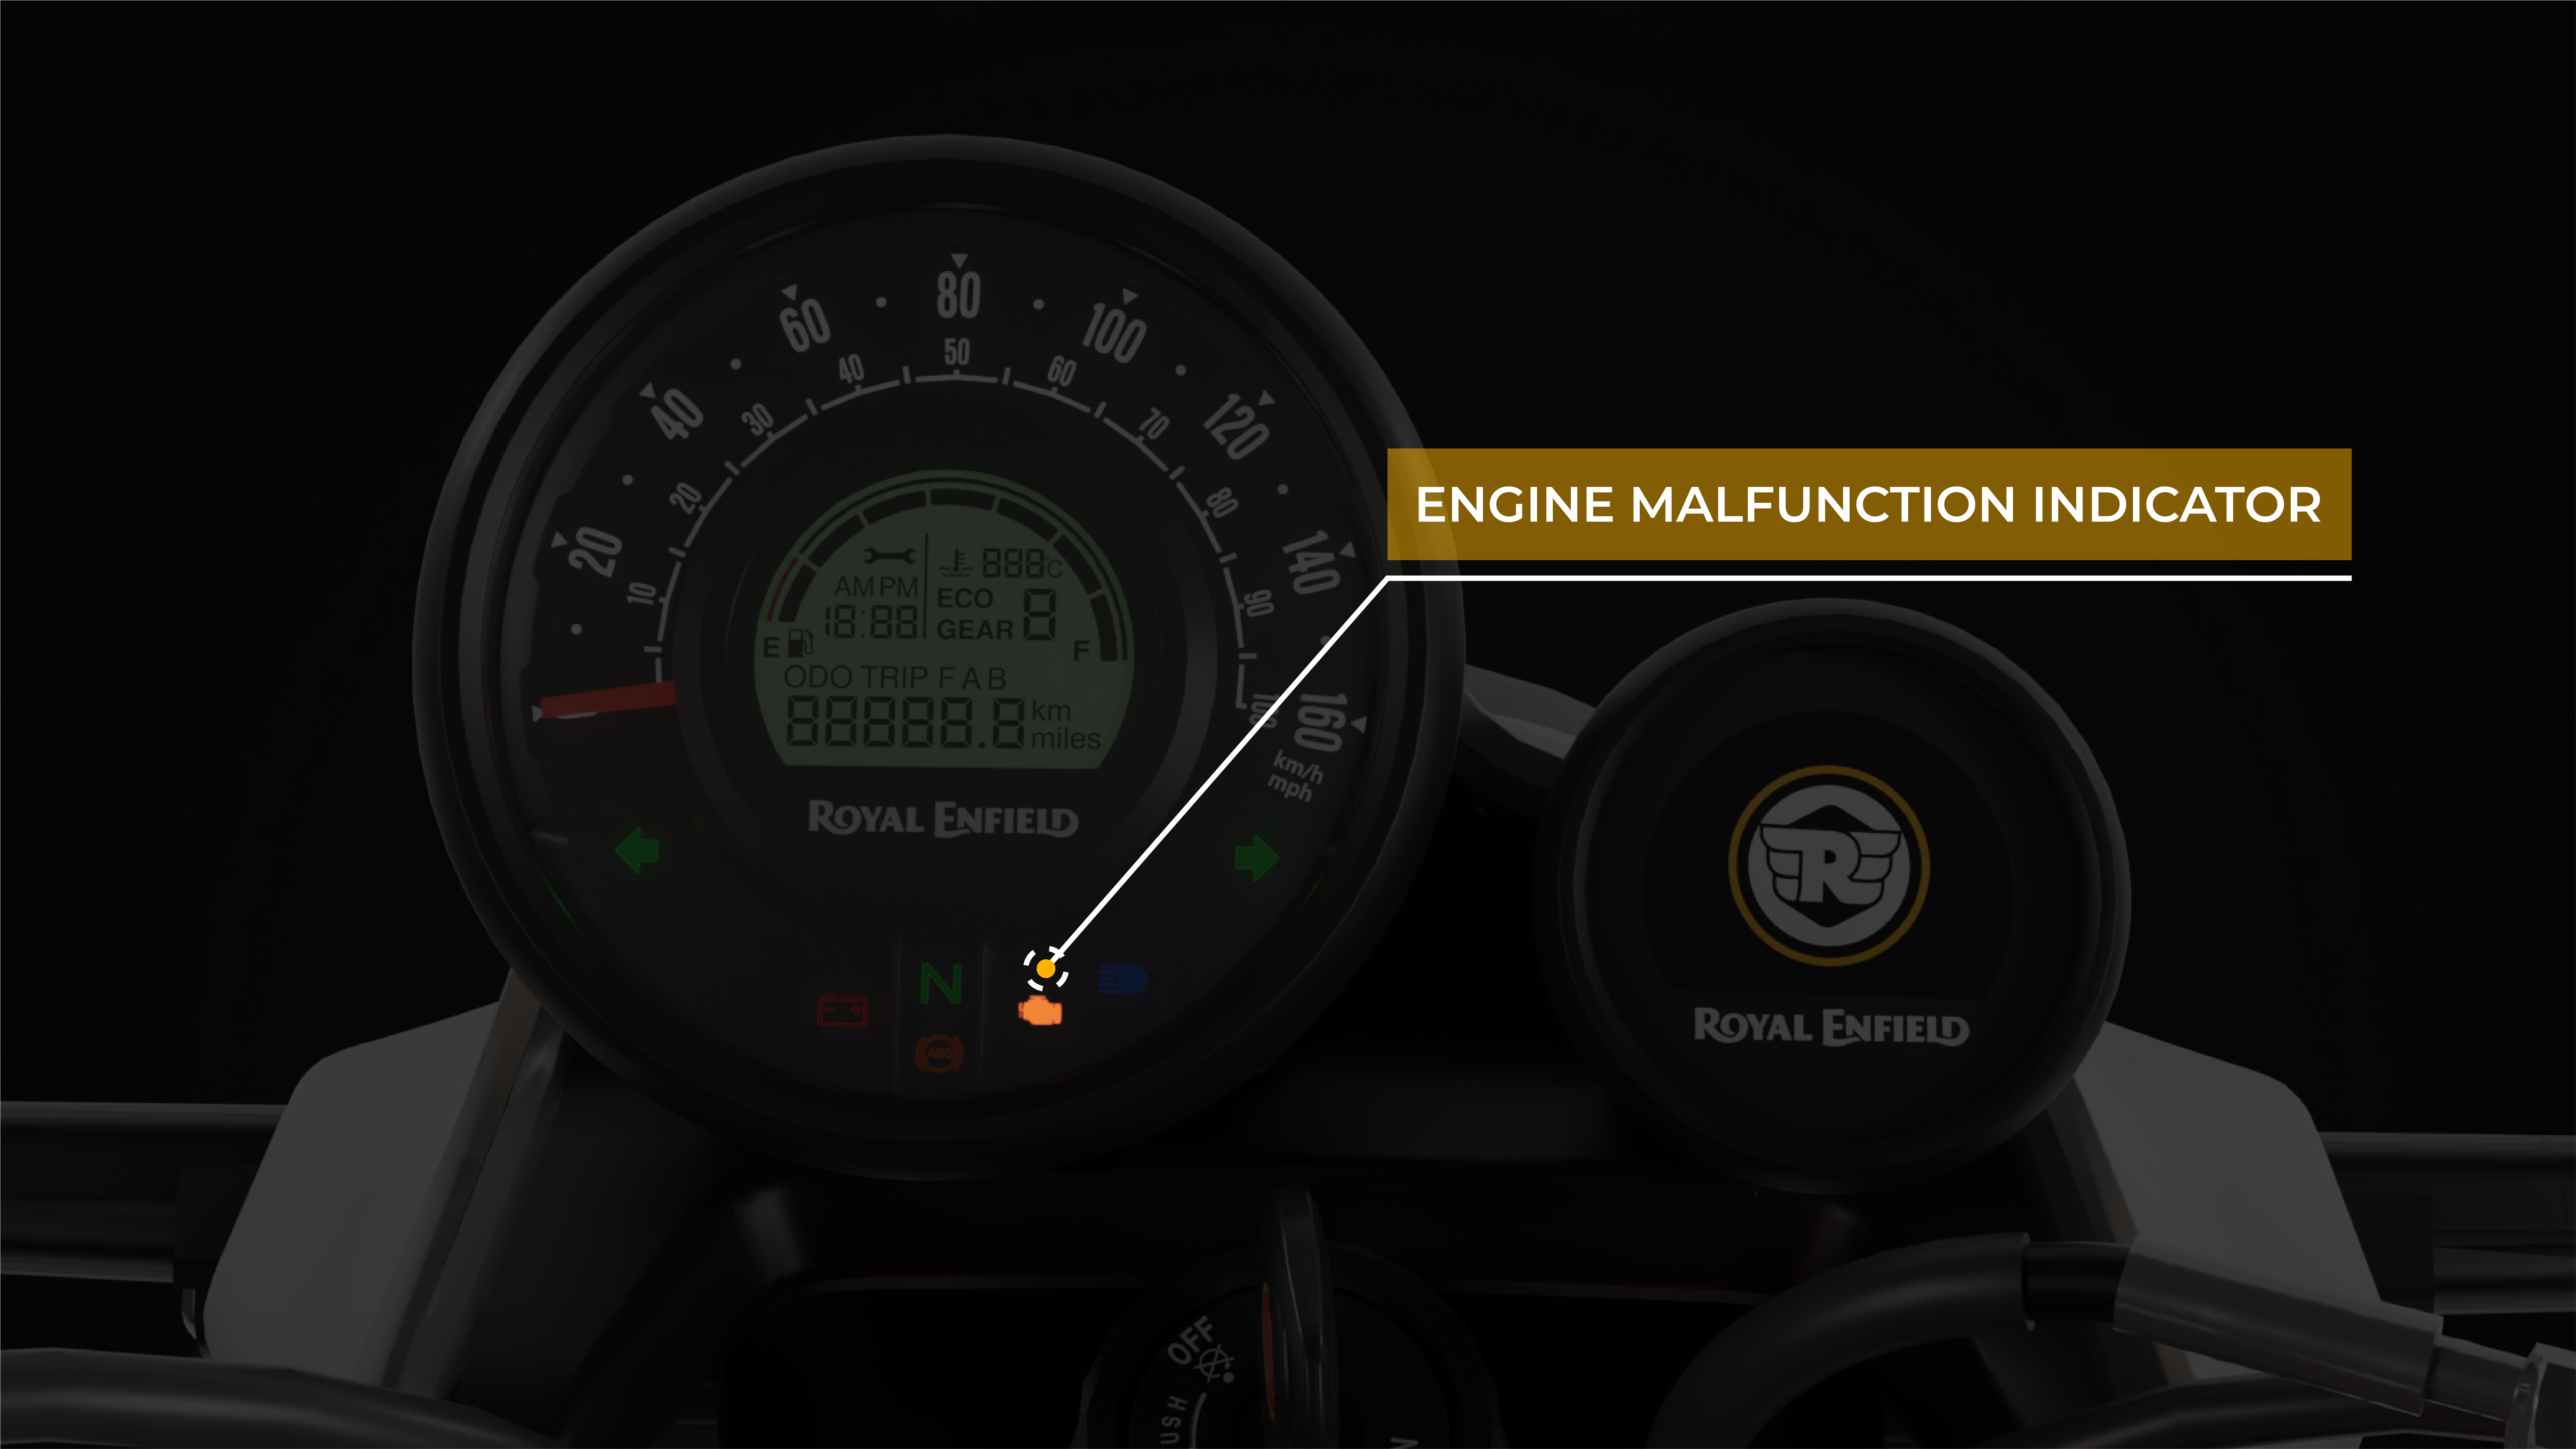
ENGINE MALFUNCTION INDICATOR LAMP
A Malfunctioning indicator lamp (MIL) is provided in the cluster. When both the Ignition & Engine kill switch is 'ON' and after vehicle is started, the MIL will glow for few seconds and switch 'OFF', this indicates that all the functions of Electronic fuel injection (EFI) system is functioning normally.
In the event of any malfunction in the EFI System the MIL will glow continuously. It is recommended to take the motorcycle to a nearest Royal Enfield Authorized service station for a detailed inspection and correction of the EFI system.
Click here to view image
Share link
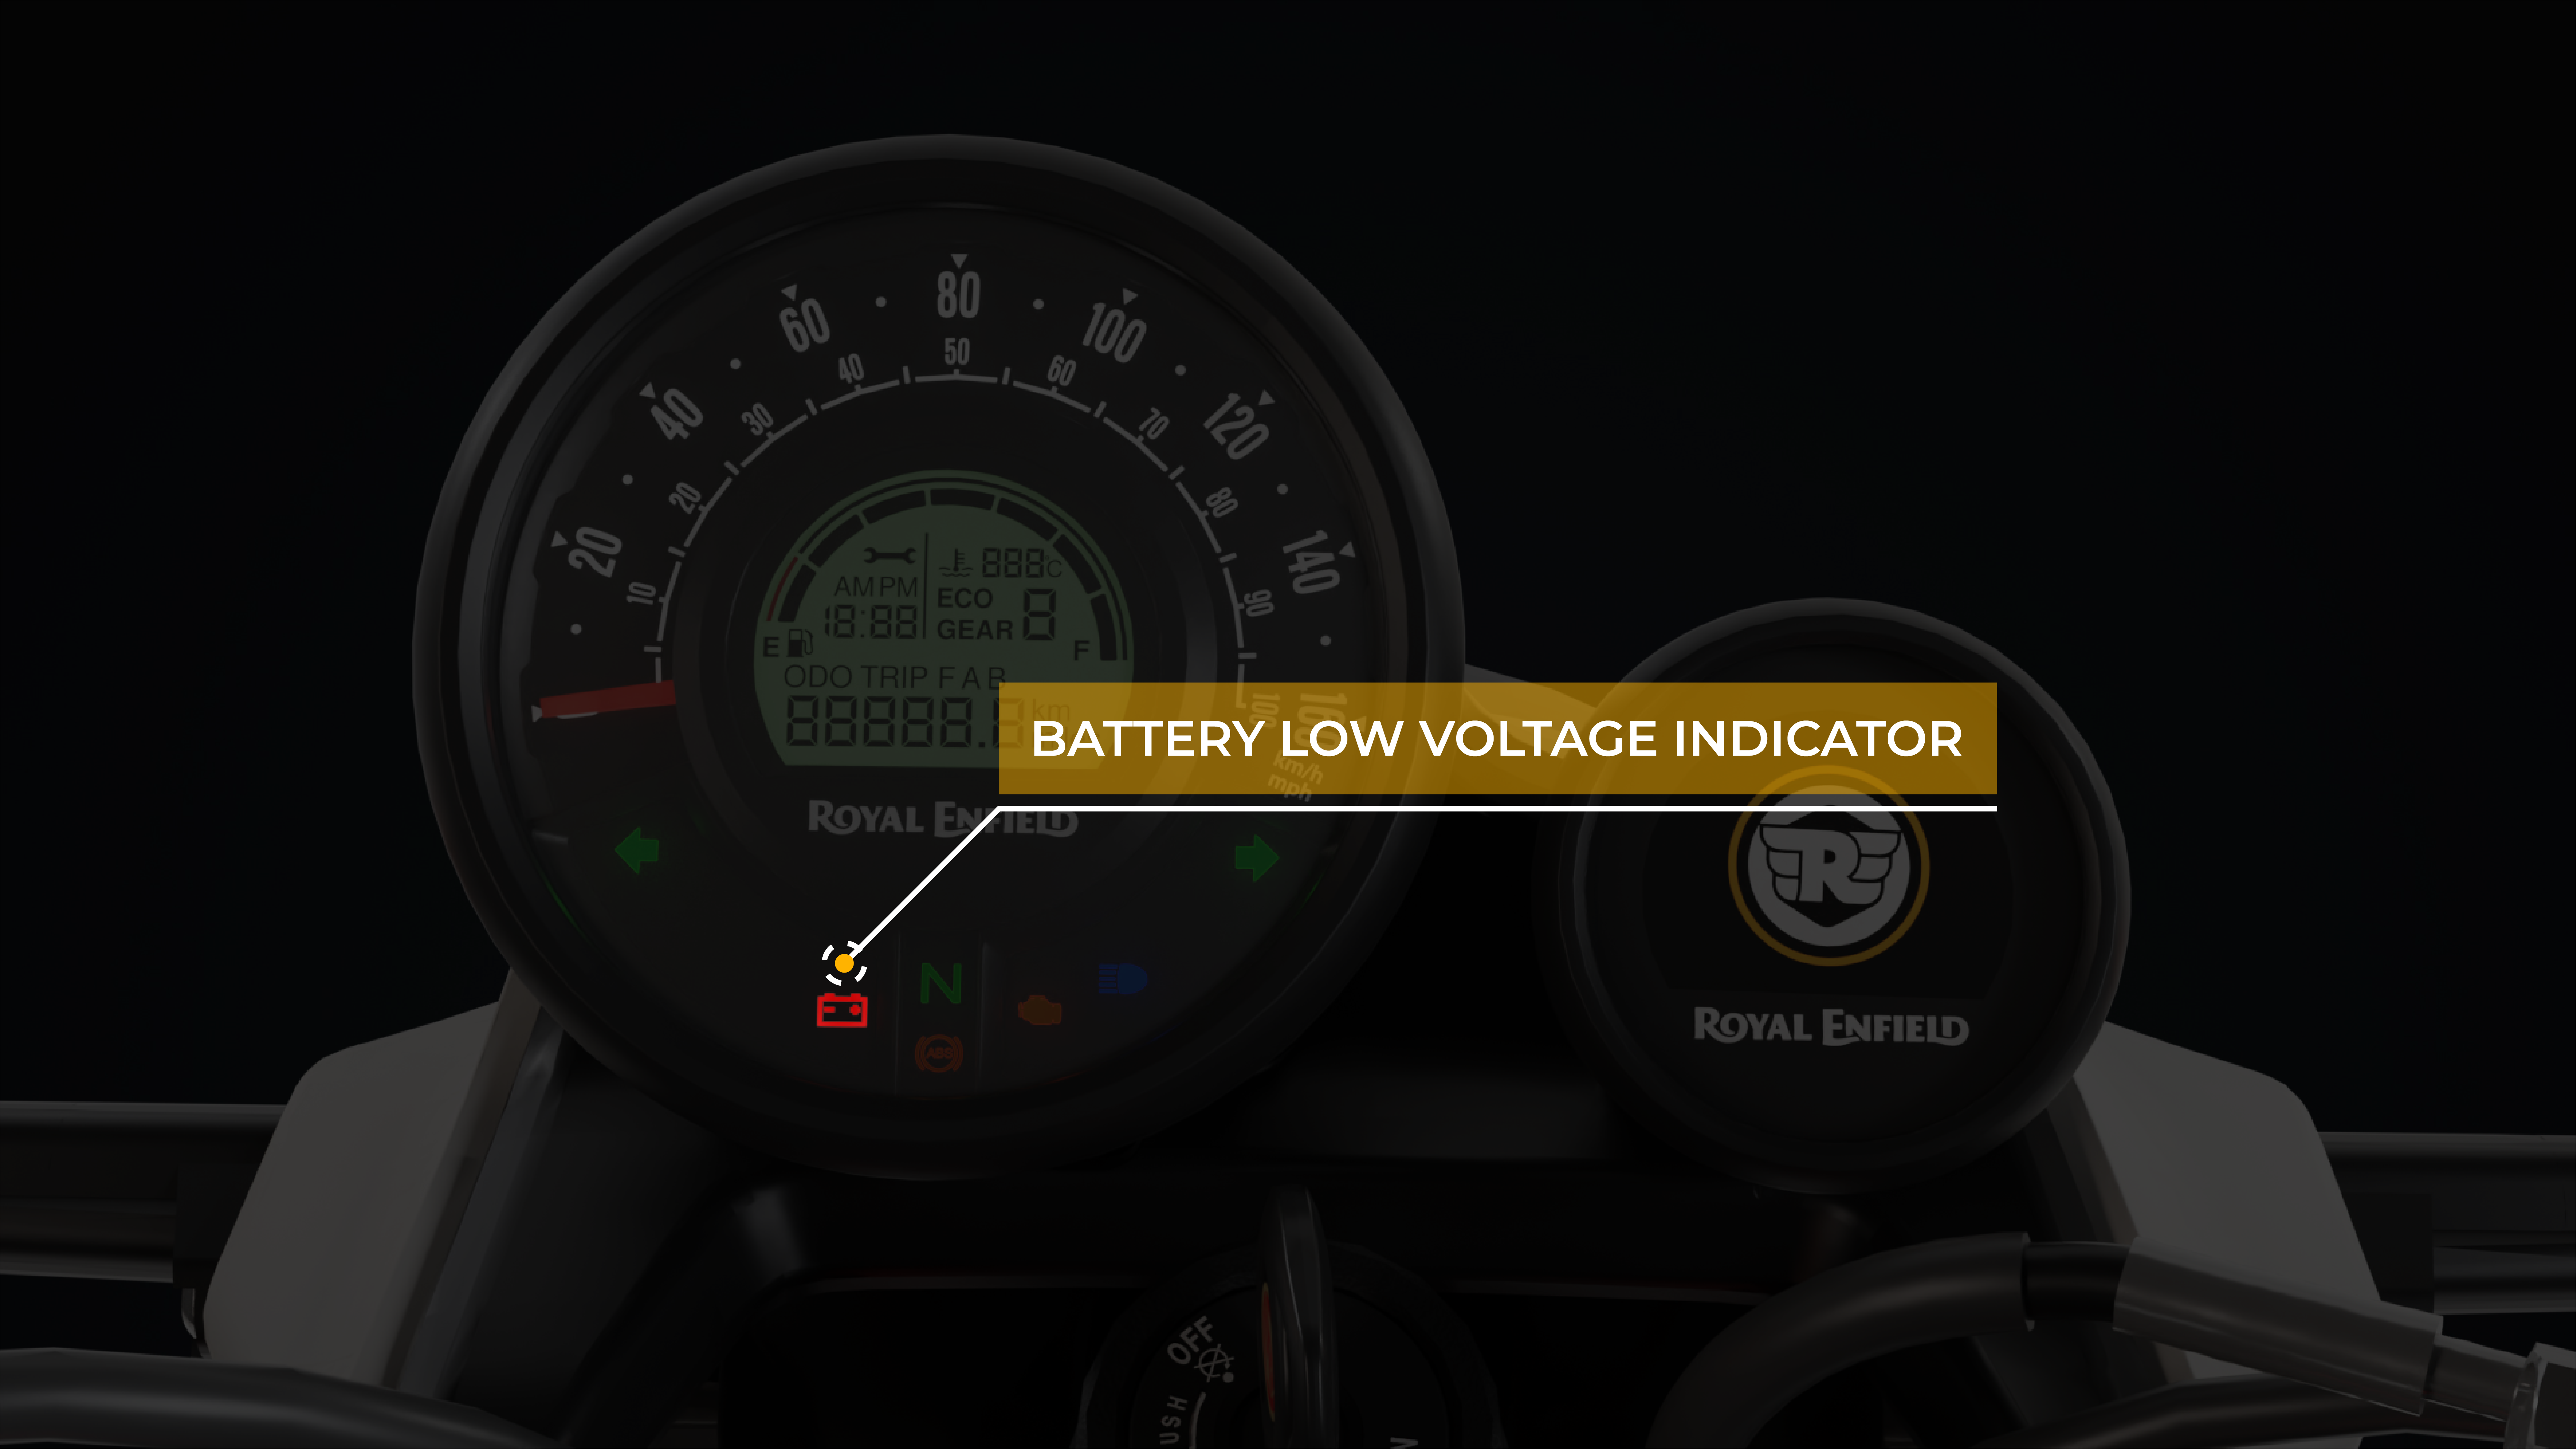
BATTERY LOW VOLTAGE INDICATOR
Indicator will glow continuously if ignition switch is 'ON' & engine is not running. Indication will switch off as soon as engine is started. If battery voltage is below 12 V, indicator will glow continuously indicating a low battery.
Click here to view image
Share link
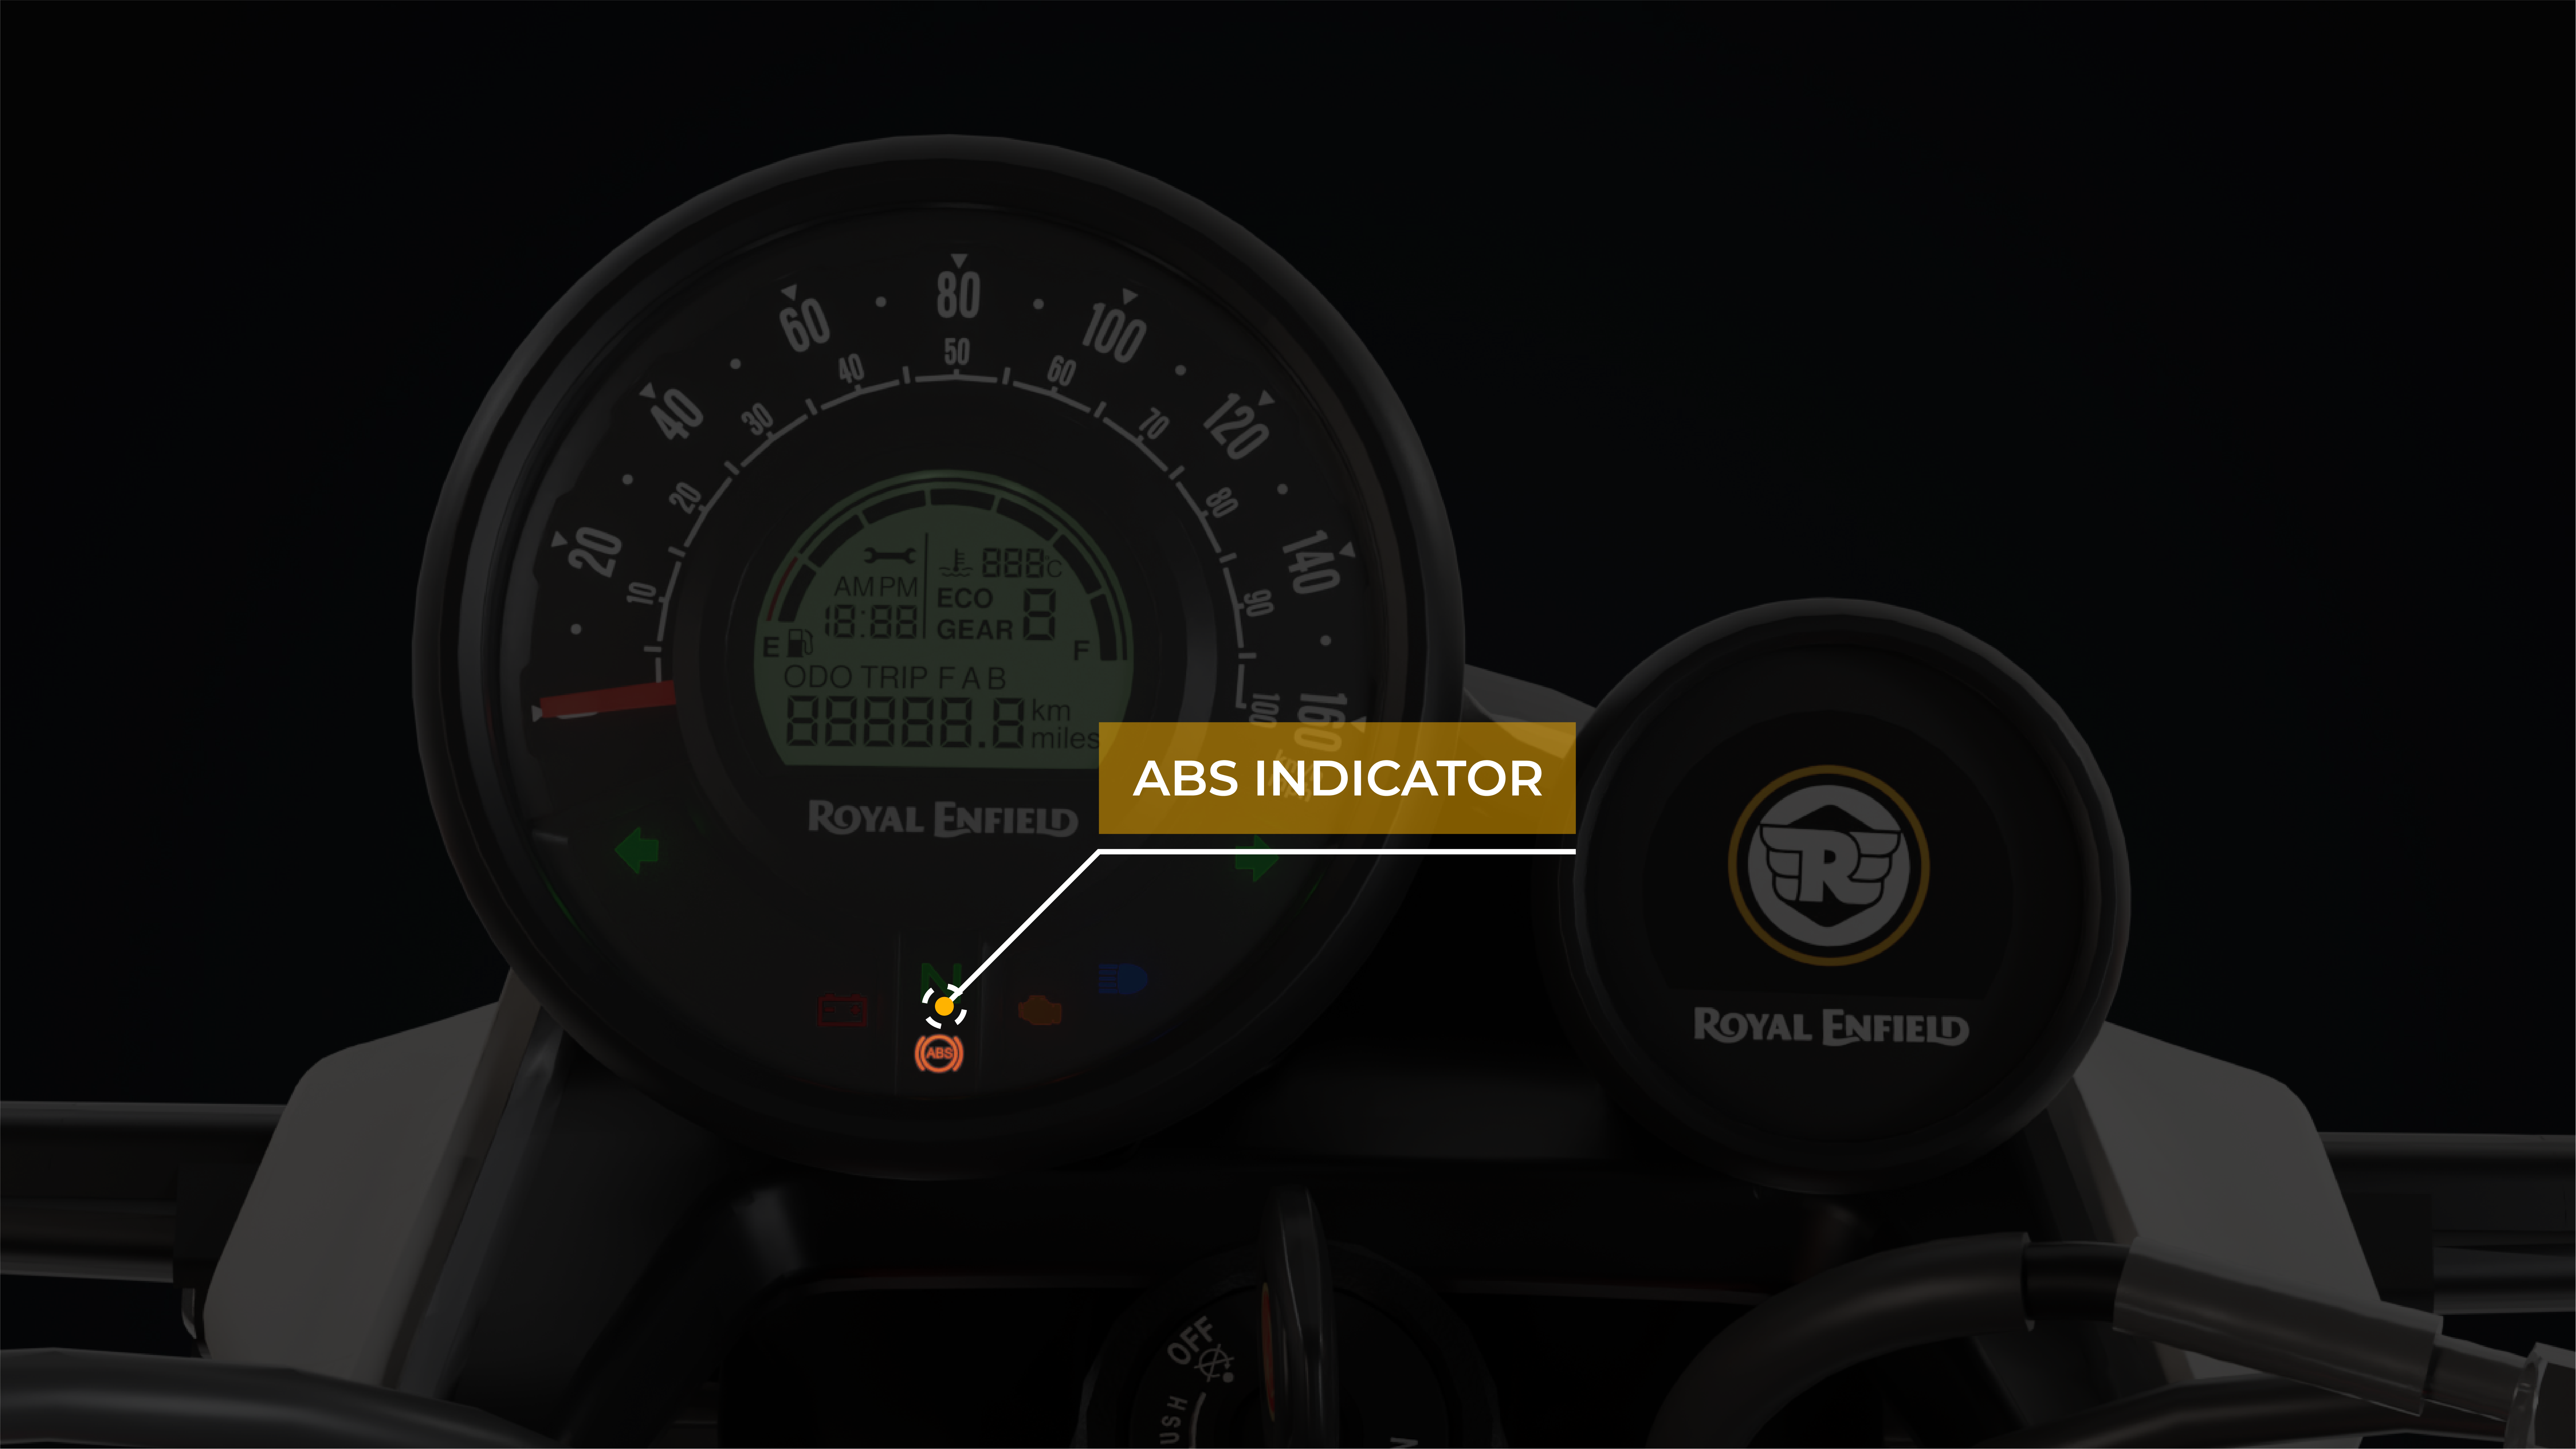
ANTI-LOCK BRAKING SYSTEM (ABS)
Anti-lock braking system (ABS) will help prevent the brakes from locking the wheels, during sudden application of the brakes at high speeds. This will help the rider to have bettertraction and control over the motorcycle and prevent the motorcycle from skidding which can cause a accident.
In the event of sudden and hard application of the brakes by the rider, the sensors in the braking system will signal the ABS moderator to momentarily and continuously reduce the hydraulic pressure and thereby prevent the brakes from locking the wheels while reducing the speed of the vehicle. This will help the rider to control the motorcycle.
An ABS indicator lamp is provided in the console (as shown in adjacent image) to warn the rider in the event of any malfunction of the ABS.
When the ignition and kill switch are switched 'ON', the ABS sign light up and remain 'ON' till the motorcycle attains a speed of 5 kmph (3 mph) and switch 'OFF'. This indicates the ABS is working properly. In the event the lamp does not switch 'OFF' and remains continuously 'ON' at higher speeds, it is recommended not to drive the motorcycle and get the brake system inspected and corrected through a nearest authorized Royal Enfield Distributor. Failure to do so can result in a serious injuries and loss of life.
Click here to view image
Share link
WARNING
DO’S
While starting the engine do check the ABS indicator comes 'ON' and switches 'OFF' when the vehicle speed exceeds 5 kmph (3.1 mph).
Please check the brake fluid at 'MAX' level in the front and rear brake master cylinders and there is no leak in the brakes systems.
Apply both the brakes simultaneously for better efficiency while braking. In the event of the ABS indicator remaining continuously ON' please take the motorcycle to a nearest authorized Royal Enfield service station to inspectthe brakes system control of the vehicle.
DONT'S
Do not apply only the front or rear brakes it can lead to inef- ficient braking.
Do not release the brake lever/ pedal when pulsations are felt during hard application of the brakes in an emergency situation. The pulsations only indicate that the ABS is activated.
CAUTION
ABS is a safety feature to help prevent locking of wheels during sudden application of brakes. It is by no means a substitute for good riding practices and anticipatory braking.
Please ride carefully and apply brakes cautiously especially while cornering. ABS cannot estimate the 'weight shifts' and momentum of the motorcycle while negotiating a corner and therefore prevent skidding due to loss of traction.
Please anticipate the stopping distance required for the speed of travel and apply brakes well in advance so as to bring the motorcycle to a safe stop.
Please apply both brakes to stop- front brake momentarily earlier followed by rear brake. To have better traction and control of the motorcycle.
Always ensure that you ride well within the legal speed limits.
Failure to adhere to the above can cause an accident resulting in serious injuries and loss of life.
The control function causes a slight pulsing of the hand and foot brake levers.
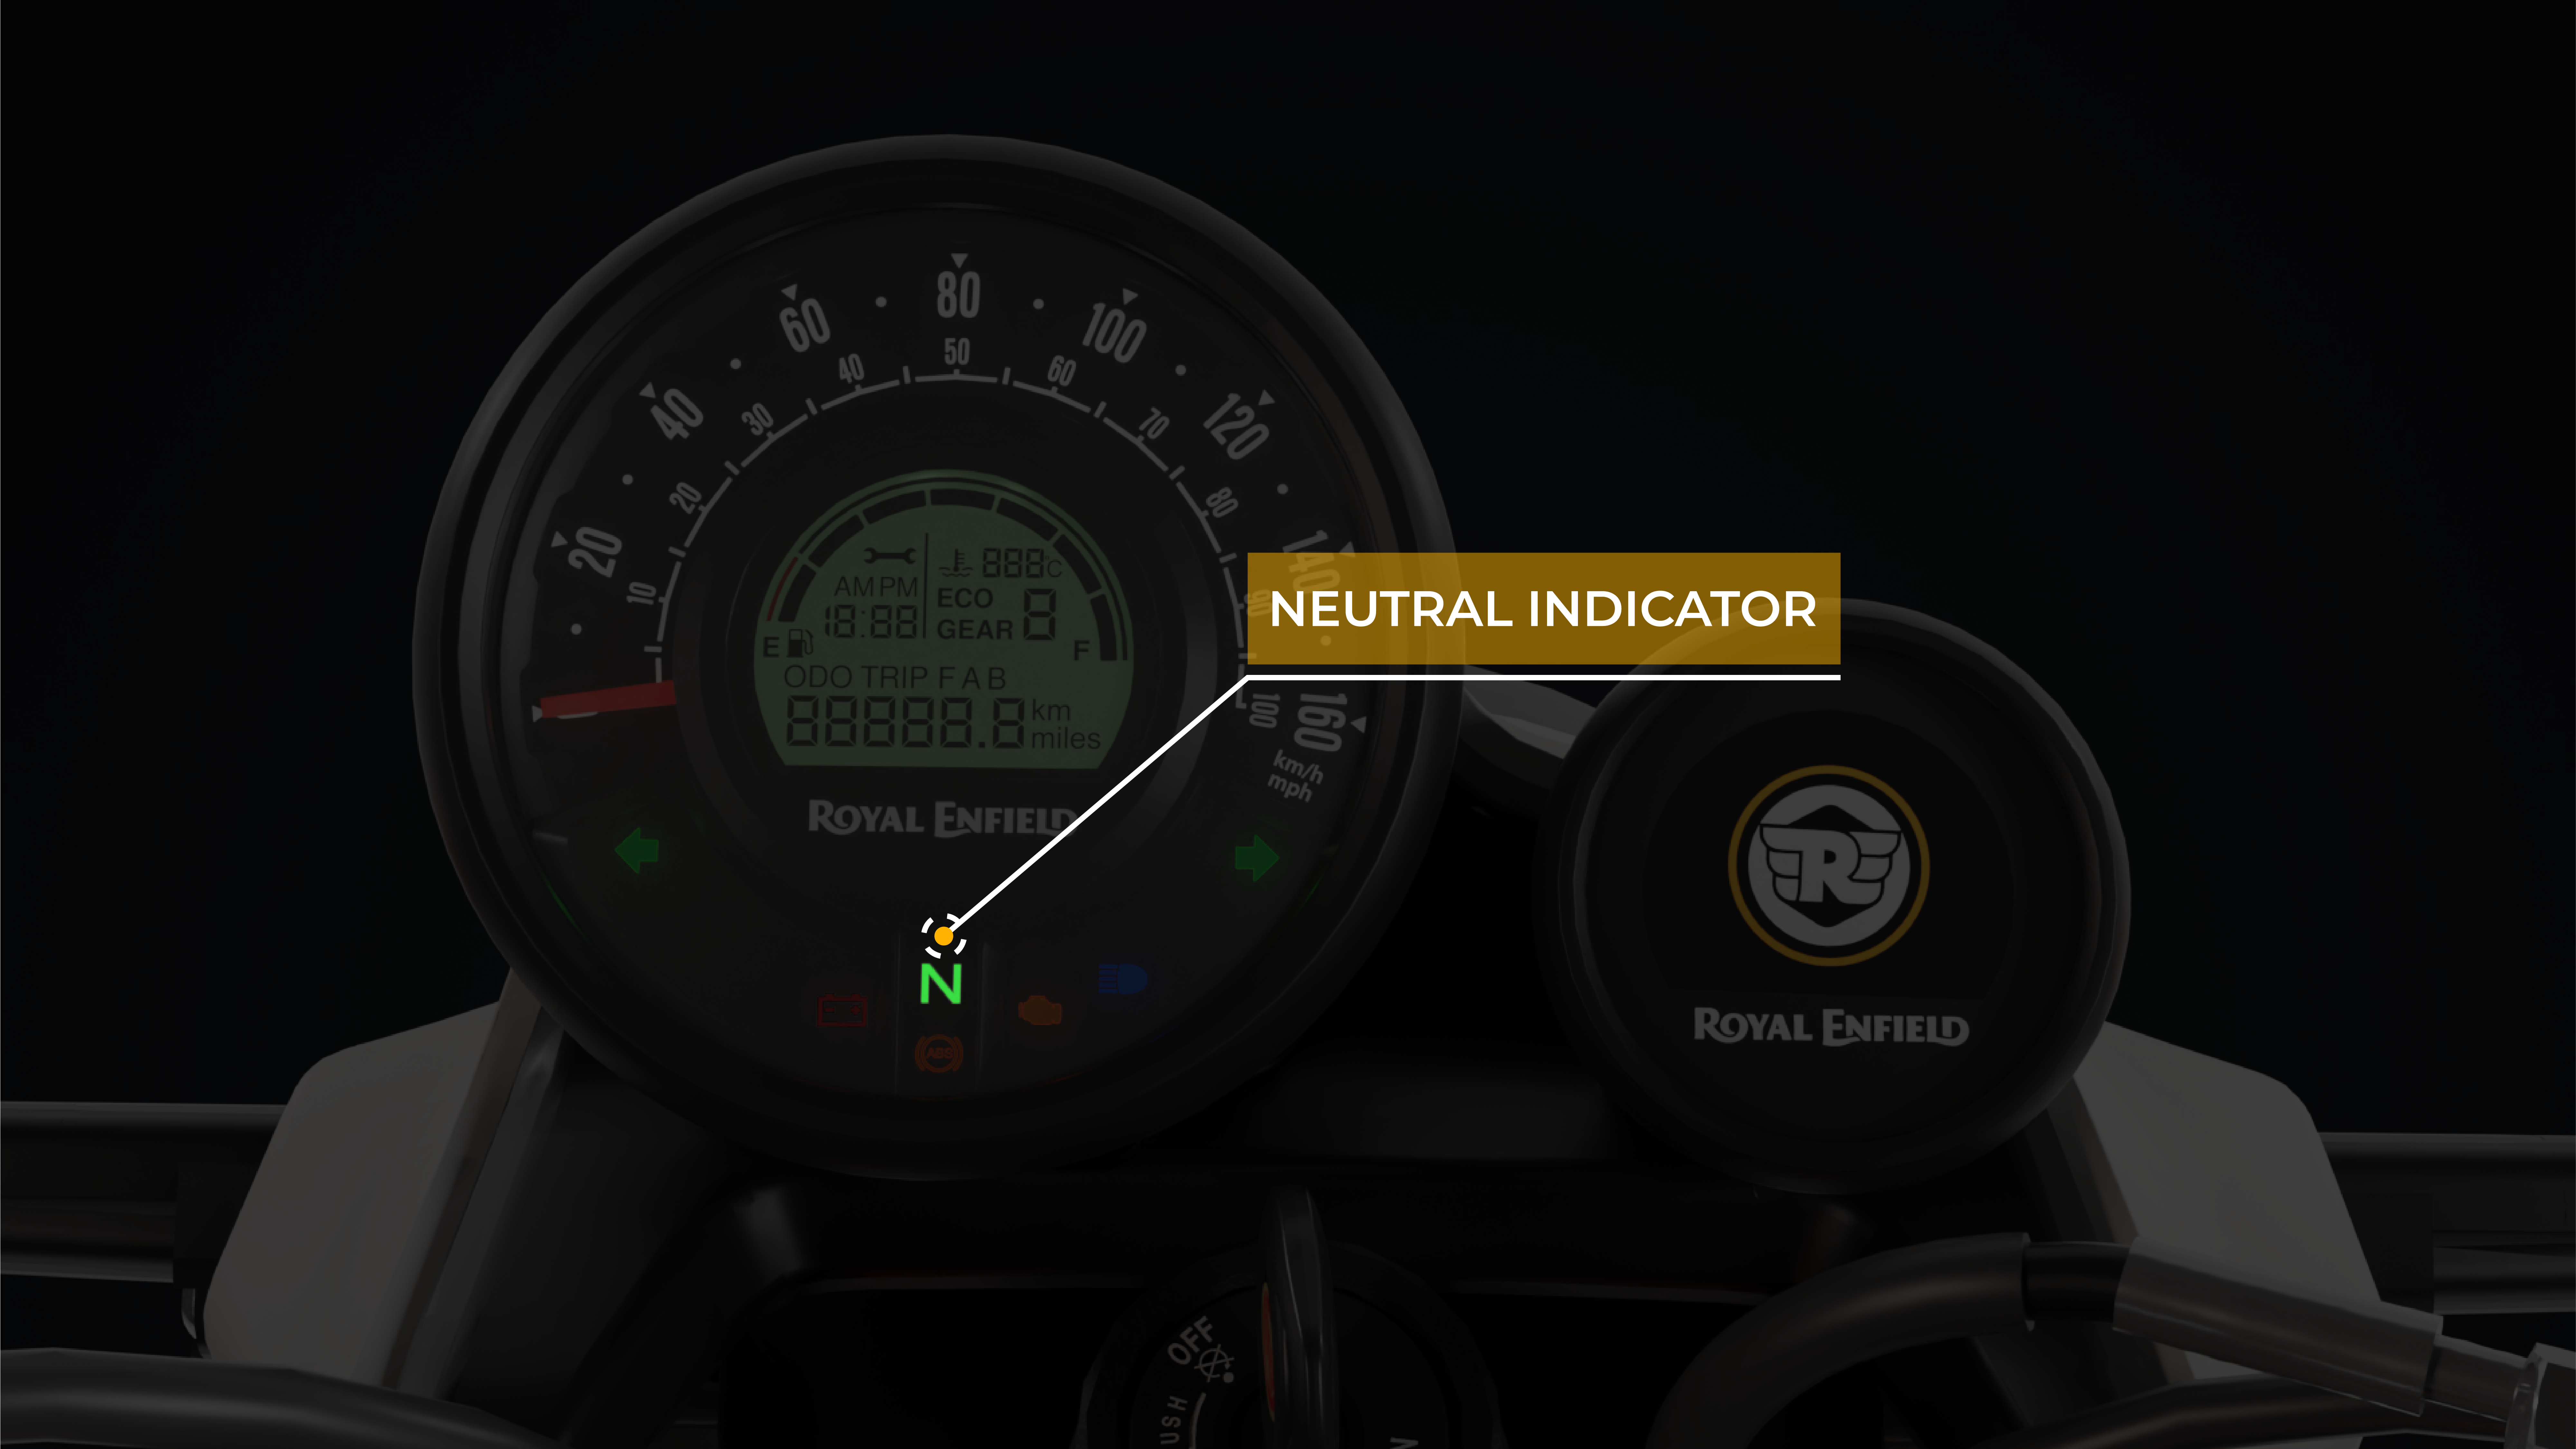
NEUTRAL
Click here to view image
Share link
MAPS
Tripper is being provided to have turn by turn navigation on motorcycle to help riders to have a hassle free riding without handling the smartphones, This device works based on Bluetooth connectivity with navigation search based on RE Mobile app with the support of Google Maps.
Device is capable of showing turn by turn navigation on a custom designed round color TFT with uniquely designed arrow font designed intuitively for ease of riding.
Background display can be switched between day mode and night mode which can be selected by riders from RE Mobile app.
Features:
Turn by turn navigation with primary turn, secondary turn.
Distance to next turn, distance to destination or Estimated Time of Arrival (ETA).
Clock display (in case of no connectivity, no navigation input or after destination is reached).
User can select day and night mode (through RE mobile app only).
Mobile Phone low battery indication.
Smartphones Compatible Version to use RE Mobile app:
Compatible with Android and i0S.
Android support: Current version - 2.
i0S support: Current version -1.
Connectivity control only through RE Mobile app.
Share link
CAUTION
Ensure ignition is 'ON' and display is in powered while establishing connection.
Ensure first time pairing is done in isolated environment to avoid cross connections (one time).
Day and night mode is user selectable only, will not change over automatically to be selected during night driving to avoid rider distraction.
Bluetooth connection can be established only through RE Mobile app.
Ensure bluetooth and location settings are turned always 'ON' before usage.
Disable battery optimisation settings/ low battery cutoff setting of smartphone for navigation to work in low battery mode.
RE Mobile app works only with android (Current version -2) and iOS (Current Version -1) versions, for other lower versions performance lag can be expected.
Tripper bluetooth version is V4.2.
Tripper time display may have a mismatch with actual time displayed in mobile device once the bluetooth connectivity is lost.
RE Mobile app works with bluetooth version 4.2 and N+ 1.0, for other lower versions performance lag can be expected.
Check for network signal strength in case of navigation lag.
Check for data speed in case of navigation lag, Navigation system performance is better in 4G band compared to other lower versions.
Calibrate mobile phones frequently for more GPS accuracy & location accuracy is dependent on.
NOTE
After every Ignition 'ON' cycle tripper will be in discoverable mode for 120 sec.
lncase there is no connection established within 120sec display will enter into clock mode to re-initiate connection Ignition 'OFF-ON' cycle to be repeated.
During navigation mode if there is no input from smartphone for 5 sec bluetooth connection will be terminated to avoid power draw and will display clock.
Bluetooth connection can be terminated by end user also by closing the mobile application.
For first time pairing user needs to enter the secured pin shown on tripper through RE Mobile app to setup the device, after that auto-pairing will happen if same device is connected.
Everytime the tripper is paired the clock time will sync with mobile time after which it will continue to run with internal clock even in case of disconnection, there will be time difference between time shown on instrument cluster and tripper - customer needs to update cluster clock inline with time shown on tripper as and when required as mentioned in push button management of cluster.
Do not apply or use gasoline/ petrol related fluids for cleaning or wiping on instrument cluster or Tripper as it will result in permanent damage to the same
CLOCK
Display in 12 hour format with AM/ PM indication.
Will reset to l2:00AM when battery is disconnected.
Share link
PRE OPERATIONAL CHECKS
Ensure adequate fuel in fuel tank for the journey planned.
Tyres inflated to correct pressure.
No side wall cracks cuts or abrasions in the front and rear tyres.
Rear chain for proper tension and sufficiently lubricated.
Engine oil level.
Control cables, inner, not damaged, frayed or broken. Clutch and accelerator controls working smoothly.
Front and rear brake efficiency and free play in front and rear brake levers.
Hydraulic oil level correct in both front and rear master cylinders.
Free movement of handle bar to left and right sides.
All electrical controls horn working correctly head lamp, tail lamps, brake lamps and indicator lamps working correctly.
Front and rear wheel axle nuts tightened properly to torque.
Front and rear wheel spokes ensure fixed firmly.
No loose or broken spokes.
All fasteners are tight to required torque.
Engine idling correctly and smooth.
No abnormal noise/ any leak from engine.
Share link
WARNING
For your personal welfare and safety, these preoperational checks should be performed periodically. Failure to do so will affect safe operation, damage your motorcycle and lead to accident causing serious injury.
STARTING
Ensure gear is in neutral position and the neutral Indicator ' N ' is glowing in the Instrument Cluster. To shift into neutral, move the motorcycle back and forth gently, while simultaneously shifting the gear.
Explore in interactive mode
Share link
WARNING
Never accelerate the engine immediately after a cold start. The engine should be allowed to run slowly for 15 sec to 30 sec This will allow the engine to warm up and let oil reach all surfaces needing lubrication. Failure to adhere in damage to the engine.
CAUTION
Do not attempt to shift gears when engine is 'OFF' and rear wheel is stationary as it will cause damage to gear shift mechanism. Please move motorcycle back and forth while simultaneously shifting gears.
Switch 'ON' ignition and the kill switch to 'RUN' position.
Depress clutch lever fully.
Press starter button and hold till engine starts.
NOTE
It is recommended to switch off the engine when the engine is in idling condition for long time.
It is recommended not to accelerate by giving excessive throttle for more than 5 min when the engine is in idle condition, which will cause damage to the engine internal parts and exhaust system as well.
GEAR SHIFTING,RIDING & STOPPING
Warm up engine for 2 min - until idling is consistent.
GEAR SHIFT PATTERN 1 -- N -- 2 -- 3 -- 4 -- 5
Press clutch lever towards the hand grip.
Press gear pedal with toe to engage 1st gear.
Gently open throttle and release clutch simultaneously. If clutch is released suddenly, the engine will stall and cause a jerky start.
Lift gear lever with toe to engage 2nd and subsequent gears.
Explore in interactive mode
Share link
CAUTION
The clutch must be fully disengaged before attempting a gear shift. Failure to fully disengage the clutch will cause a jerky start or stalling the engine besides causing damage to transmission parts.
NOTE
Always start the engine with gear in neutral position.
Always move the motorcycle in 1st gear position only
PARKING MOTORCYCLE ON SIDE STAND
Select a firm, flat surface. When Side stand is in 'ON' position.
Extend side stand. Tilt the motorcycle to the left, till it is supported firmly.
Share link
WARNING
Ensure side stand is retracted fully before riding the motorcycle.
Please exercise extreme care while parking and ensure it is parked firmly to avoid the motorcycle from falling over and causing injury to you or to others and damage to the motorcycle parts.
Do not ride motorcycle with the side stand extended. Doing so can cause the side stand to touch the ground while cornering and result in instability & loss of control on the motorcycle leading to a potential accident result in serious injury to both sides and other road users besides causing severe damage to the motorcycle.
CAUTION
When side stand is in ON' position.
Engine will start if vehicle is in neutral, but will cut-off (ignition and fuel) when gear is engaged.
Engine will not start if gear is engaged already.
NOTE
The side stand is only designed for the weight of the motorcycle. Do not sit on the motorcycle when it is resting on the side stand. The side stand or frame will become damaged and the motorcycle will fall over.
TOOLS KIT
The tools kit is strapped underneath the pillion seat.
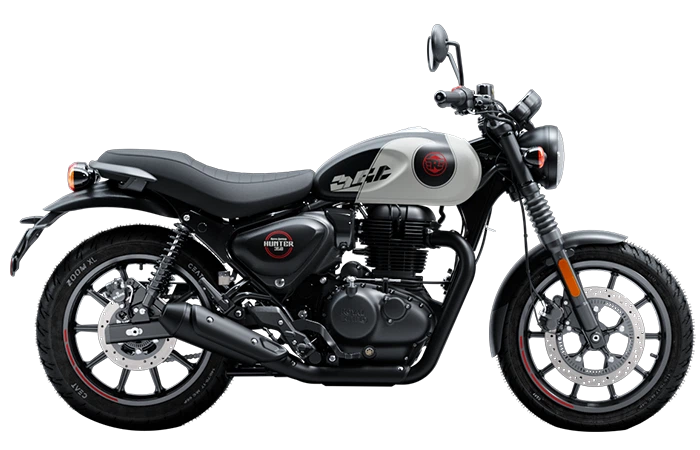
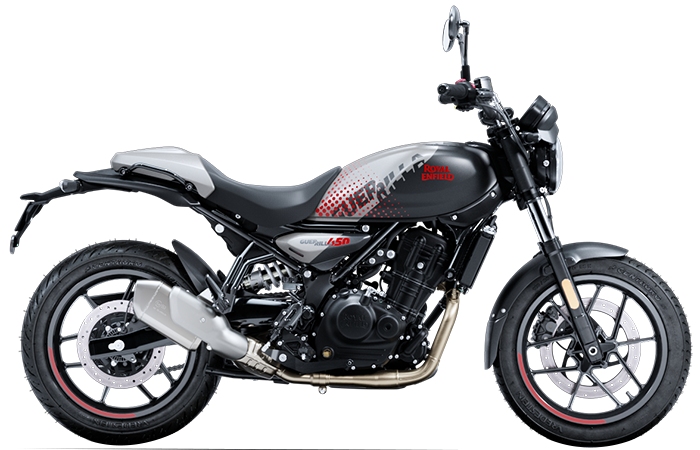
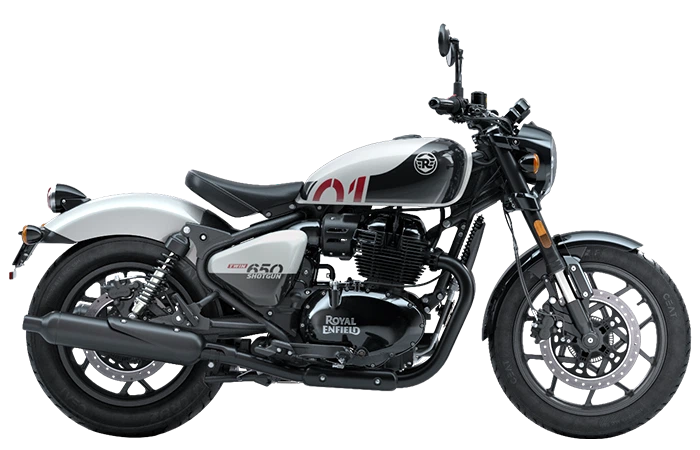
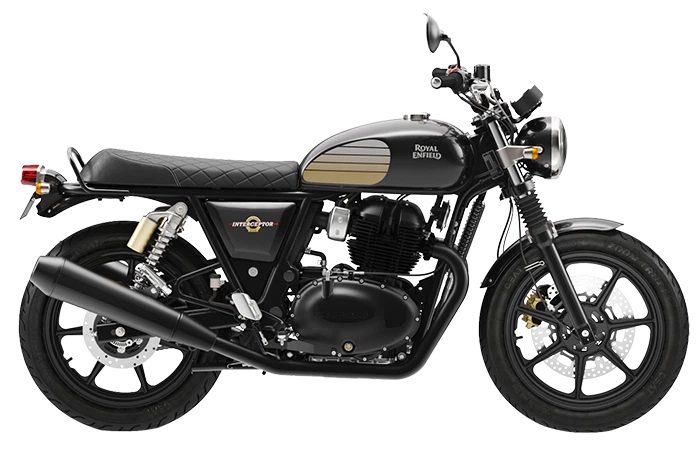
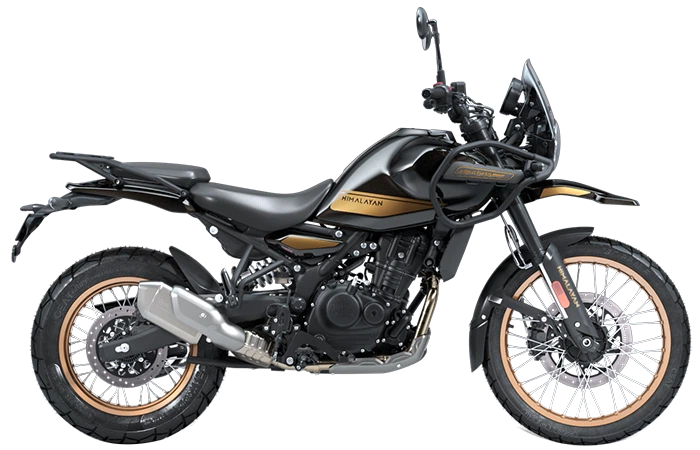
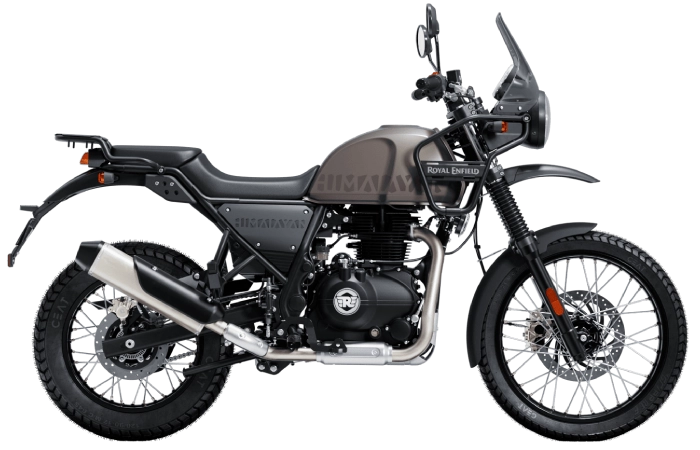




 Explore in interactive mode
 Share link
 WARNING
 CAUTION
 NOTE
NOTE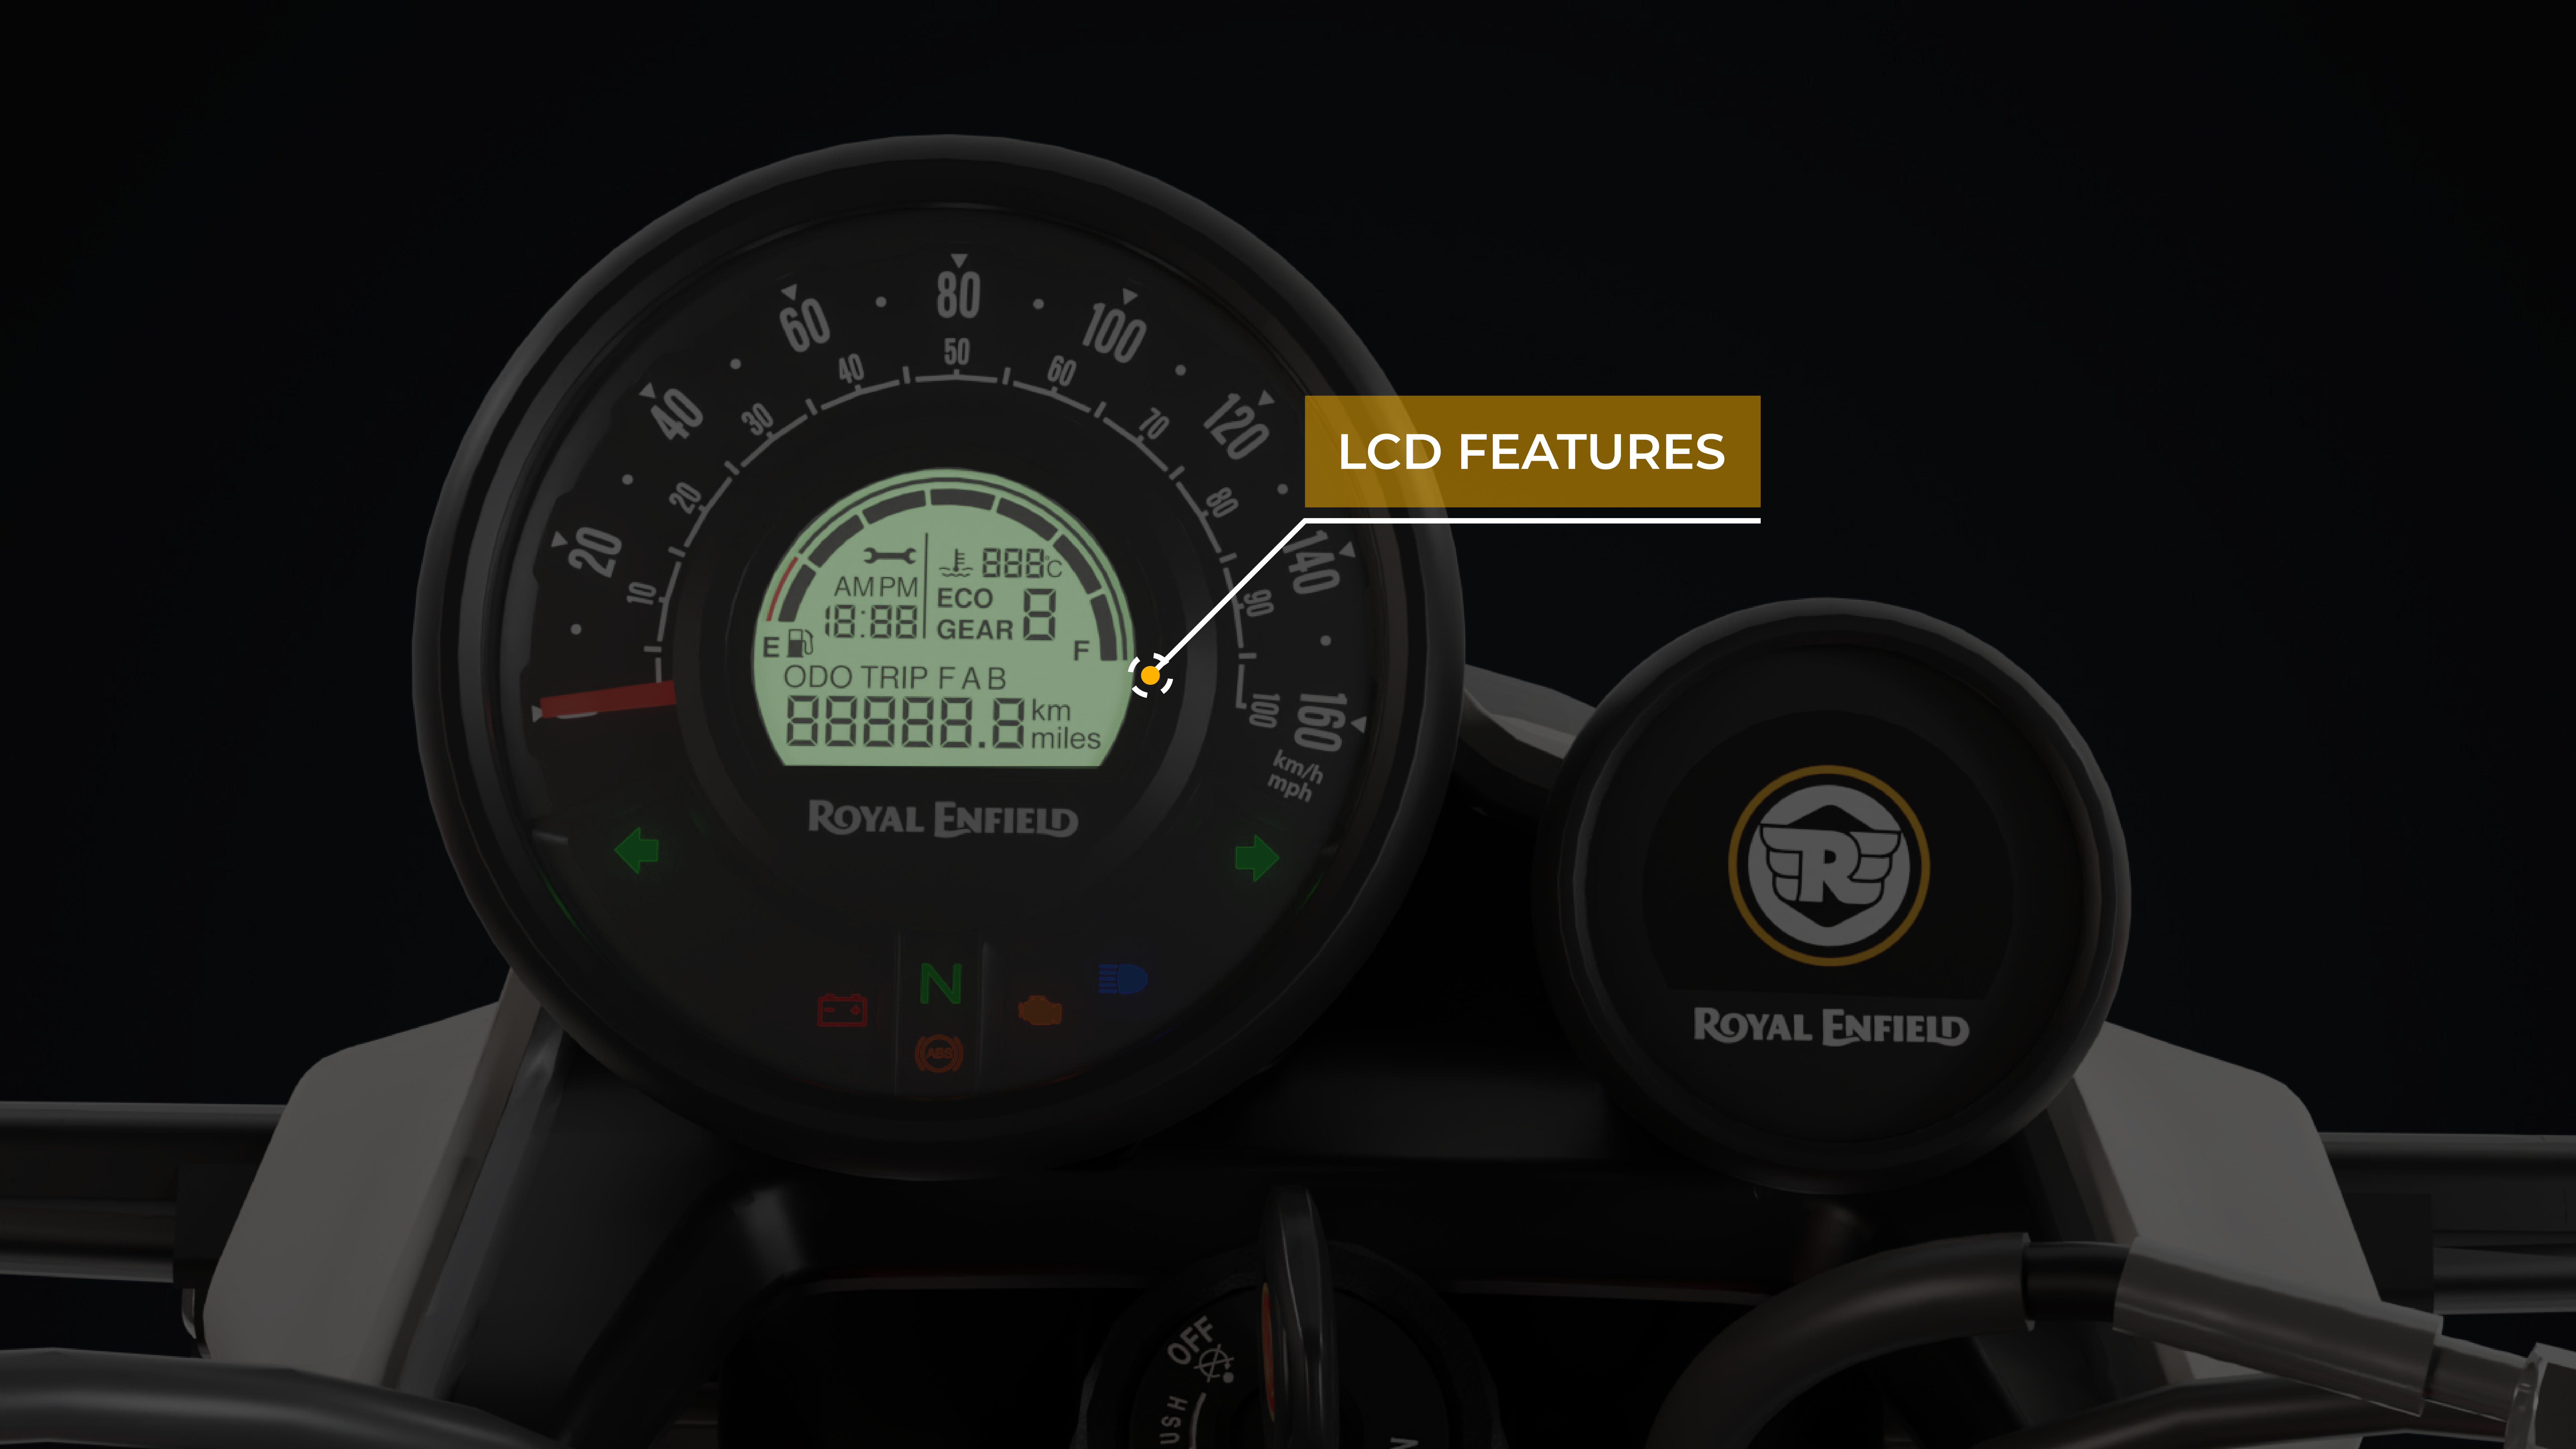
 Click here to view image