Foreword

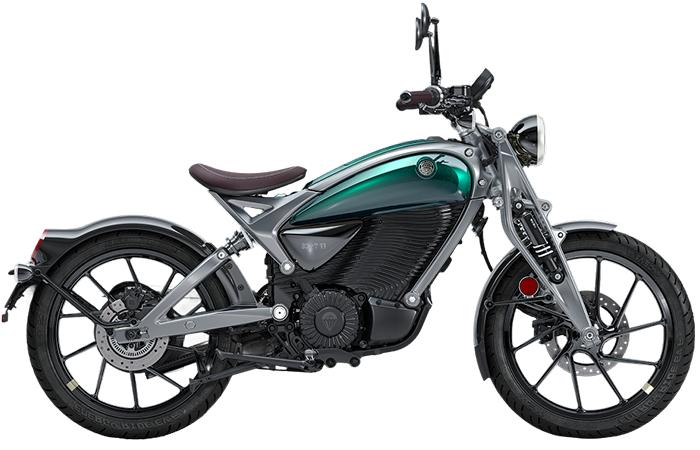
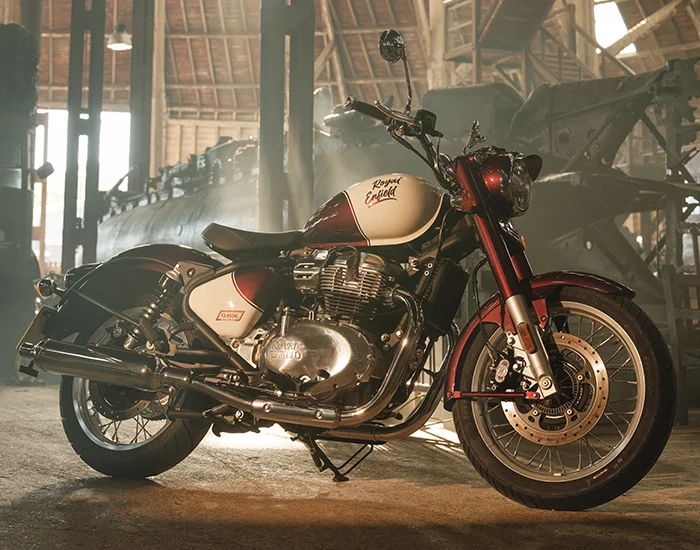
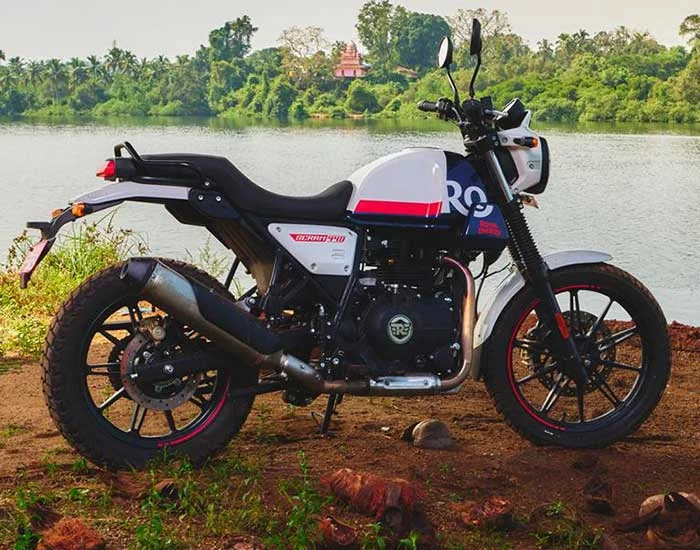
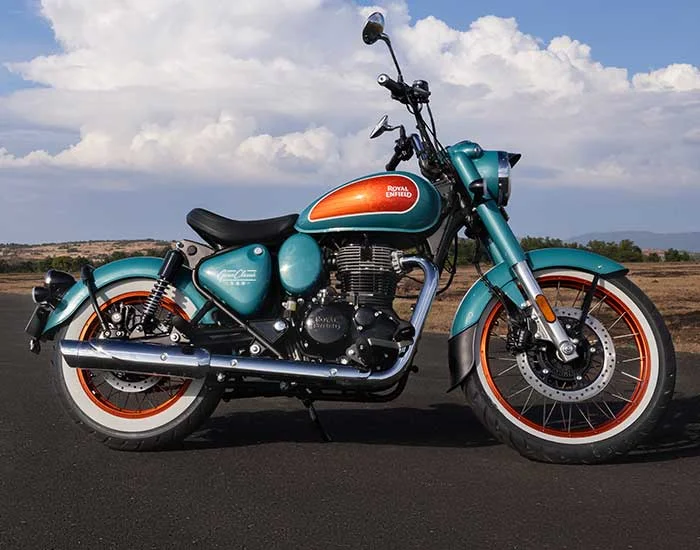
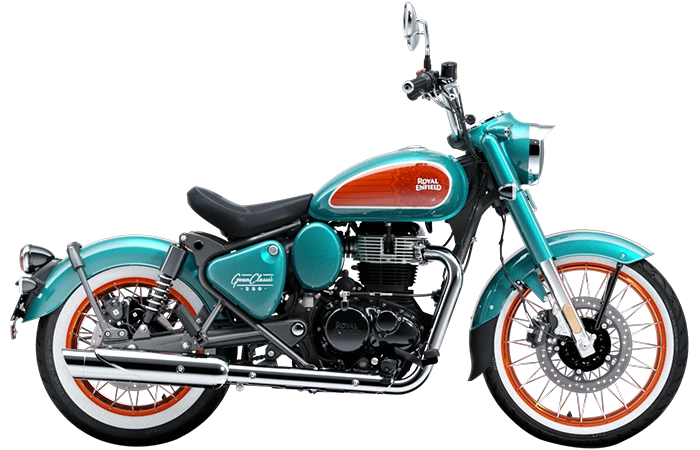
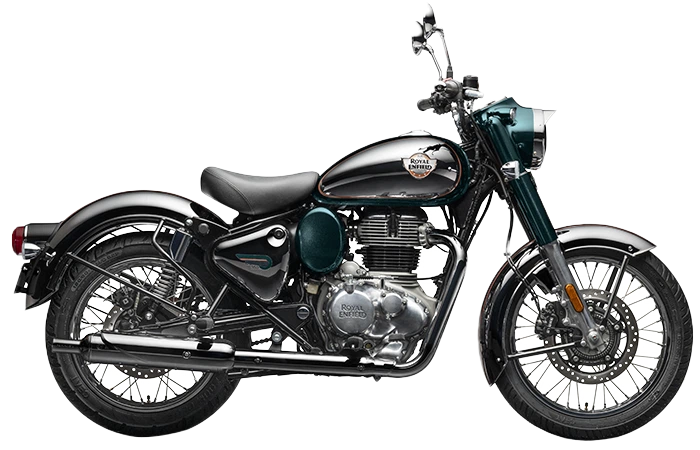
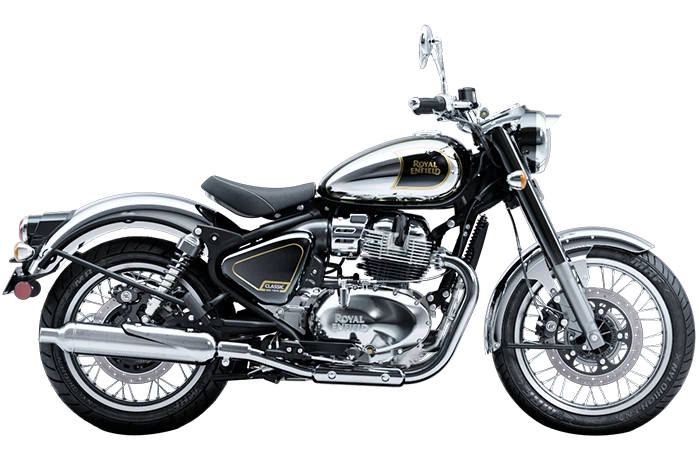
Congratulations on becoming a proud owner of the new Goan Classic 350 bobber. Since its debut in 2008, the Classic 350 has had countless evolutions. In its Goan Classic avatar, it embodies the free spirit of Goa’s golden era—a time of sun-soaked susegad, chill vibes and unforgettable trips.

Channelling the easygoing energy of the era that inspired it, the Goan Classic 350 is a bobber that promises to turn heads with its 349cc J-engine with a signature exhaust note, its bold ape-style handlebar,and a colour palette straight out of the ’80s. Whether you’re cruisingalong the coast or stopping at a shack, this is a ride built to soak in the good life.

This digital version is your one-stop guide to operating and maintaining your Goan Classic 350. To keep your motorcycle riding at its best, make sure to visit your nearest Royal Enfield Authorised Service Centre when required. Kindly familiarise yourself with the terms and conditions of the warranty and other important information stated in this digital version before you start your journey with your new Goan Classic 350.

Explore in 3D
banner image
  • Guerrilla 450
  • Interceptor 650
  • Continental GT
  • Hunter 350
  • Classic 650
  • Bullet 350
  • Super Meteor 650
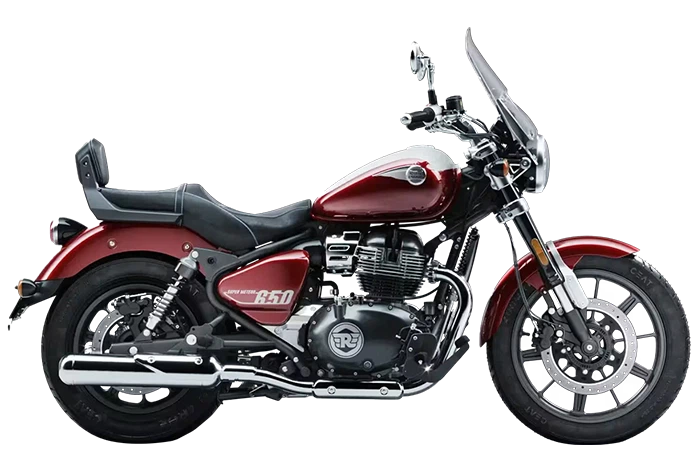
  • Goan Classic 350
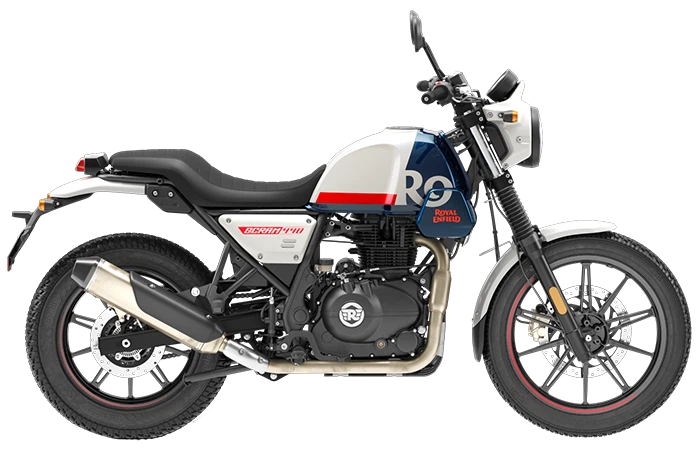
  • Scram 411
  • Meteor 350
  • Classic 350
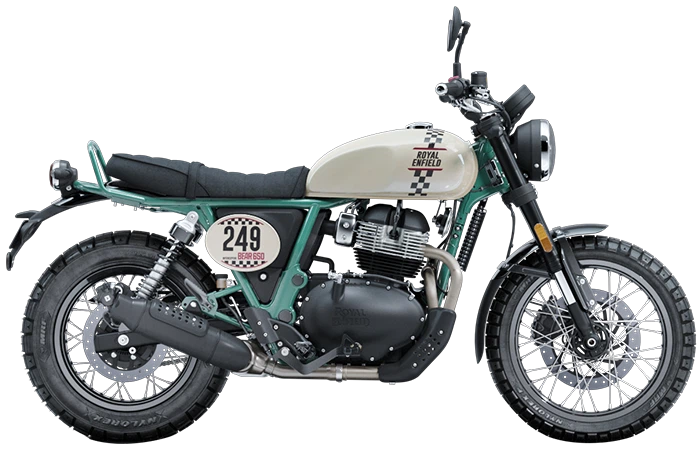
  • Bear 650
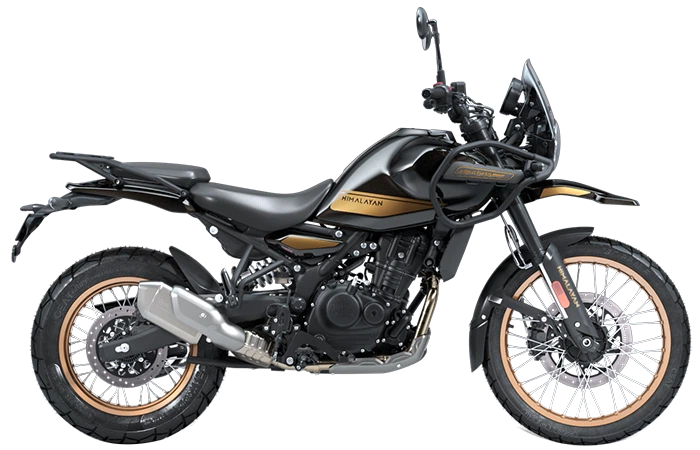
  • New Himalayan

IGNITION SWITCH

Play
  1. OFF: Steering unlock, ignition 'OFF'.
  2. ON: Steering unlock, ignition 'ON'.
Warning Note
  1. Key can be removed only if ignition is in OFF or steering is locked.
  2. Key is common for ignition, petrol tank lock, steering lock and left side panel.
  3. Key can be removed from fuel tank, left side panel only in locked position from the key slots.

STEERING LOCK

Play
  1. Turn the handle bar to extreme both left position.
  2. Push the key inside in 'OFF' position, press and further turn to anticlockwise direction to lock the steering system.
  3. Turn the key in the clockwise direction to unlock the steering.

FUEL TANK CAP

Play
  1. Lift key flap on fuel tank cap and insert key.
  2. Turn key clockwise to open.
  3. Press cap to lock with key in position.
  4. Remove key from cap and close flap.
Warning Caution
  1. Gasoline vapour is highly explosive, please ensure there are no open flames or sparks nearby while refueling and fill fuel only in a well ventilated area.
  2. Please ensure gasoline does not spill on painted surfaces. In case fuel spills over the painted surfaces wipe it off immediately as it may leave a permanent stain.
  3. Do not smoke while refueling or when fuel tank cap is open.

FUEL TANK

Play
  1. Fuel Tank Mouth
  2. Splash Arrestor
  3. Maximum Fuel Level
Warning Note
  1. Key cannot be removed when fuel tank cap is open.

ENGINE STOP SWITCH

Play
  1. Engine 'OFF'
  2. Engine 'ON'
Warning Caution
  1. Turn OFF ignition switch when engine is not running. Failure to do so will discharge the battery due to the headlamp being continuously ON.

E-START SWITCH

Play
  1. Push and hold electric start switch until engine starts for a maximum of 5 seconds.
Warning Caution
  1. In case of prolonged stoppage of vehicle, please turn off ignition key to avoid discharge of battery.

HAZARD LIGHT SWITCH

Play
  1. Hazard Light ON
  2. Hazard Light OFF
Warning Caution
  1. Hazard flashing will create a strain on battery. Do not use hazard warning for longer period unless necessary.
  2. Methods to activate hazard flasher : Ignition switch ON, slide the hazard control to ON position. Hazard will work unless manual deactivation (OFF).
  3. Ignition switch ON, slide the hazard control to ON position-Hazard will start working - Ignition switch OFF - Hazard will keep working for a duration of 30 minutes - Unless manual deactivation (OFF).
  4. Hazard flasher cannot be activated in Ignition switch OFF condition.

Horn

Play
  1. Press the horn button to sound horn.

HIGH BEAM / LOW BEAM

Play
  1. When the headlamp is in 'ON' condition 'High / Low beam' will be selected by toggling the switch. High beam indicator lamp located in instrument cluster will glow when high beam is selected.

FLASH SWITCH

Play
  1. Press the switch for flashing switch.

TURN SIGNAL SWITCH

Play
  1. Left turn signal 'ON'.
  2. 'OFF' (Push To Cancel).
  3. Right turn signal 'ON'.
  4. Push the button from 'OFF' position to either left or right before turning as needed. To cancel the turn signal lights, push the switch after it has returned to the center position.

SIDE PANEL LEFT

Play
  1. Turn key anticlockwise to unlock the left side panel.
  2. Gently open the left side panel.

SIDE PANEL RIGHT

Play
  1. To access the right side panel loosen and remove the 2 nos of button head screws by using 5 mm Allen key available in the tool kit and then remove the reservoir panel.
  2. Pull and disengage the side panel from locator and gently remove the side panel.

LCD FEATURES

Play
  1. Fuel Gauge: Digital with 7 segment bar graph.
  2. Last segment blinking along with low fuel tell tale 'ON' for low fuel condition.
  3. Service Reminder: In case service reminder symbol is 'ON' please plan for a scheduled service at an authorized service center.
  4. Trip F:Distance driven after low fuel tell tale is 'ON'.
  5. Cannot be re-set.
  6. Will be visible only when low fuel condition is sensed, will vanish if fuel is filled above low fuel condition.
  7. Display can be toggled using info button during this condition but will auto appear after 25 secs Linked with stand switch to avoid re-set when in side stand condition.
  8. If ridden > 200 kms in Trip F condition Low Fuel will flash continuously on LCD. It is recommended not to ride vehicle in these condition as it will result in fuel pump damage.
  9. Info Button Management Details: LCD Sequence (Info Switch Press <1 sec):
  10. If Trip F enabled.
  11. If Trip F not enabled.
Warning Note
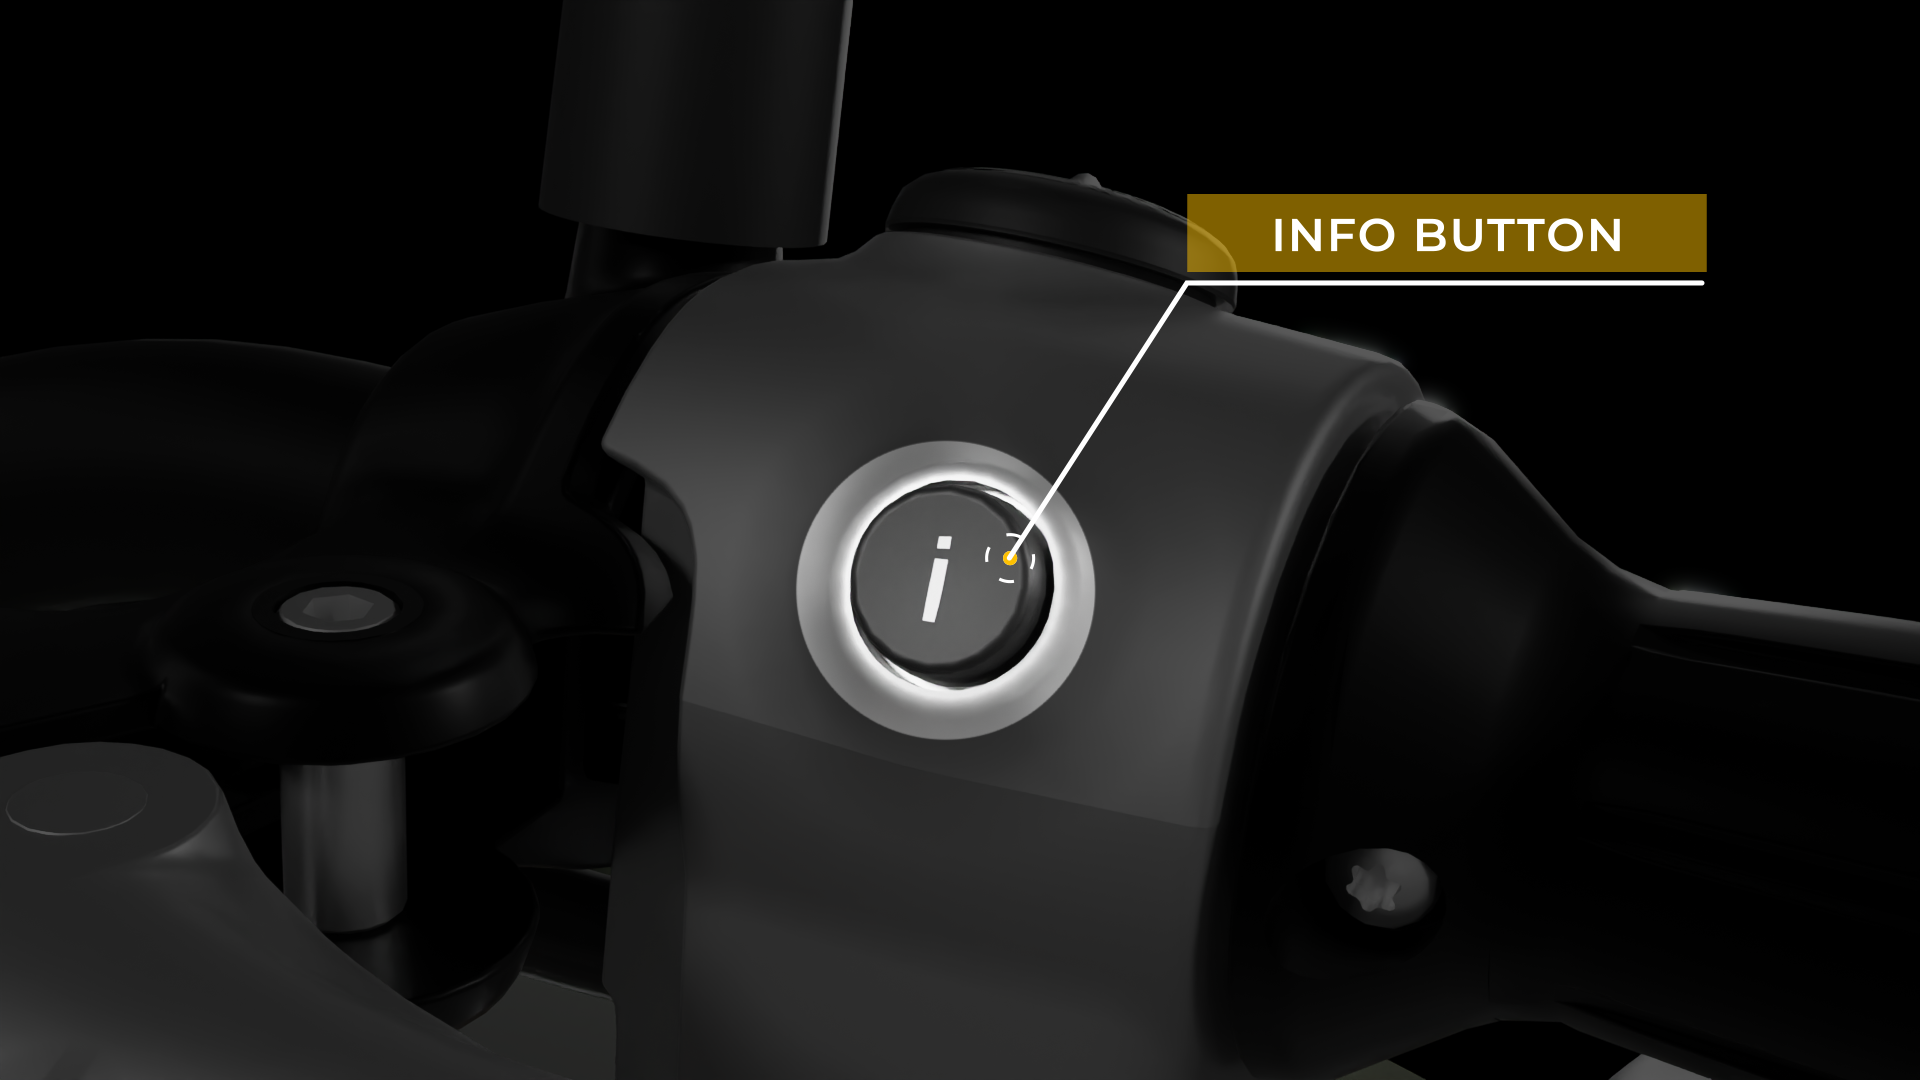
  1. For trip re-set press info button for T>3 secs.

TRIPPER (If fitted)

Play
  1. Tripper is being provided to have turn by turn Navigation on motorcycle to helpl riders to have a hassle free riding without handing the smartphones. This device works based on bluetooth connectivity with navigation search based on RE Mobile app with the support of Google maps.
  2. Device is capable of showing turn by turn navigation on a custom designed round color TFT with uniquely designed arrow front designed intuitively for ease of riding.
  3. Background display can be switched between day mode and night mode which can be selected by riders from RE Mobile app.
  4. Scan the QR Code, to download, Install, register and to know more about the Tripper.
  5. Features:Turn by turn navigation with primary turn, secondary turn.
  6. Distance to next turn, distance to destination or Estimated Time of Arrival (ETA).
  7. Clock display (in case of no connectivity, no navigation input or after destination is reached).
  8. User can select day and night mode (through RE Mobile app only).
  9. Mobile Phone low battery indication.
  10. Disclaimer:Tripper unit display may look dull during sun overhead conditions this is normal and due to impact of direct sunlight on the unit customers to refer during other riding conditions.


  11. Primary direction or next turn; Indicates the next turn to be taken along with the distance.
  12. Distance to next turn:Shows the distance to next turn.
  13. Secondary direction or next to next turn:Indicates the next turn to be taken after the primary direction, will be shown only when primary turn is less than 100mts, If there is no turn the display will be blank in this region.
  14. Distance to destination or ETA:Shows the total distance to destination or Estimated time of arrival (based on user selection from RE Mobile app). conditions this is normal and due to .
  15. Smartphones Compatible Version to use RE Mobile app:Compatible with Android and i0S.
  16. Android support: Current version (-2).
  17. i0S support: Current version (-1).
  18. Connectivity control only through RE Mobile app.
Warning Caution
  1. Ensure ignition is ON and display is in powered while establishing connection.
  2. Ensure first time pairing is done in isolated environment to avoid cross connections (one time).
  3. Day and night mode is user selectable only, will not change over automatically to be selected during night driving to avoid rider distraction.
  4. Bluetooth connection can be established only through RE Mobile app.
  5. Ensure bluetooth and location settings are turned always ON before usage.
  6. Disable battery optimisation settings / low battery cut-off setting of smartphone for navigation to work in low battery mode.
  7. RE Mobile app works only with Android (Current Version (-2)) and iOS (Current Version (-1)) versions, for other lower versions performance lag can be expected.
  8. Tripper bluetooth is V4.2. Tripper time display may have a mismatch with actual time displayed in mobile device once the Bluetooth connectivity is lost.
  9. RE Mobile app works with bluetooth V4.2 and N+1.0, for other lower versions performance lag can be expected. Check for network signal strength in case of navigation lag.
  10. Check for data speed in case of navigation lag, navigation system performance is better in 4G band compared to other lower versions.
  11. Calibrate mobile phones frequently for more GPS accuracy & location accuracy is dependent on.
Warning Note
  1. After every Ignition 'ON' cycle tripper will be in discoverable mode for 120 seconds.
  2. Incase there is no connection established within 120 seconds. Display will enter into clock mode, to reinitiate connection ignition 'OFF-ON' cycle to be repeated.
  3. During navigation mode if there is no input from smartphone for 5 seconds, bluetooth connection will be terminated to avoid power draw and will display clock.
  4. Bluetooth connection can be terminated by end user also by closing the mobile application.
  5. For first time pairing user needs to enter the secured pin shown on tripper through RE Mobile app to setup the device, after that auto-pairing will happen if same device is connected.
  6. Every time the tripper is paired the clock time will sync with mobile time after which it will continue to run with internal clock even in case of disconnection, there will be time difference between time shown on instrument cluster and tripper - customer needs to update cluster clock in line with time shown on tripper as and when required as mentioned in push button management of cluster.
  7. Do not apply or use gasoline / petrol related fluids for cleaning or wiping on instrument cluster or tripper, as it may result in permanent damage to the same.

CHARGER PORT

Image
  1. Charger Port is located in the inner portion of left side panel.
Warning Caution
  1. Customer to ensure USB port cap is closed and locked properly when not in use, warranty will not be provided if port cap is damaged and not sealed properly.
  2. If high current draw greater than 2.5 ampere is observed USB charger will shutdown please check your smart phone battery current ratings before using.
  3. USB charger will function only when engine is in running condition.
  4. Use standard approved and high quality USB cables for proper functioning.
Warning Note

Do's

  1. Charging port is provided only for charging purpose and no data transfer is enabled.
  2. Provided is only constant charging mode, fast/dash charging is not provided to be compatible with multiple make mobile phones and cannot be compared with performance of original smart phone chargers.
  3. Duration of charging can be higher and will vary for different make mobile phones depending on smart phone battery capacity. SoC and smart phone charging circuits.

ANALOG SPEEDOMETER

Image
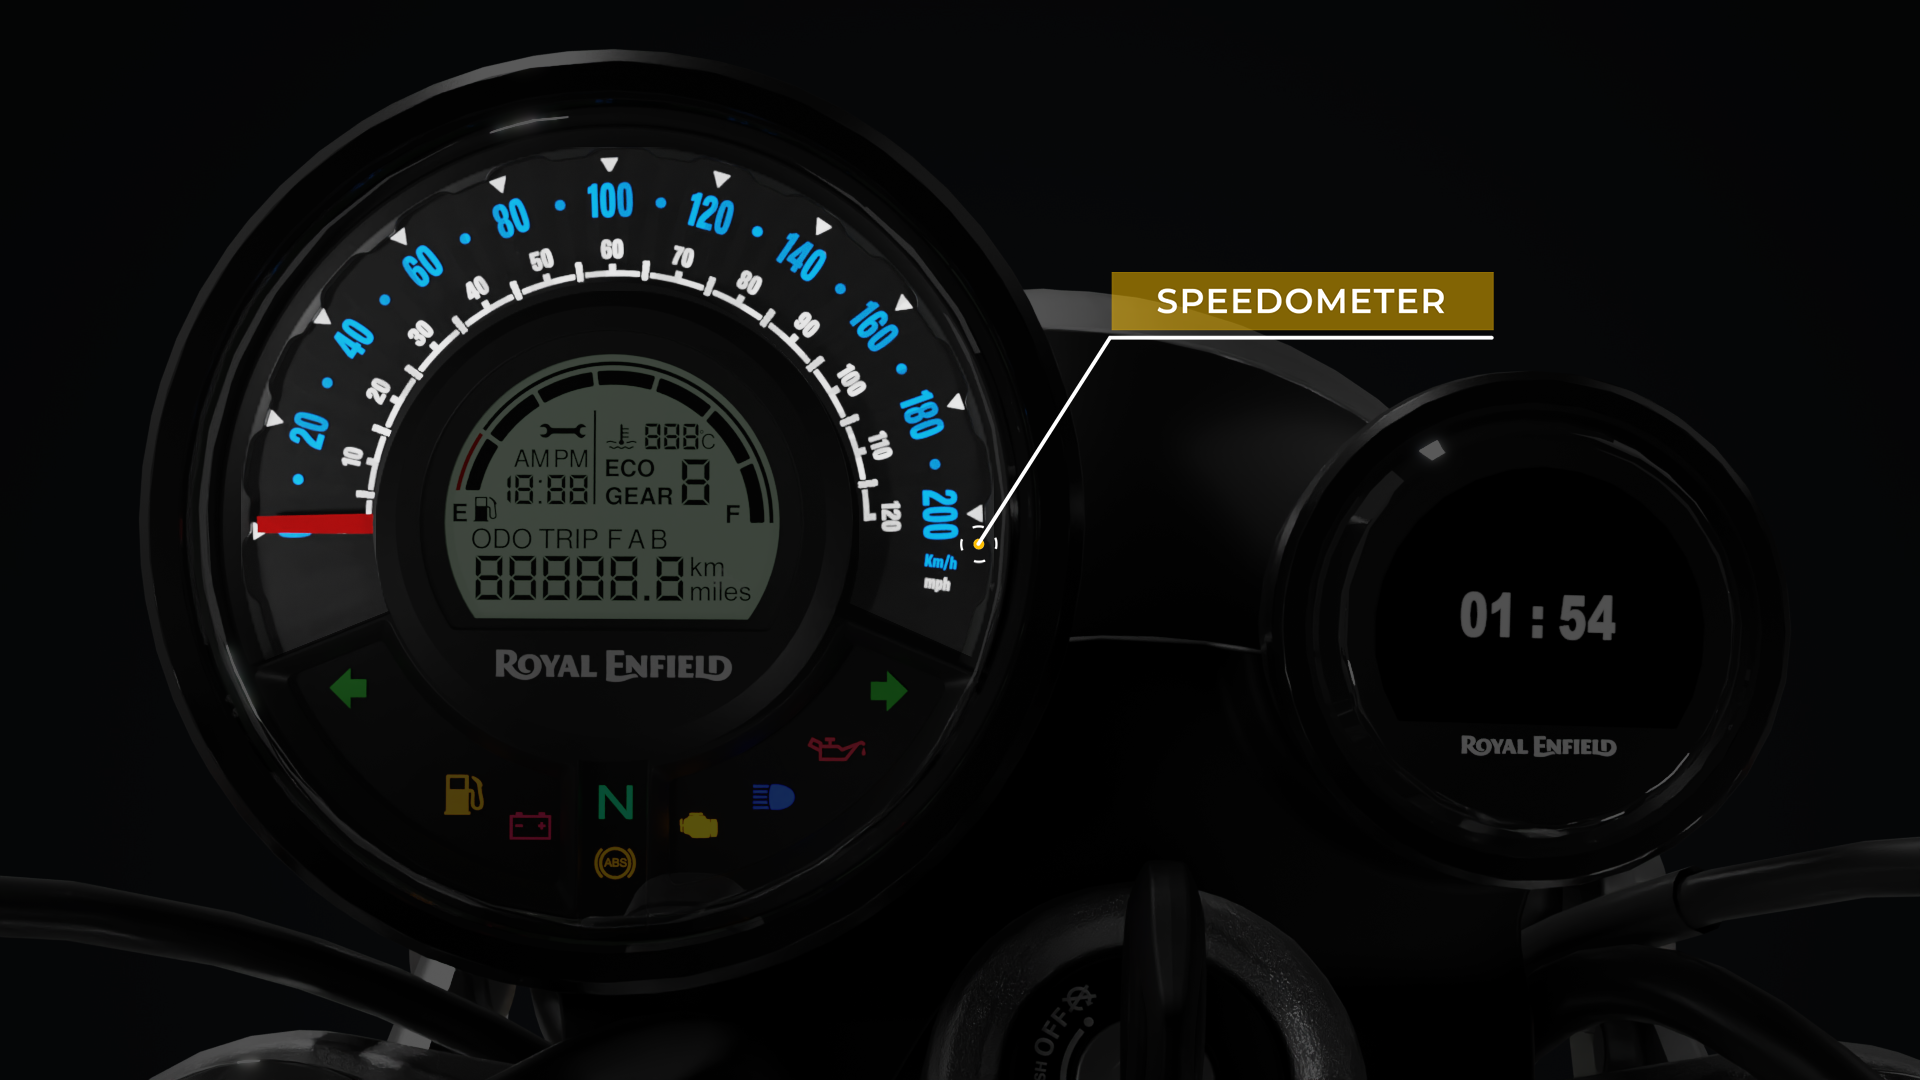
  1. The Speedometer indicates the speed at which motorcycle is travelling and has both kms/miles calibration.
Warning Note
  1. Charging port is provided only for charging purpose and no data transfer is enabled.
  2. Only constant charging mode is provided, fast / dash charging mode is not provided to be compatible with multiple makes mobile phones and cannot be compared with the performance of original smartphone chargers.
  3. Duration of charging can be higher and will vary for different make mobile phones depending on smart phone battery capacity, SOC and smart phone charging circuits.

ODOMETER

Image
  1. Displays the cumulative kilometers/miles the vehicle has covered.
Warning Note
  1. The last selection mode will be displayed whenever ignition is switched 'ON'.

INFO BUTTON MANAGEMENT DETAILS

Image
  1. LCD SEQUENCE
  2. (Info switch press <1 seconds):-
  3. If Trip F enabled.
  4. If Trip F not enabled.
Warning Note
  1. For trip re-set press info button for T>3 seconds.

TRIP A AND B

Image
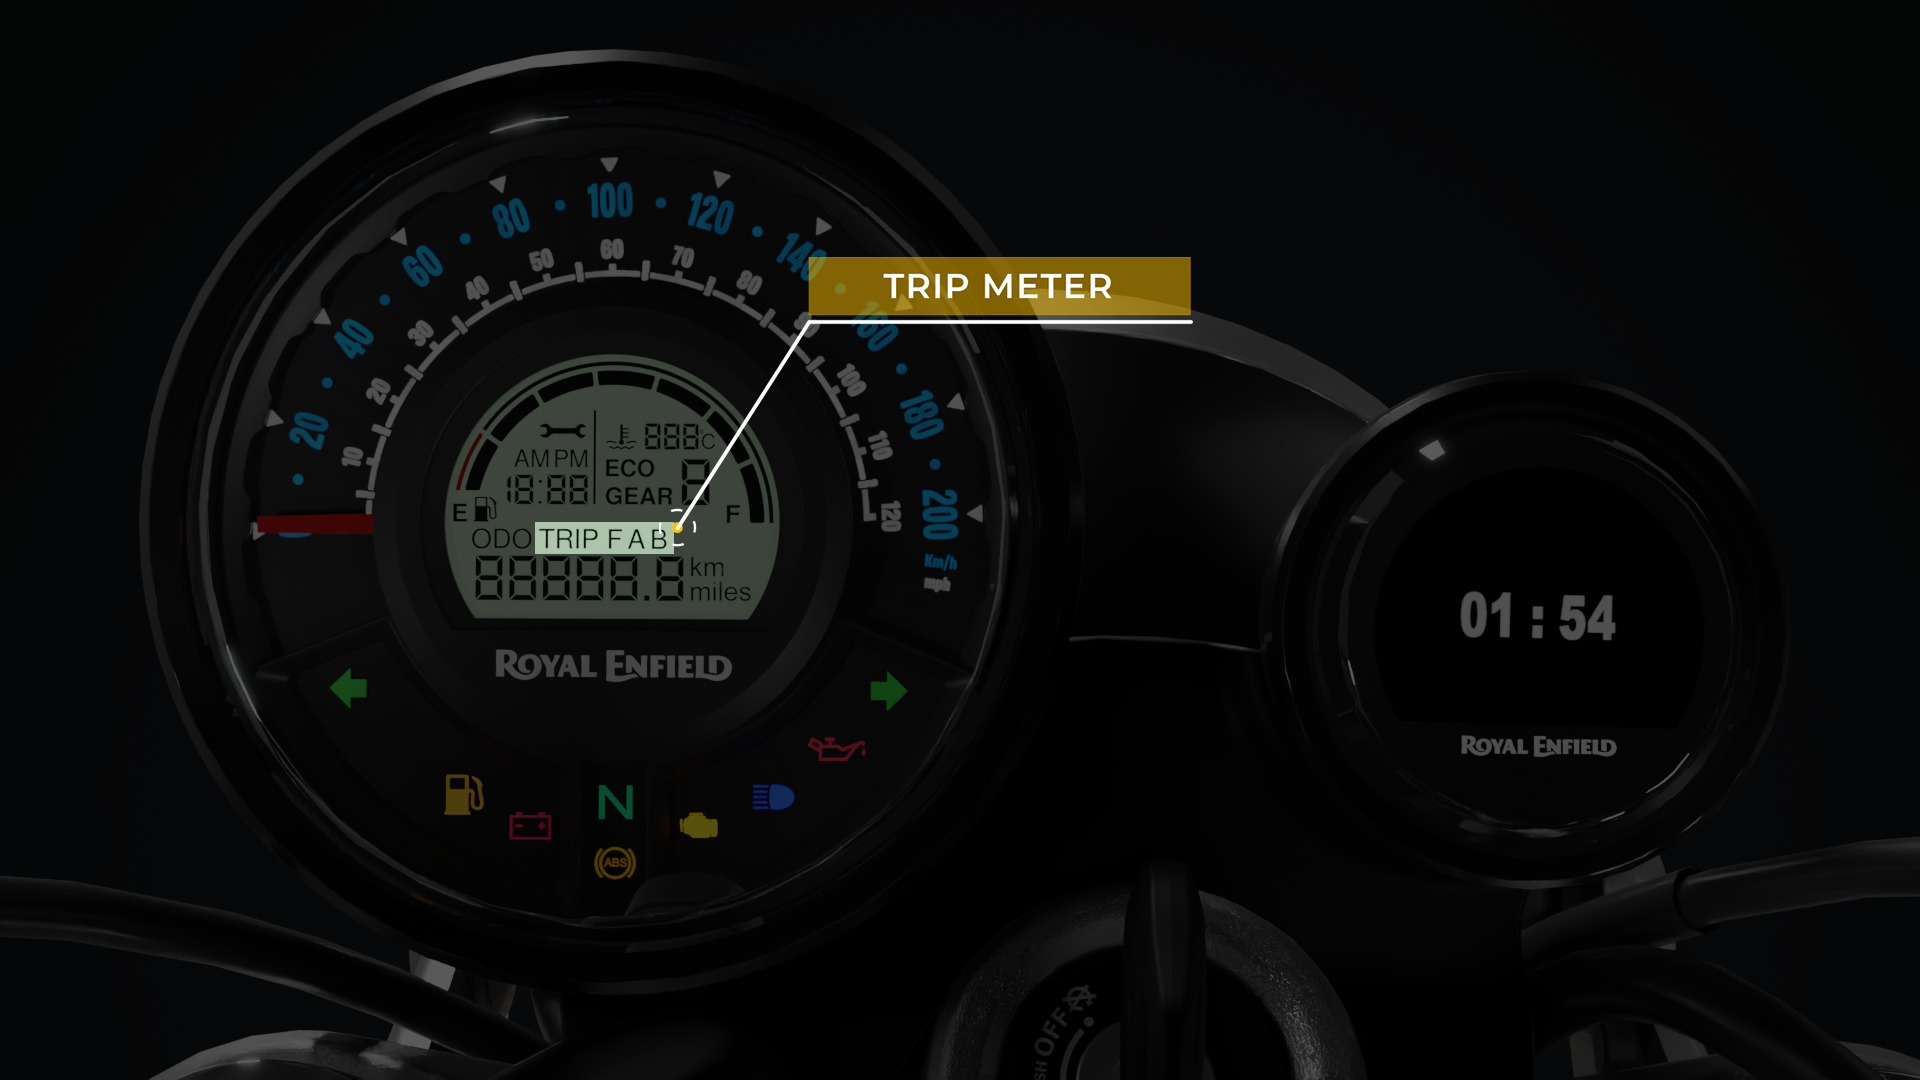
  1. Trip A / B indicates distance travelled in particular trip.

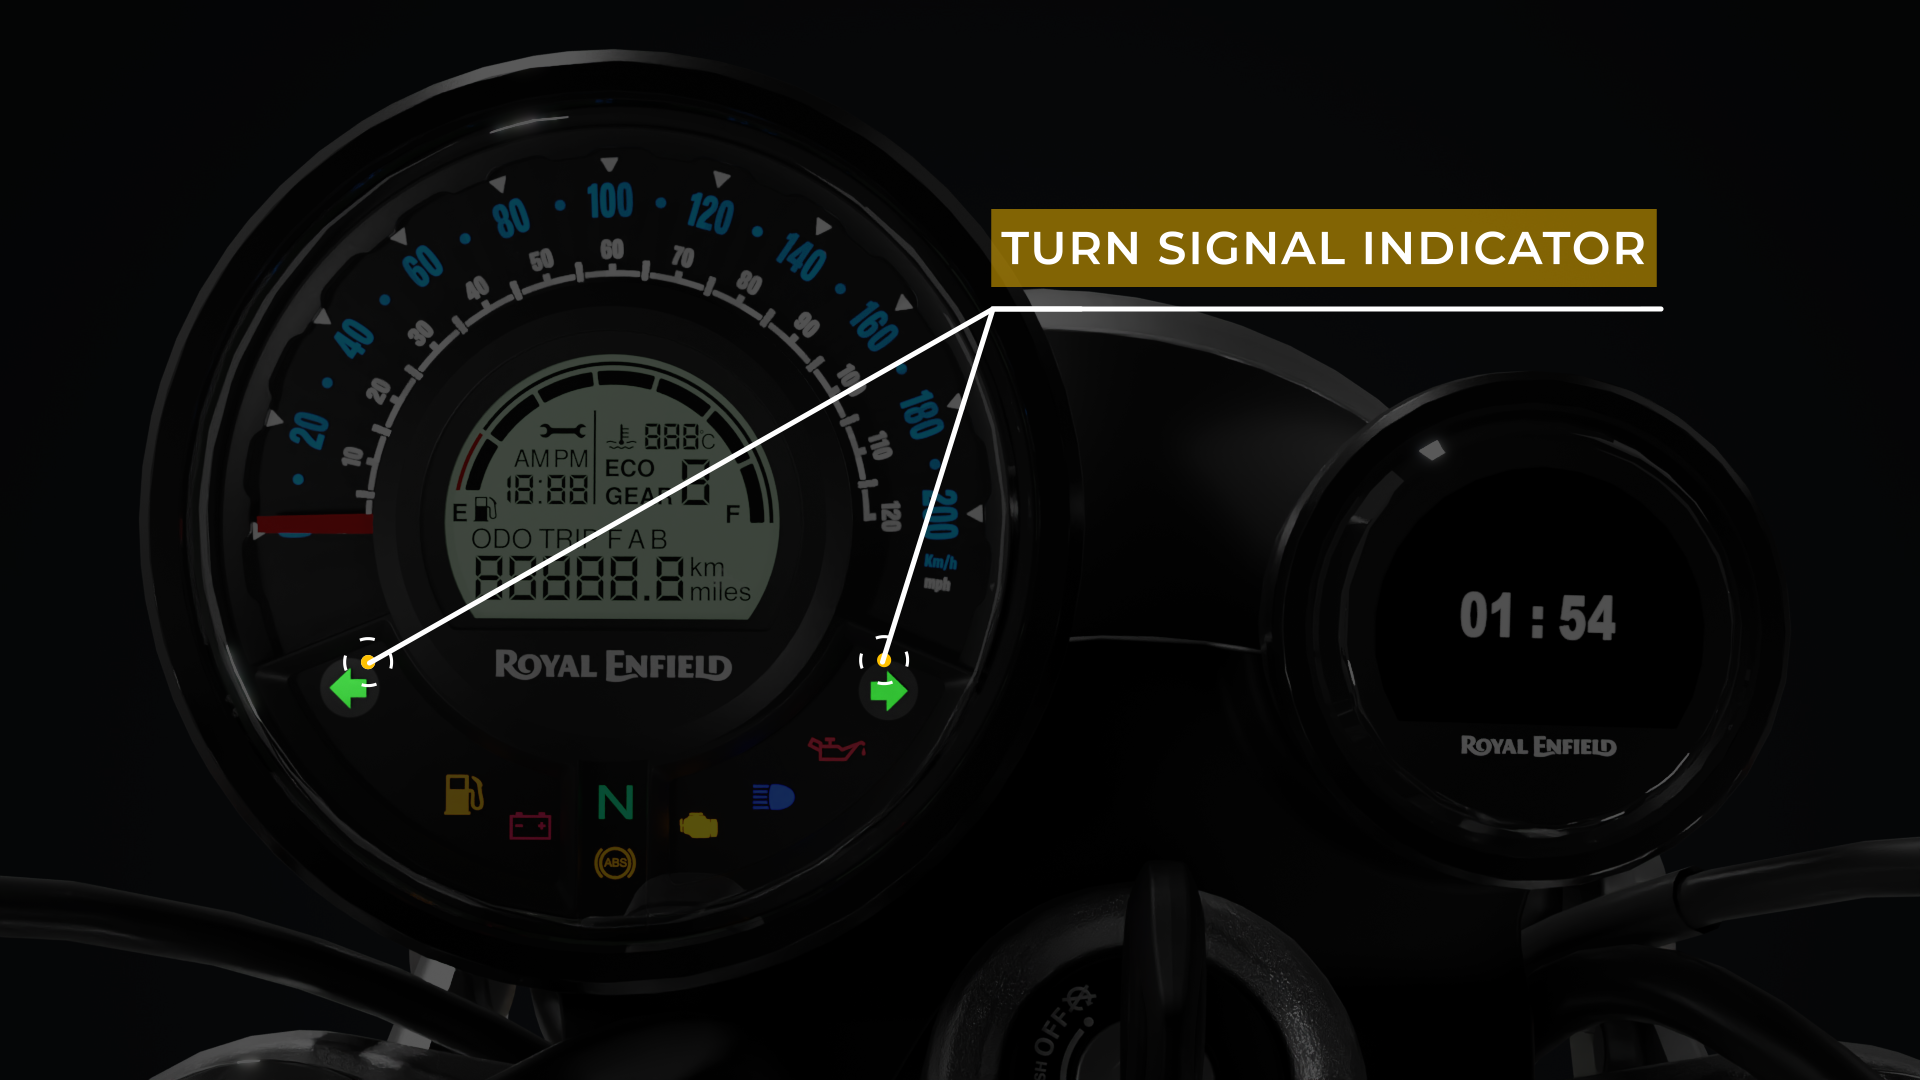
TURN SIGNAL INDICATOR

Image
  1. Left turn signal “ON”
  2. Right turn signal “ON”
  3. “OFF” (Push to cancel)
  4. Push the button from OFF position to either left or right before turning as needed.
  5. To cancel the turn signal lights, push the switch after it has returned to the center position.

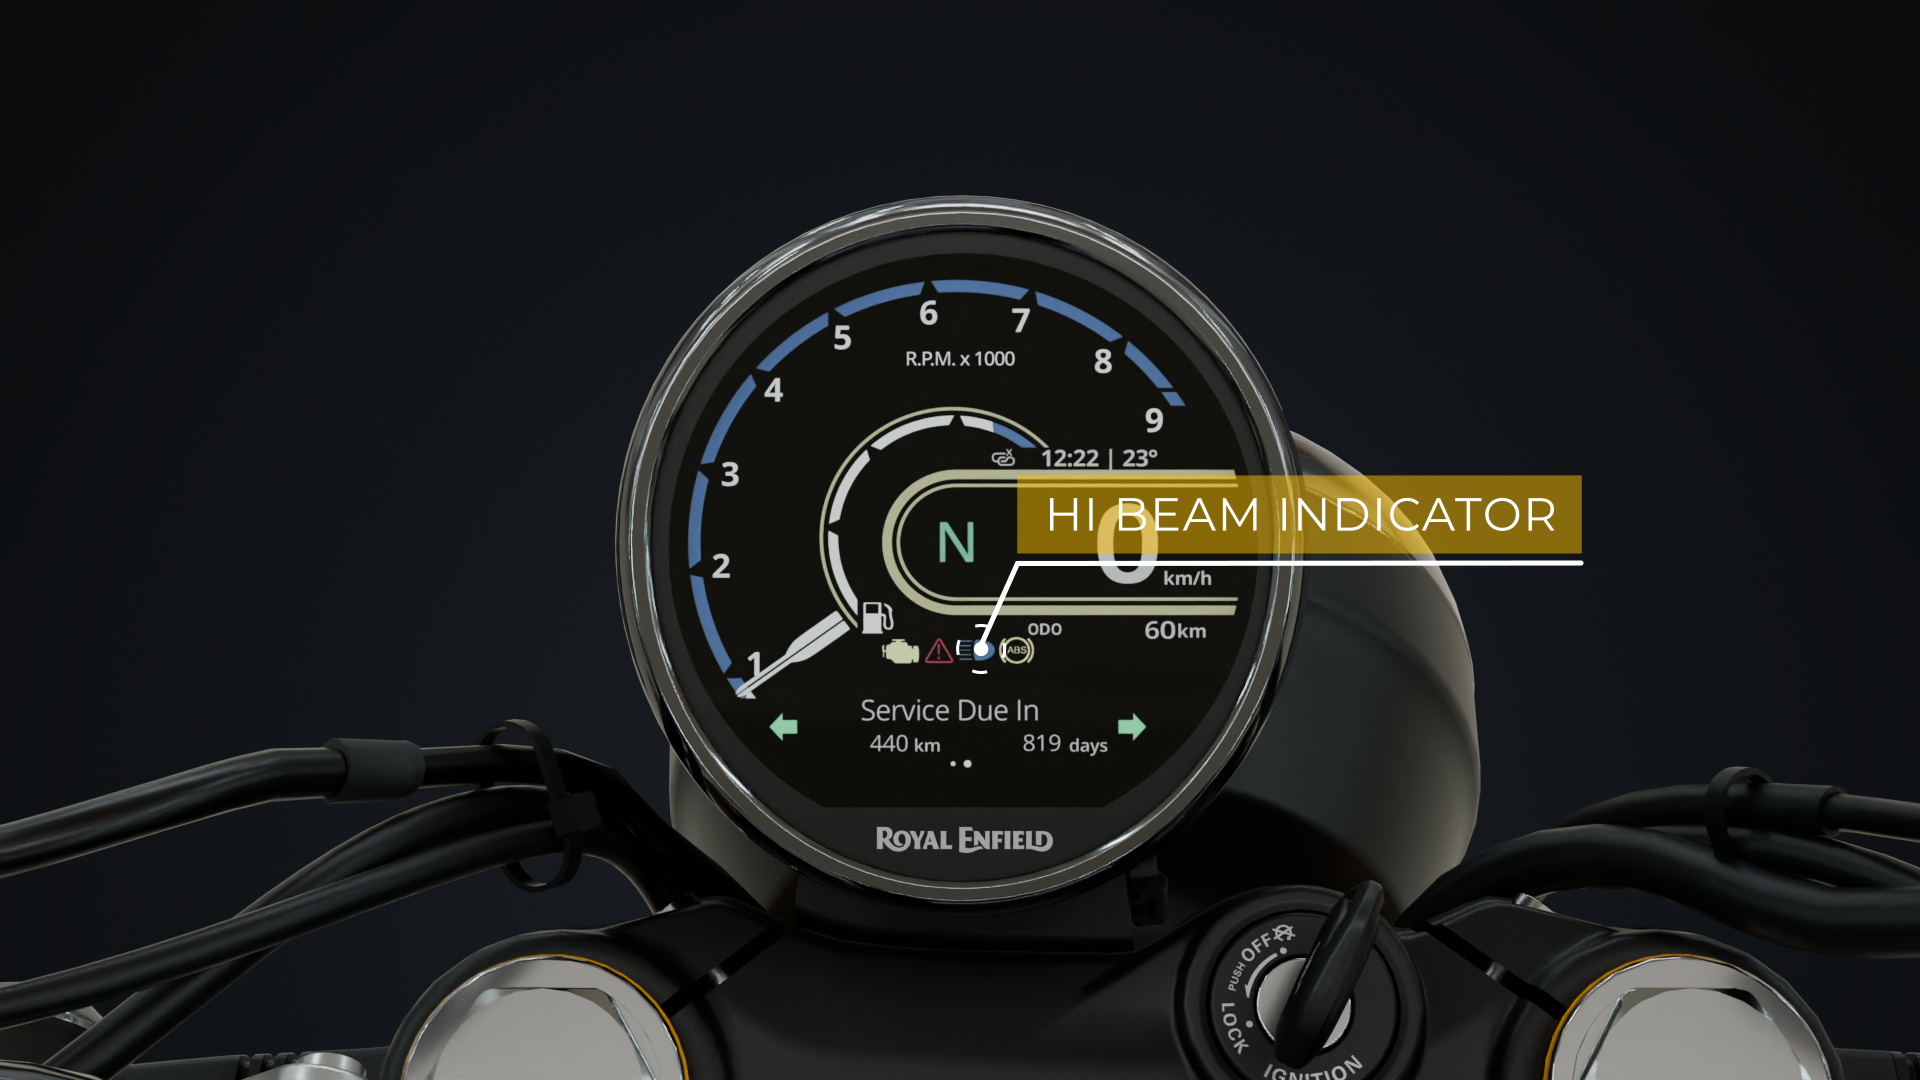
HIGH BEAM INDICATOR

Image
  1. Indicates that the high beam head lamp is 'ON'.

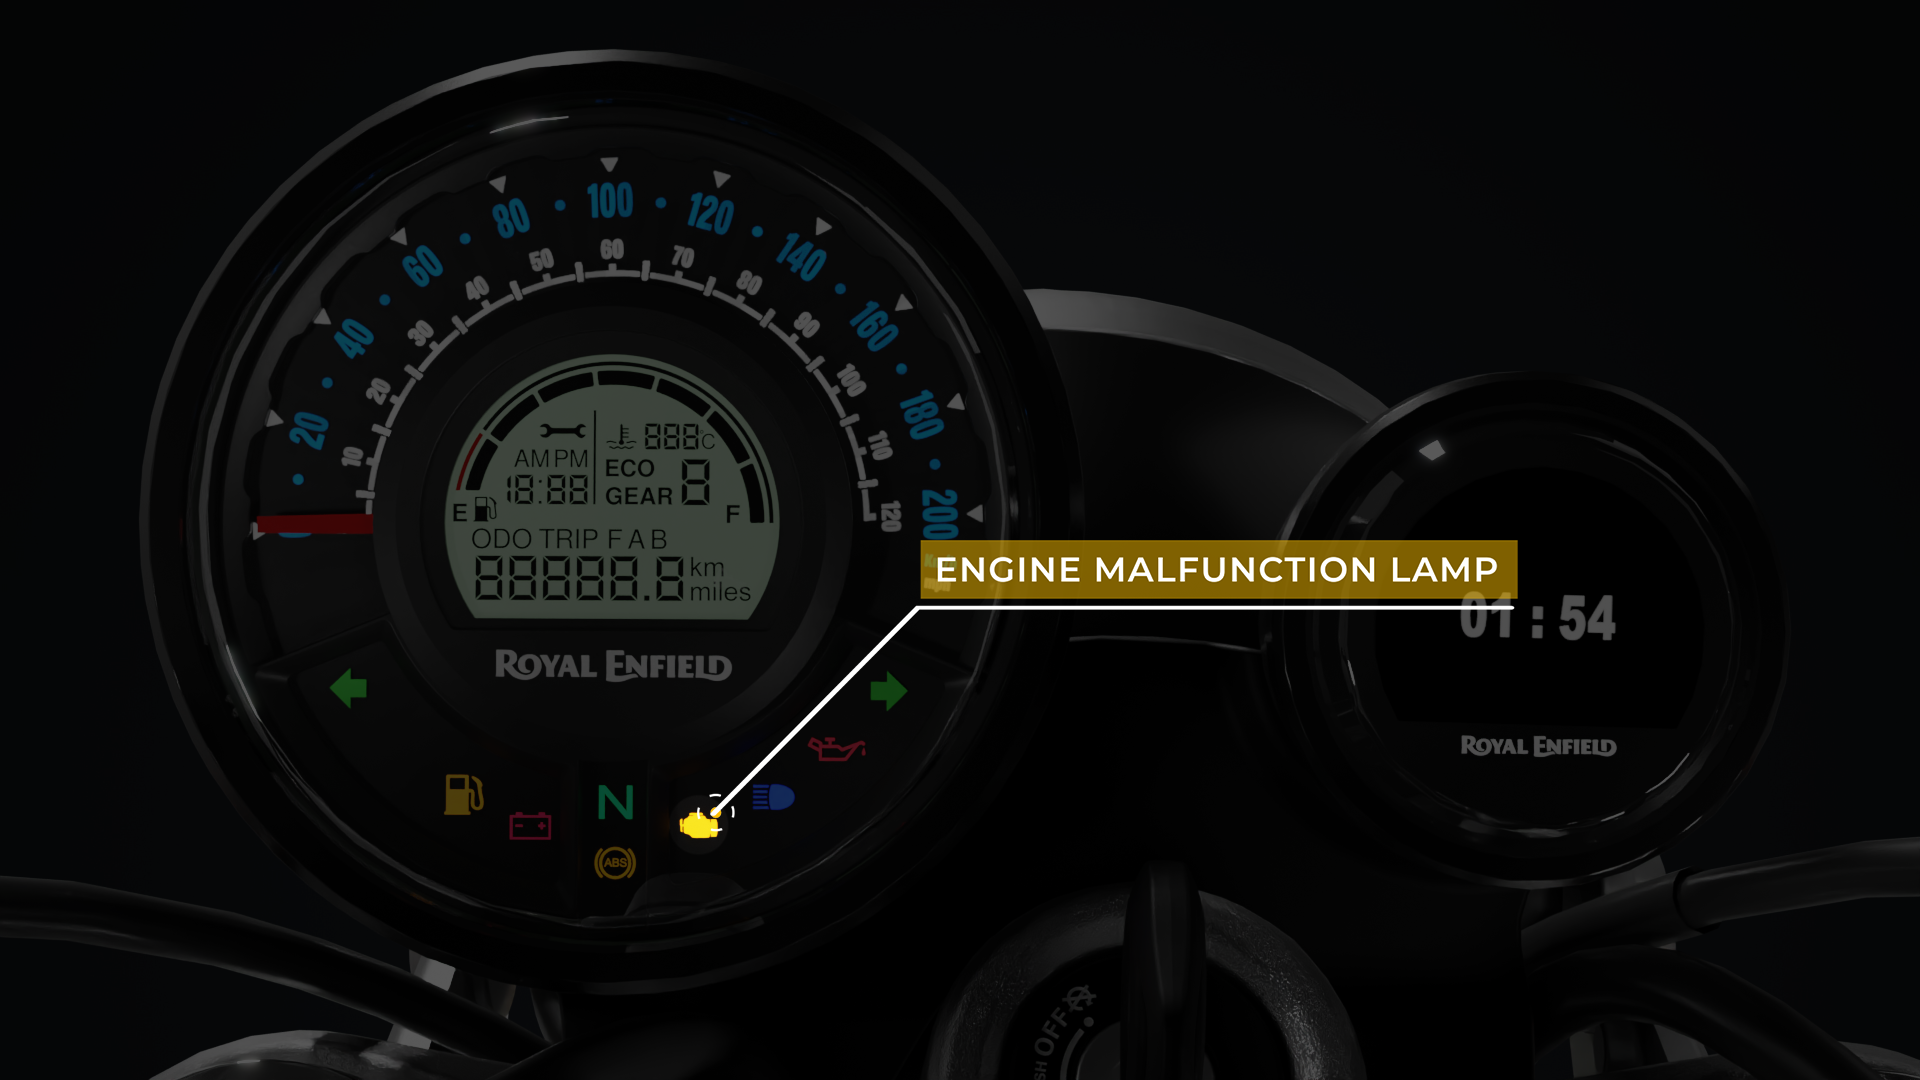
ENGINE MALFUNCTION INDICATOR LAMP

Image
  1. When both the ignition and engine kill switch is in 'ON' position and after vehicle is started, the MIL will glow for few seconds and turn 'OFF' automatically, this indicates that all the functions of Electronic Fuel Injection (EFI) system is functioning normally. In the event of any malfunction in the EFI system MIL will glow continuously. It is recommended to take the motorcycle to a nearest Royal Enfield Authorised Service Centre for a detailed inspection and correction of EFI system.

BATTERY LOW VOLTAGE INDICATOR

Image
  1. When the ignition switch is turned in 'ON' position, low voltage indicator symbol will glow. As soon as the engine is started the battery low voltage indicator turns 'OFF' automatically.
  2. In case the battery voltage is below 12 volt and the battery is not charging when the engine is started, the battery low voltage indicator will continue to glow in the instrument cluster.
Warning Caution
  1. DO NOT ride the motorcycle if the battery low voltage indicator is glowing continuously and please get the charging system checked through an Royal Enfield Authorised Service Centre immediately.

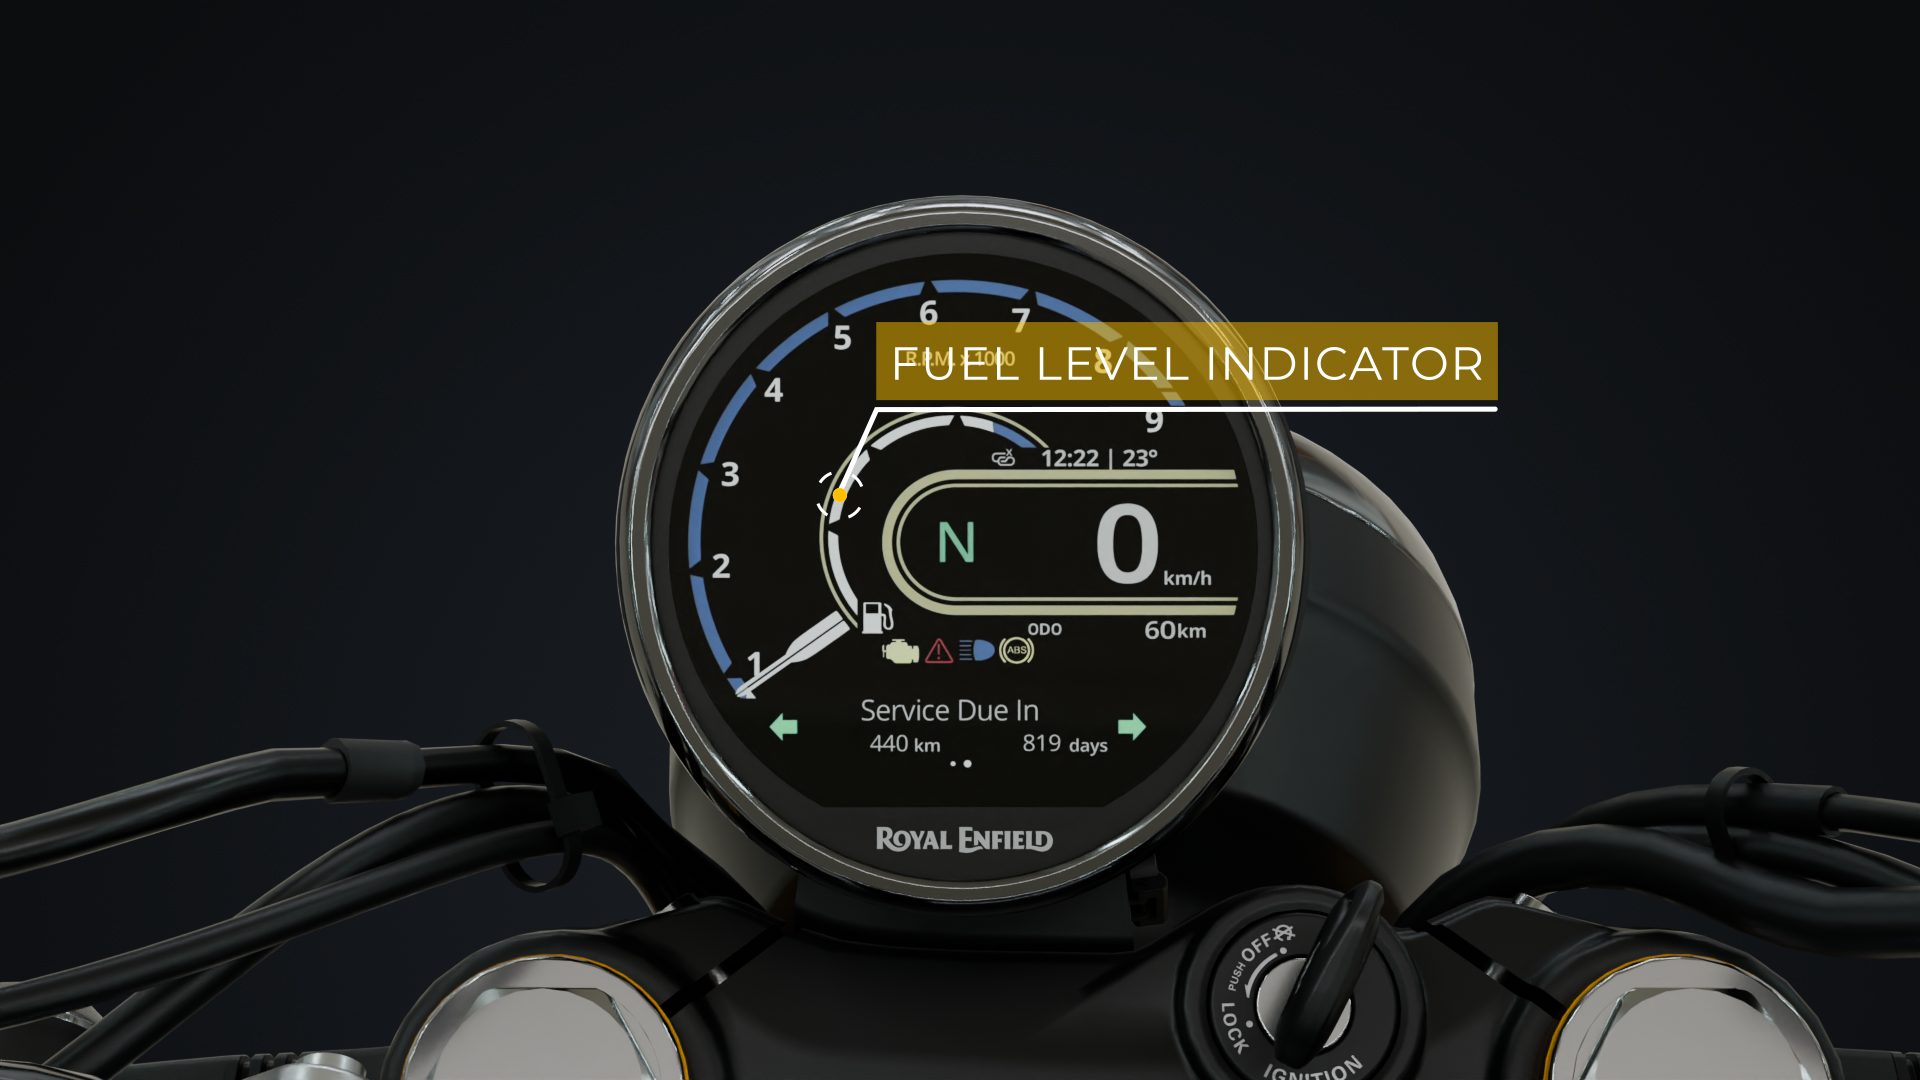
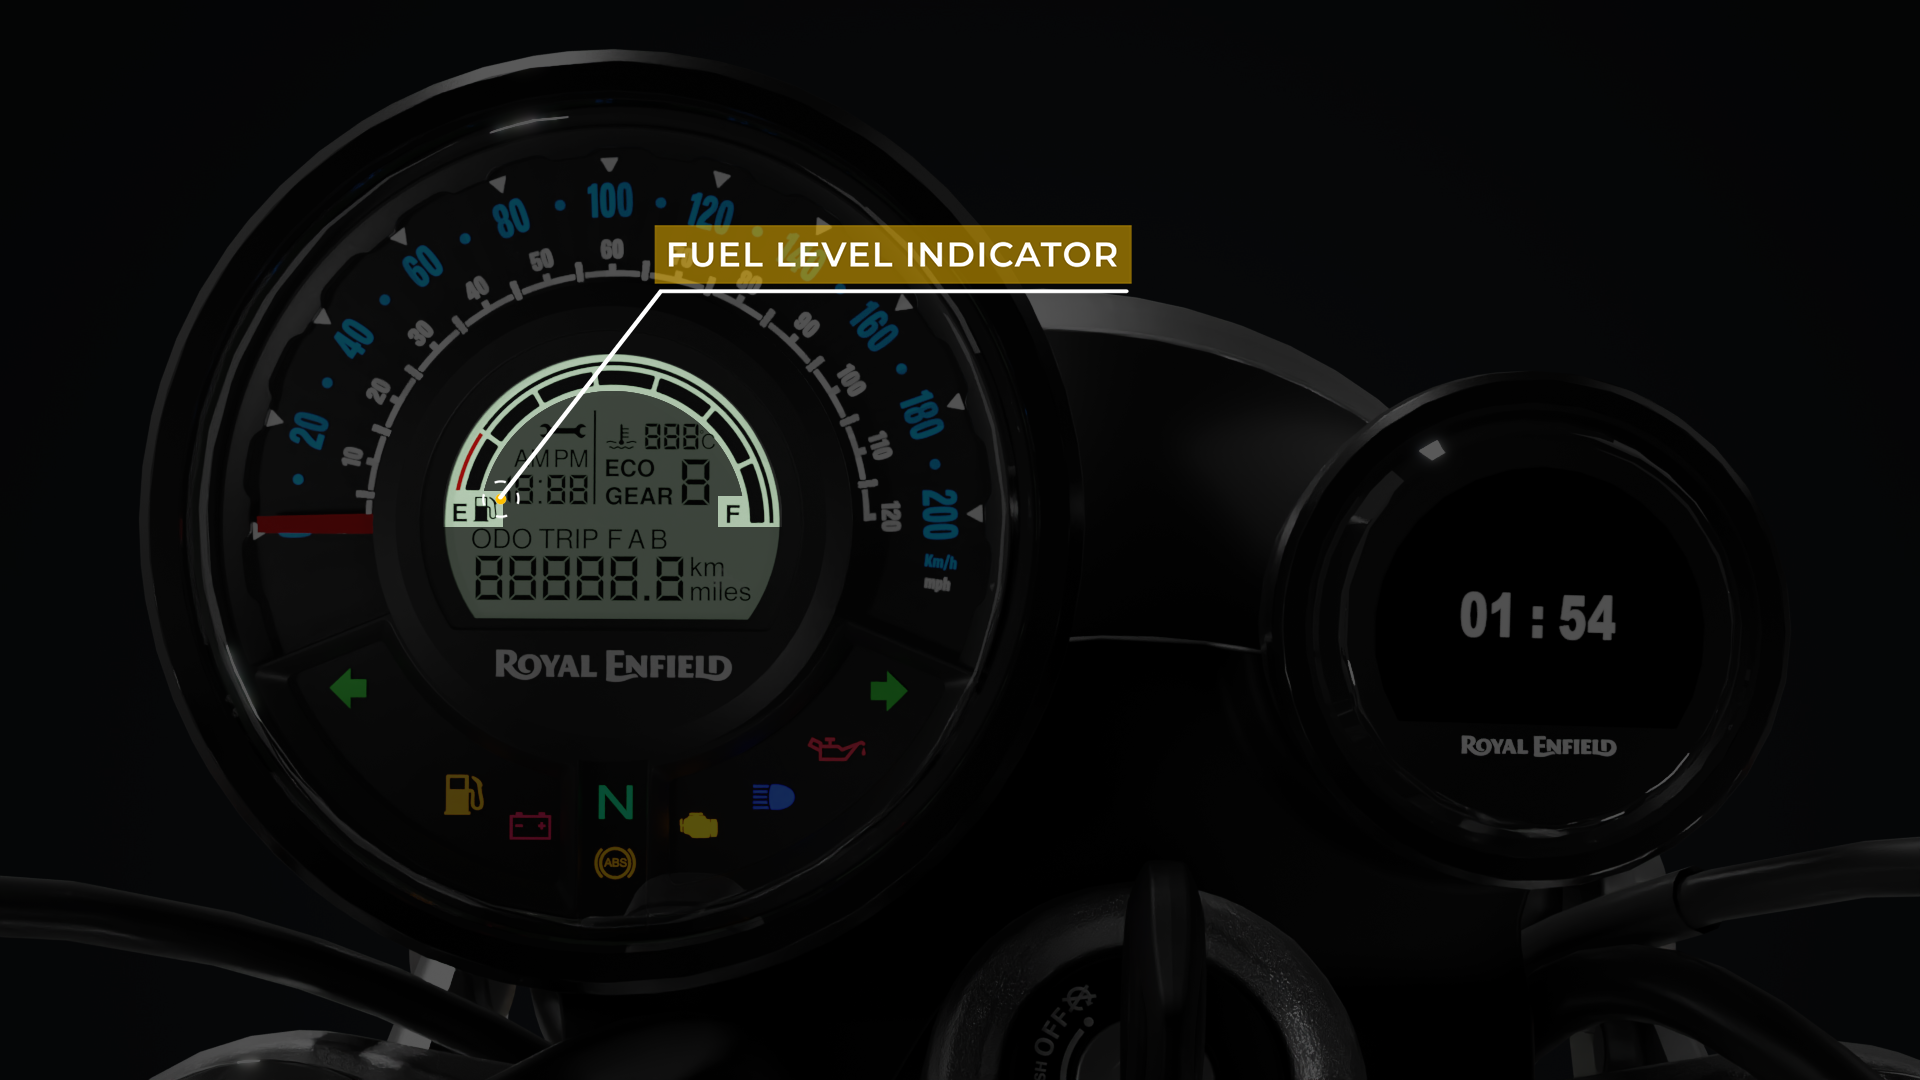
FUEL LEVEL INDICATOR

Image
  1. The fuel level indicator indicates the level of fuel in the fuel tank.
  2. The display bars of the fuel meter fade towards 'E' (Empty) when the fuel level decreases from full tank level 'F'.
  3. The last bar of the fuel level indication in the instrument cluster will blink continuously when the fuel is in low condition.
  4. Please do not ride the motorcycle with the low fuel indication blinking continuously as it may not only result in the motorcycle running out of fuel, but will also cause serious damage to the fuel pump.
  5. Please refuel as soon as the low fuel indication starts blinking.

ANTI-LOCK BRAKING SYSTEM (ABS)

Play
Warning Caution
  1. ABS is a safety feature to help prevent locking of wheels during panic application of brakes. It is by no means a substitute for good riding practices and anticipatory braking.
  2. Please ride carefully and apply brakes cautiously, especially while cornering. ABS cannot estimate the 'weight shifts' and momentum of the motorcycle while negotiating a corner and therefore prevent skidding due to loss of traction.
  3. Please anticipate the stopping distance required for the speed of travel and apply brakes well in advance so as to bring the motorcycle to a safe stop.
  4. Ensure instrument cluster is in proper functioning as it is an integral part of ABS system.
  5. Please apply both brakes simultaneously to stop with better traction and control of the motorcycle.
  6. Failure to adhere to the above can cause an accident resulting in serious injuries and loss of life.
  7. Visually inspect for damaged teeth on the front and rear ABS tone rings.
  8. Inspect for damages and dents on the face of the teeth.
  9. The teeth edges should be consistent in appearance. In case a toner ring is found to be damaged or bent, it is recommended to visit nearest dealership for necessary action.
  10. Inspect for debris at the end of the wheel sensors – Front & Rear. If contamination is observed, it is recommended to clear it suitably or you may visit the nearest dealership for necessary action.
Warning Note

Do's

  1. While starting the engine do check the ABS indicator glows 'ON' and turns 'OFF' when the vehicle speed exceeds 5 km/h (3.1 mph).
  2. Please check the brake fluid at “MAX” level in the front and rear brake reservoir and ensure there is no leak in the brake systems.
  3. Apply both the brakes simultaneously for better efficiency.
  4. In the event of the ABS indicator remaining continuously 'ON', please take the motorcycle to a nearest Authorised Royal Enfield Service Centre to inspect the brake system.

Don't

  1. DO NOT RELEASE the brake lever/pedal when pulsations are felt during hard application of the brakes in an emergency situation. The pulsations only indicate that the ABS is activated.
  2. DO NOT APPLY only the front or rear brake as it can lead to inefficient braking.

NEUTRAL INDICATOR

Play

MAPS

Play
Warning Caution
  1. Ensure ignition is ON and display is in powered while establishing connection.
  2. Ensure first time pairing is done in isolated environment to avoid cross connections(onetime).
  3. Day and night mode is user selectable only, will not change over automatically to be selected during night driving toavoid rider distraction.
  4. Bluetooth connection can be established only through RE Mobile app.
  5. Ensure bluetooth and location settings are turned always ON before usage.
  6. Disable battery optimisation settings/low battery cut-off setting of smartphone for Navigation to work in low battery mode.
  7. RE Mobile app works only with Android and iOS versions, for other lower versions performance lag can be expected.
  8. Navigation display device Bluetooth version is 4.2.
  9. RE Mobile App works with bluetooth version 4.2 and N+1.0, for other lower versions performance lag can be expected.
  10. Check for network signal strength in case of navigation lag.
  11. Check for Data speed in case of navigation lag, Navigation system performance is better in 4G band compared to other lower versions.
  12. Calibrate mobile phones frequently for more GPS accuracy & location accuracy is dependent on.
Warning Note
  1. After every Ignition ON cycle Navigation display unit will be in discoverable mode for 120 Secs.
  2. Incase there is no connection established within 120 secs display will enter into clock mode, to re-initiate connection Ignition OFF-ON cycle to be repeated.
  3. During Navigation mode if there is no input from smartphone for 5 Secs, Bluetooth connection will be terminated to avoid power draw and will display clock.
  4. Bluetooth connection can be terminated by end user also by closing the mobile application.
  5. For first time pairing user needs to enter the secured pin shown on navigation display unit through RE Mobile App to setup the device, after that auto-pairing will happen if same device is connected.
  6. Everytime the Navigation display unit is paired the clock time will sync with mobile time after which it will continue to run with internal clock even in case of disconnection, there will be time difference between time shown on instrument cluster and Navigation display unit - customer needs to update cluster clock inline with time shown on Navigation display unit as and when required as mentioned in push button management of cluster.

CLOCK

Play
  1. Clock will display on following cases.
  2. Not connected with App
  3. No navigation input
  4. After the destination arrived

PRE OPERATIONAL CHECKS

Play

STARTING

Play
Warning Caution
  1. In case the malfunction indicator DOES NOT turn 'OFF', get the motorcycle checked through an Royal Enfield Authorised Service Centre for rectification.
  2. Check the fuel level indicator in the cluster for adequate fuel in the fuel tank. In case the last bar is blinking continuously, it indicates low fuel level in the tank. Please re-fuel immediately.
  3. Disengage clutch by pulling in the clutch lever and hold it in depressed condition.
  4. Push and hold electric start switch until engine starts for a maximum of 5 seconds.
  5. If the engine does not start. DO NOT hold the starter switch in depressed condition for long periods, this will cause the battery to drain below the threshold level of 10 V. Please get the motorcycle checked through an Royal Enfield Authorised Service Centre to identify and correct the reason for not starting.
  6. Never accelerate as soon as the engine starts, especially in cold condition. The engine should be allowed to run in idle RPM for at least 120 seconds for the engine oil to circulate and lubricate all the internal moving parts and for the engine temperature to raise. Failure to adhere to this important information will cause serious damage to the engine internals.
  7. Do not attempt to shift gears without moving the motorcycle back and forth as it will damage the gears mechanism.
  8. Depress and hold the clutch lever.
  9. Press Starter Button and hold till Engine starts. Do not release the button before Engine starts.
  10. Do not press the starter button more than 5 sec. After three successive cranking, wait for 15 to 20 seconds the battery to recover.
Warning Note
  1. In case the engine does not start within 5 second, release starter switch and wait for about 5 second before attempting to start the engine again.
  2. In case vehicle not starting on multiple continuous attempts, please turn 'OFF' and turn 'ON' ignition switch and then start again.

GEAR SHIFTING, RIDING & STOPPING

Play
Warning Caution
  1. If the clutch lever is released abruptly and throttle opening is done insufficiently the motorcycle will have a rough start and cause the engine to stall.
  2. If the acceleration is very high and clutch lever is released abruptly, it will cause motorcycle to move suddenly, which will lead to loss of control leading to an accident resulting in injury and or loss of life to rider / other road users / passed by, besides damage to the motorcycle.
  3. Always exercise utmost caution while releasing clutch and riding the motorcycle.
  4. As soon as the motorcycle reaches a speed of 25 kmph (16 mph) in 1st gear position, shift to 2nd gear.
  5. Press gear shift lever down with heel to shift to 2nd and subsequent gears, as the speed of the motorcycle increases.
Warning Note
  1. Always start motorcycle with gear in neutral position.
  2. When engine speed decreases or while climbing a gradient or running at a reduced speed, shift to the appropriate lower gear to prevent the engine from stalling or straining to pull.
  3. Always shift to lower gears as appropriate whenever slowing down to stop the vehicle.
  4. Shift gears to neutral position just before bringing the vehicle to a complete stop always.
  5. Close throttle fully and release the clutch lever slowly ensuring the motorcycle is in neutral position and neutral lamp is glowing.
  6. Stop the motorcycle in a safe place, turn 'OFF' ignition and switch 'OFF' engine kill switch.

PARKING MOTORCYCLE ON CENTRE STAND

Play

TOOLS KIT

Play
Royal Enfield Royal Enfield Royal Enfield Royal Enfield Royal Enfield